Installing the ERM
Before installing the ERM, review and observe all warnings in
"Precautions (on page 3)."
WARNING: A risk of personal injury or damage to the
equipment exists. Uneven loading of equipment in the rack
might cause the rack to become unstable. Install the
heavier components first, and then continue to populate
the rack from the bottom to the top.
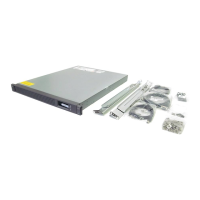
1. Install the mounting rails ("Installing the mounting rails" on page 4).
2. With one person on each side of the carton, lift the chassis and
lower it to the floor in front of the rack.
3. Install the mounting ears on the chassis using the screws
provided.
4. With one person on each side, lift the chassis to rail level and
slide the chassis on the mounting rails. Be sure that the cleat
brackets slide into the channels on the rear stabilization brackets.
5. Attach the chassis to the rack using the supplied screws.
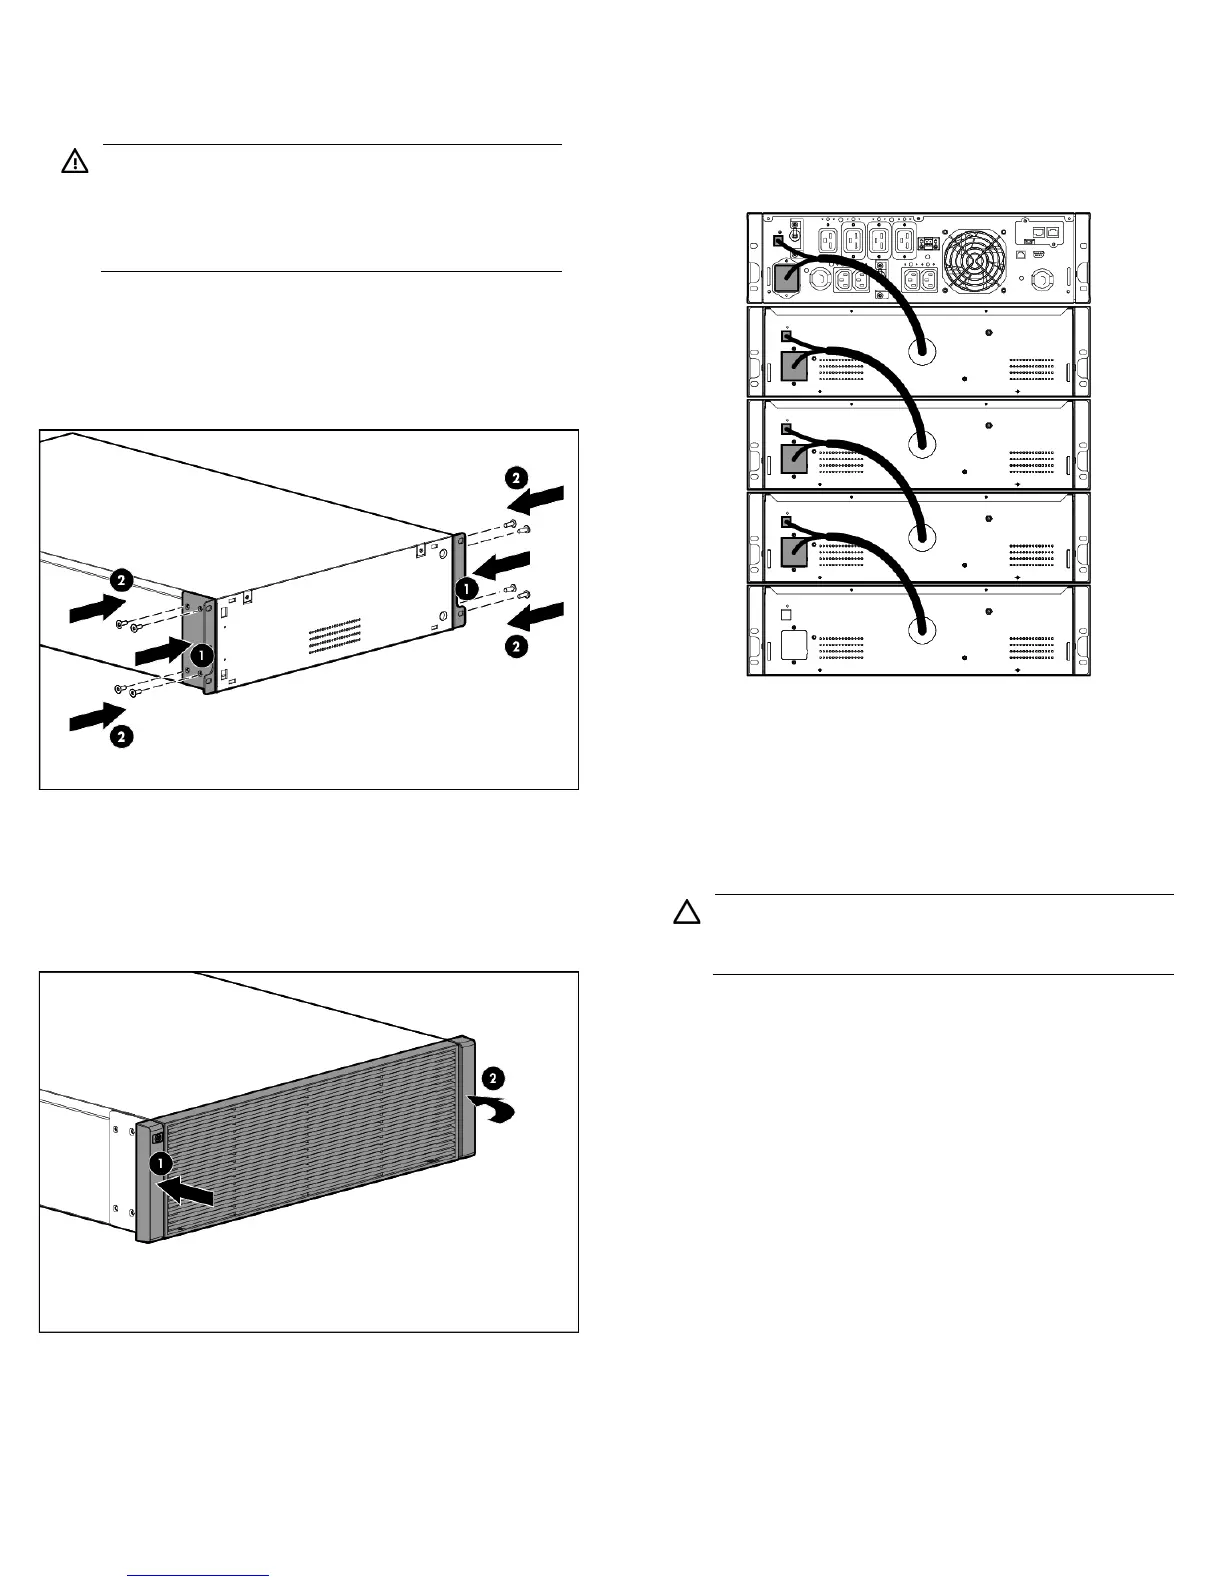
Attaching the ERM front bezel
Connecting the ERM to the UPS
Connect both ends of the split ERM cable to the ERM connectors on the
UPS rear panel. To install additional ERMs, connect both ends of the
split ERM cable from the next ERM into the connectors on the rear panel
of the previous ERM. Up to four ERM units can be connected.
Charging the ERM batteries
Connect the UPS to a grounded utility power outlet. When the UPS is
plugged in, it automatically enters Standby mode and begins charging
the ERM batteries. With the UPS in Standby mode, allow the ERM
batteries to charge for at least 24 hours before putting the UPS into
service.
CAUTION: To ensure maximum runtime, be sure to
configure the UPS for the number of installed ERMs using
the UPS front panel controls.
 Loading...