D
Y
Z
A
B
C
D
E
Q
T
2
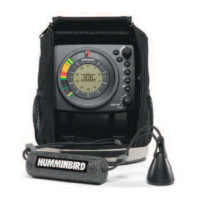
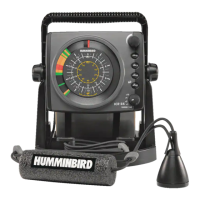
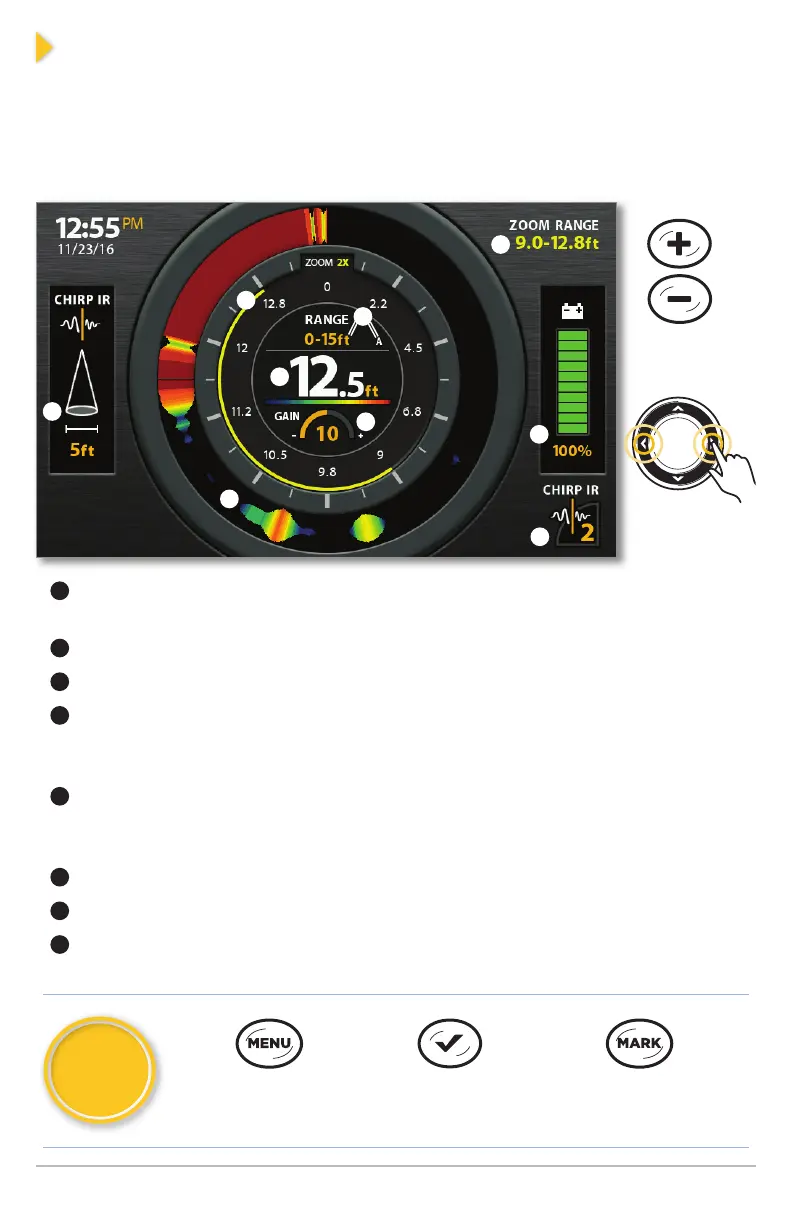
Display the Flasher View
Flasher View provides two ways to view sonar data in traditional flasher
format. Press the ZOOM In (+) key to magnify an area on the display.
1 Press the VIEW key until the Flasher View (shown below) is displayed.
Cone Angle shows the diameter of the sonar beam based on depth. This setting is
affected by the CHIRP IR setting. See Select Settings for Ice Fishing.
Current Depth
Current Depth Range and Lower Range Mode Indicator (Auto [A] or Manual [M]).
Gain - Adjust the Gain setting from the X-Press Menu to see more or less detail on
the sonar display. Decrease the setting to see less clutter. Increase the setting to see
weaker returns in very clear and/or deep water.
Battery Status - The percentage of power remaining for the connected battery. To
help extend battery life, reduce the screen’s backlight setting using the Power
X-Press Menu (press the POWER key once) > Light.
CHIRP IR setting. See Select Settings for Ice Fishing.
Zoom Range
Flasher Window (Flasher Style set to Color [A-Scope]) displays the sonar returns.
Select the Flasher Style from the X-Press Menu.
A
B
C
Using Zoom in Flasher View
Move the
Zoom Range
A
B
D
G
E
F
Zoom
In/Out
G
H
C
D
E
F
G
H
Change the
CHIRP IR Setting
Mark a Waypoint
(GPS models only)
Quick
Tips!
Open the
X-Press Menu
ICE_HELIX_QSG_532586-1EN_B.qxp_Layout 6 7/13/18 5:22 PM Page 2
 Loading...