Torch Alignment Guide for Bevel Cutting
Powermax125 / MAXPRO200 Field Service Bulletin 811280 7
8. Install the correct cutting consumables on the machine torch. Refer to the Powermax125 and
MAXPRO200 Bevel compensation cut charts on page 11.
9. Loosen the knobs or fasteners on the torch holder, as necessary. Put the torch in the holder and
tighten.
10. If there is a cable mount, make sure that the torch lead is correctly installed and tightened in the
cable mount.
11 . Loosen the control lever for the angle of the torch. Adjust the angle to 0°, or make sure that the
torch is squarely aligned to the workpiece. Tighten the control lever.
12. Loosen the control lever for the torch bevel angle. Adjust the torch to the correct bevel angle to
align with the settings from the bevel compensation cut charts.
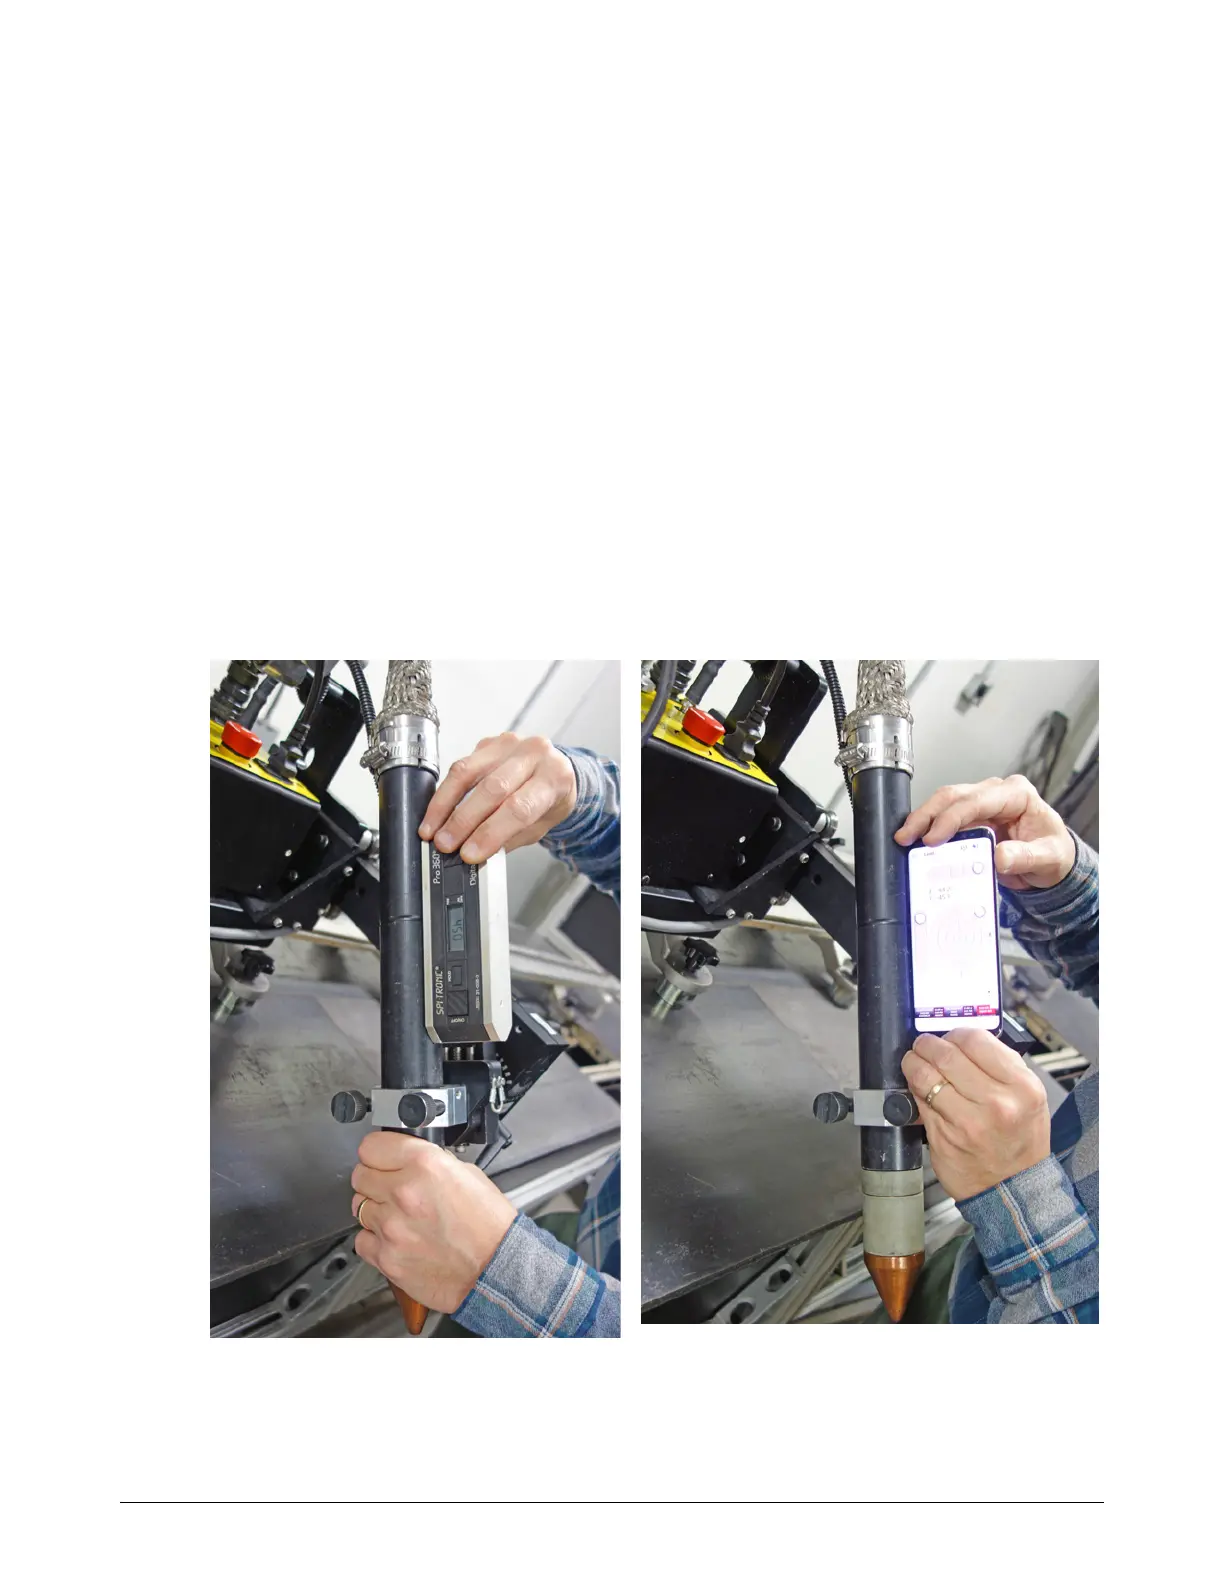
a. Use a digital level to make sure that the angle of the torch is correct. If you have a
smartphone, you can also use a digital level application. In the following pictures, the digital
level is used to make sure that the torch is set to a 45° angle.
b. When the torch bevel angle is correct, tighten the control lever.
Digital level Digital level application on a smartphone

 Loading...