When removing the spacer (Spacer B/C)
Push the notch carefully with your finger to
remove the spacer (Spacer B/C) from the
adapter (Spacer A).
R CAUTION!
DO NOT push or force the notch using a
screw driver, etc., to remove it.
DO NOT bend the notch when the
adapter and spacer are not joined
together. This will cause weakening of
the notch plastic.
Both cases may break the notch and it
may not be able to be reattached.
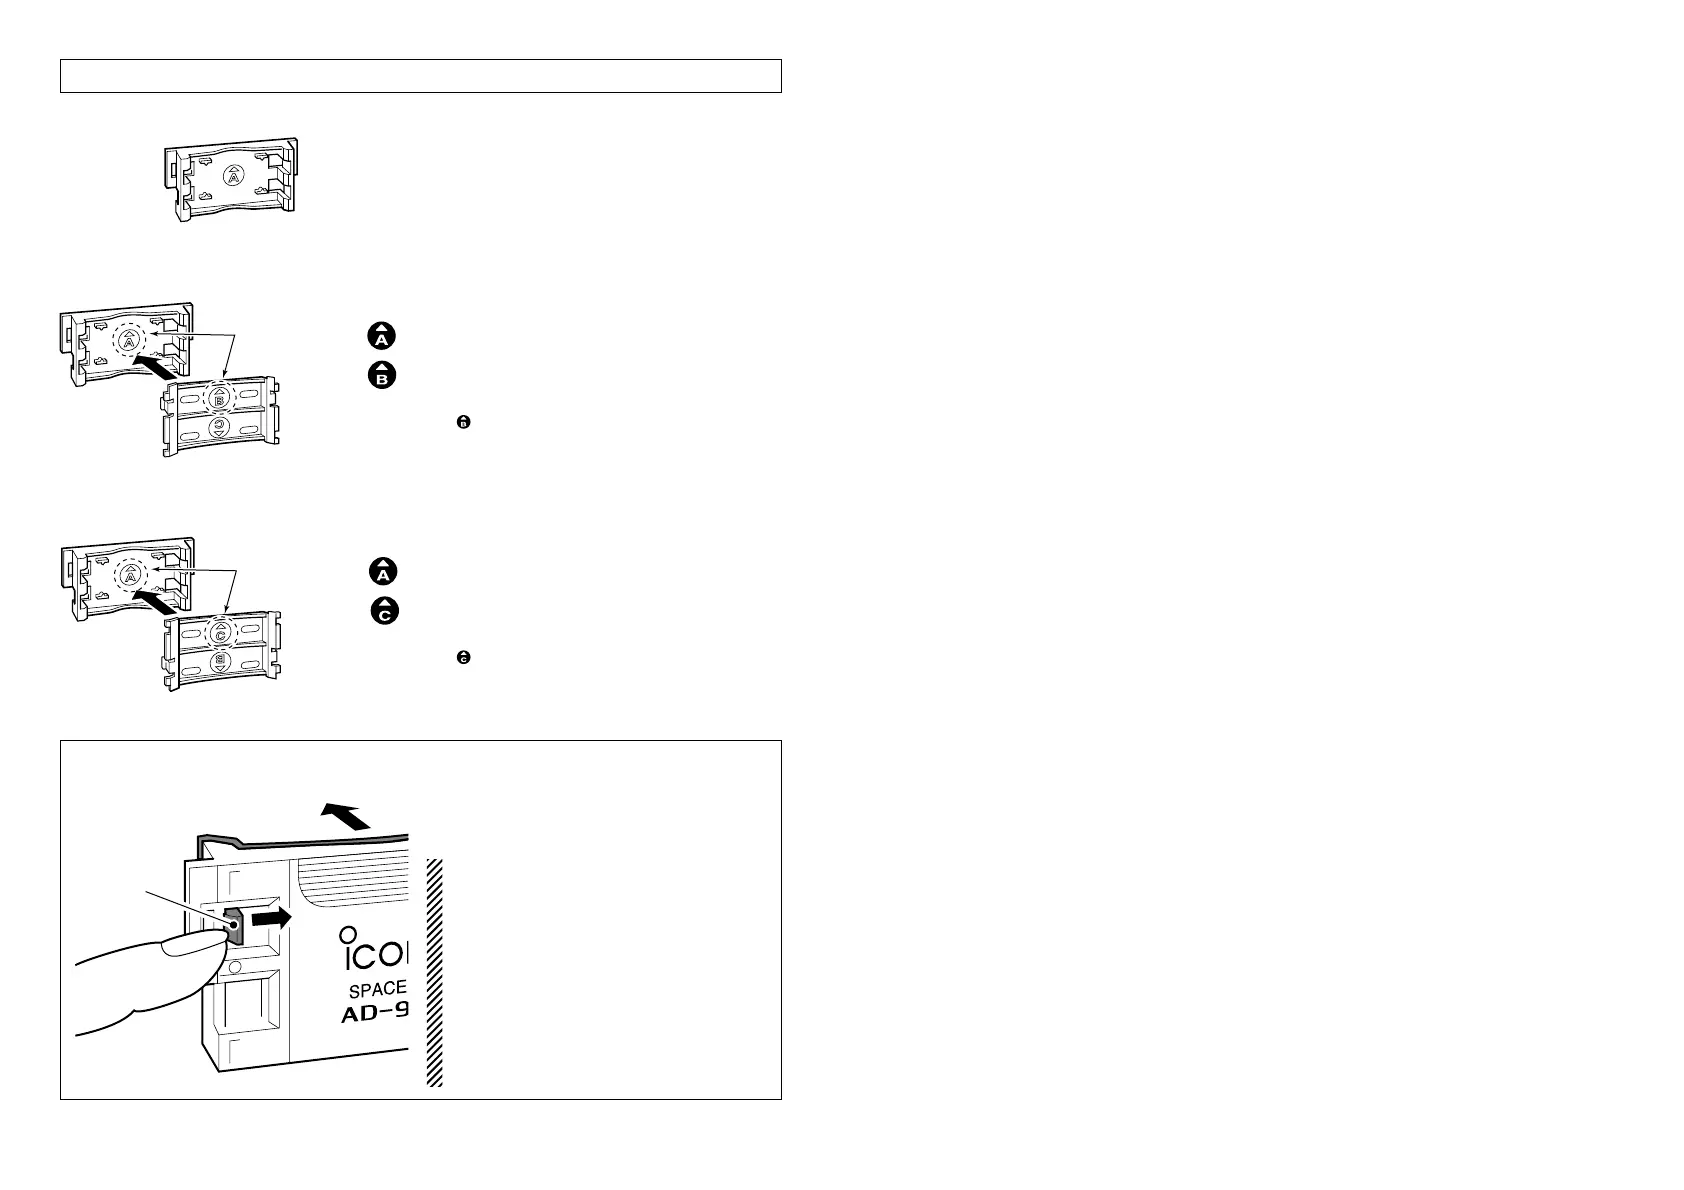
• For IC-F30G Series
The adapter (Spacer A) only is required.
• For IC-F3G Series
Attach the spacer (Spacer B/C) to the
adapter (Spacer A) with the orientation as
illustrated in the diagram at left.
• Attach the spacer (Spacer B/C) to the
adapter with the orientation of the stamp
“” pointing up.
• For IC-F11 Series
Attach the spacer (Spacer B/C) to the
adapter (Spacer A) with the orientation as
illustrated in the diagram at left.
• Attach the spacer (Spacer B/C) to the
adapter with the orientation of the stamp
“” pointing up.
Check orientation
and
Spacer A
Spacer B/C
Check orientation
and
Spacer A
Spacer B/C
Push the notch
carefully.
Remove the spacer (Spacer B/C)
from the adapter.
AD-99 SPACER COMBINATIONS
BC-144N_0.qxd 04.7.29 17:14 Page 3
 Loading...