54
1
7
4
10
15
18
2
8
13
5
11
16
3
9
14
6
12
17
AIS FUNCTION
8
■ Using the AIS list screen
There are 3 types of AIS lists, Target, Danger, and Friends.
The target’s information is automatically updated every 5 seconds, and then the AIS
target data is sorted.
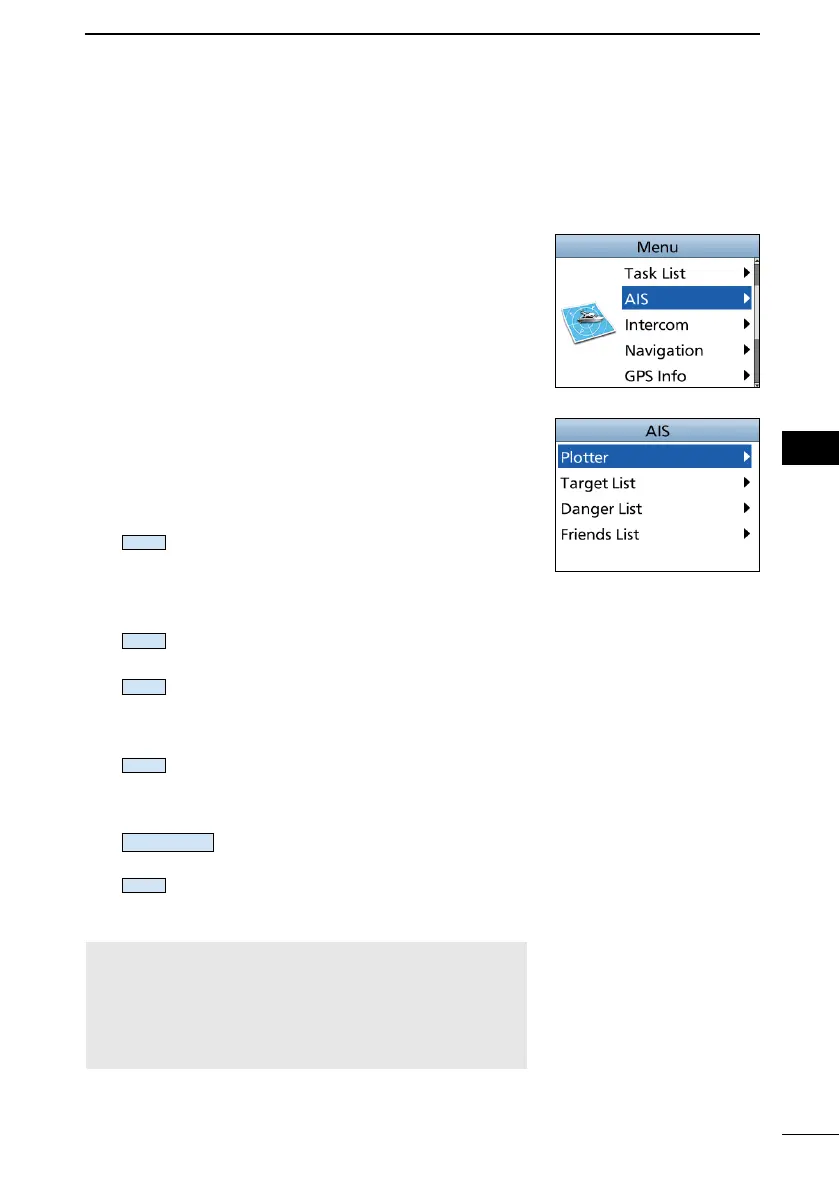
1. Push [MENU].
• The Menu screen is displayed.
2. Push [▲], [▼], or rotate [CH/ENT] to select “AIS,” and
then push [ENT] , [CH/ENT], or [►].
• The “AIS” screen is displayed.
3. Push [▲] or [▼] to select a list, and then push [ENT],
[CH/ENT], or [►].
• The list screen is displayed.
4. Push [▲], [▼], or rotate [CH/ENT] to select an AIS
target.
5. Push the Software Key below for your next operation.
:
Displays the “Compose Non-Distress”
screen to send an Individual call.
(p. 25)
L Displayed only when a target is
selected.
:
(Navigation)
Starts navigation to the selected
target. (p. 67)
:
Sets the selected target as a Friend.
(p. 56)
L Displayed only in the Target List or
Danger List.
:
Displays the details on the selected
target. (p. 57)
L Displayed only when the target is
selected.
:
Displays the selected target on the
plotter screen. (p. 51)
:
Sorts the Danger target data by CPA
or TCPA.
L Displayed only in the Danger List.
NOTE: An alarm sounds when an AIS target is closer
than the CPA and TCPA settings, and so on, depending
on the presetting. To stop the alarm buzzer, push any
key.
L If the popup screen is displayed, push any key again to
turn it OFF.
 Loading...