Detailed Instructions
After removing your iGrill from the packaging, flip out the hook, remove the battery cover
and install the batteries. A short beep from the iGrill will indicate that the batteries are
inserted correctly.
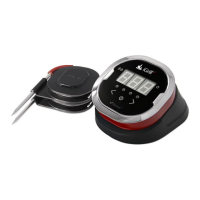
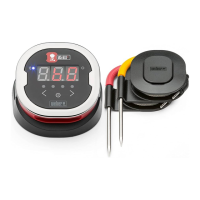
Plug temperature Probe 1 into the jack on the left side of your iGrill near the power
button. If you have ordered a second Probe, it can be plugged into the second
thermometer jack on the opposite side of your iGrill, as needed (marked as #2). You
will also notice a switch for selecting your iGrillʼs display in Celsius or Fahrenheit.
Clearing your iGrill
Every iGrill has been extensively tested in our factory prior to distribution. Since this
involves connecting (“pairing”) to other Bluetooth devices, it is imperative that you delete
any memorized connections stored in your iGrill. To do so, while your iGrill is off press
and hold all 3 buttons simultaneously. A long beep will indicate that your iGrill has
powered up and has been cleared of any previous pairings. These steps are only
necessary the first time you pair a device with your iGrill. REMEMBER: the iGrill can
only pair with one device at a time.
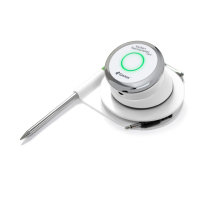
From now on, you can turn on the iGrill by pressing and holding the power button for 4
seconds. You will hear a beep and see the Bluetooth light flashing, which indicates that
your iGrill is not yet connected to your Apple device.
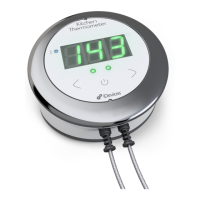
Once your iGrill is powered on, press the plus (+) sign and your iGrill will display “P1”
followed by the current temperature sensed by Probe 1. To set the alarm temperature
for Probe 1, press and hold down the plus (+) sign until AL1 appears on the display
followed by current AL1 alarm temperature. Use the plus (+) and minus (–) buttons to
set your desired alarm temperature.
If you are using a second Probe, press and hold the minus (–) button on your iGrill. AL2
will appear on the display, along with a yellow light below the alarm temperature time
indicating that the following numeric value is the standing temperature of Probe 2. Set
the Probe 2 alarm using the plus (+) and minus (–) buttons in the same way you set
Probe 1. Once your probe(s) hit(s) the desired temperature, a long beep will sound,
indicating that your food has reached the temperature(s) you have set.
 Loading...