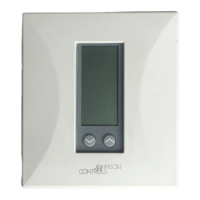
6 TEC1100 Series Thermostat Technical Bulletin
Mount tec1100
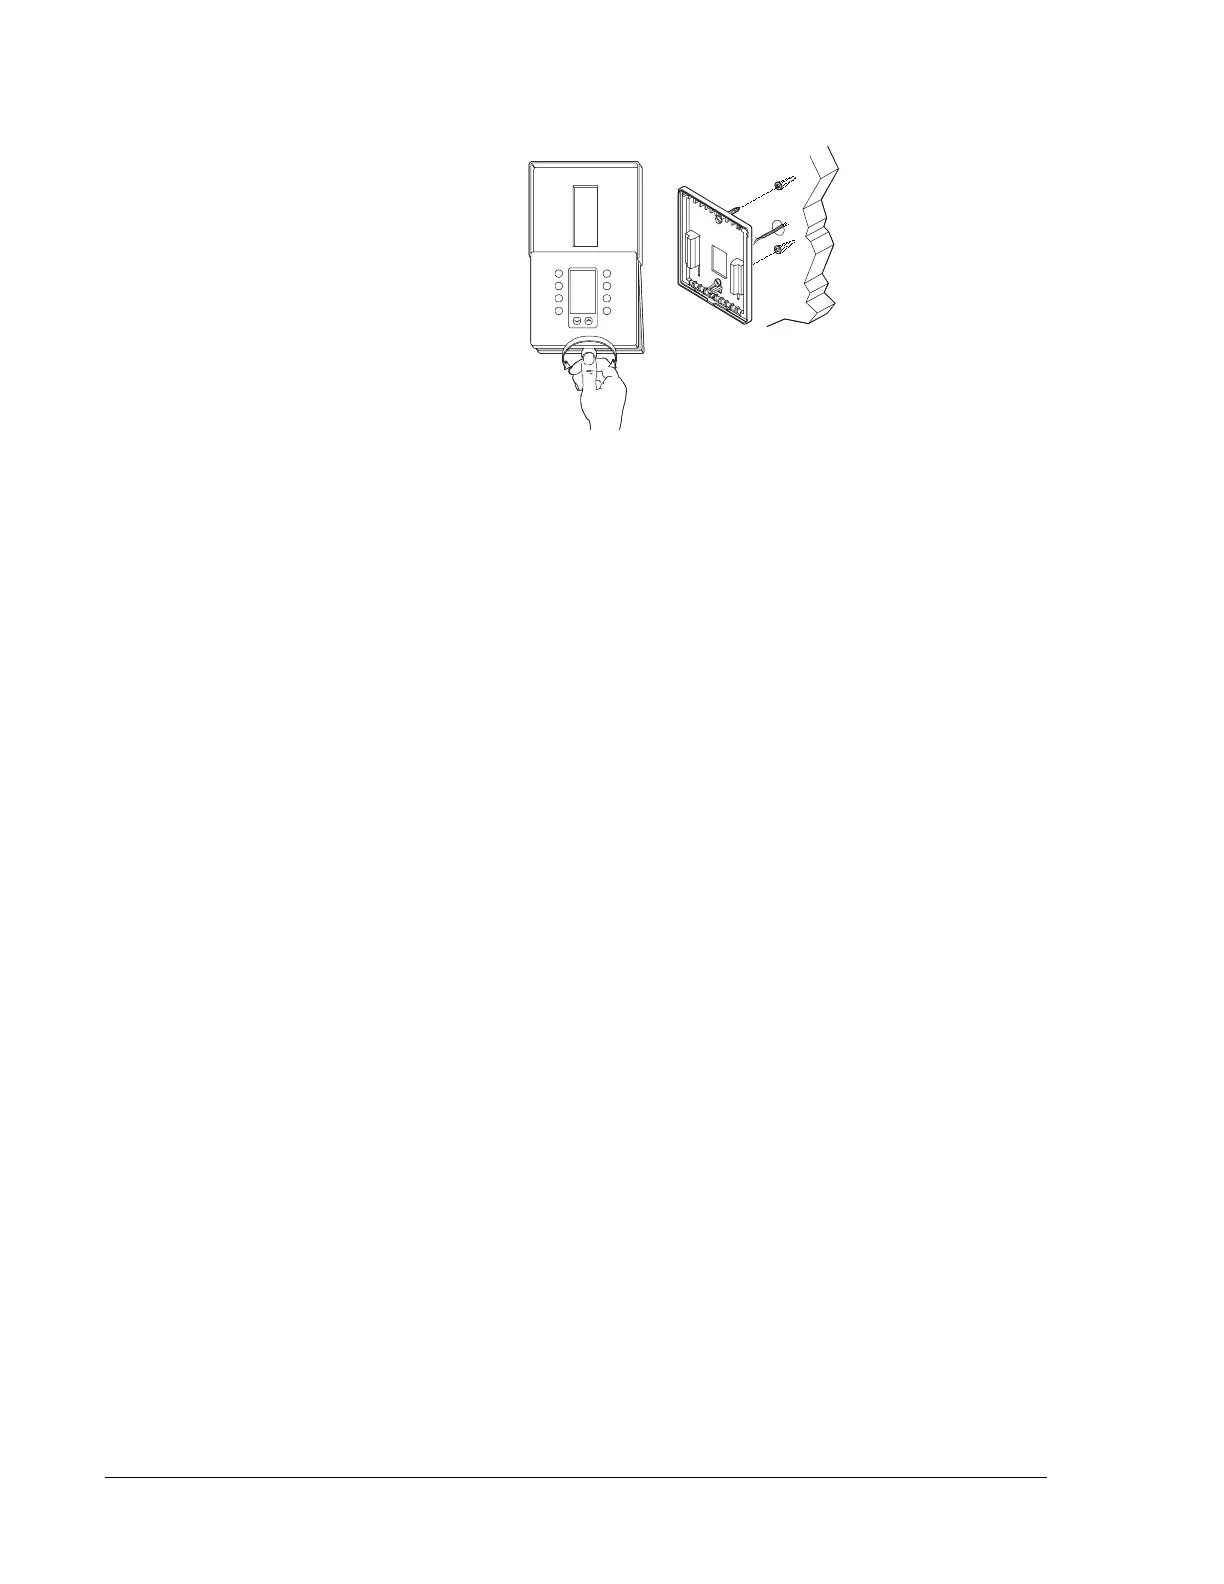
Figure 2: Separating and Mounting the TEC1100
3.
Grasp the base from the bottom two corners, and separate from the
thermostat.
4.
Swing the thermostat out from the bottom, and lift up and out from the
base.
Note: When replacing an existing thermostat, use wire tags to identify
terminal designations.
5.
Place the rectangular opening in the base over the equipment control
wires.
6.
Use the base as a template, and mark the location of two mounting holes.
7.
Drill two 5 mm (3/16 in.) holes at the marked locations.
8.
Tap nylon anchors (included) flush to wall surface.
9.
Place thermostat mounting holes over anchors, and screw the
thermostat into place using the included anchor screws (Figure 2).
10.
Plug the hole in the wall to eliminate air drafts on the sensor with the
adhesive foam from the ACC-INSL-x Foam Pad Mounting Kit. If you
are not using this kit, use putty or duct tape to plug the hole.
Follow these steps to wire the TECs:
1.
Connect the wires from the existing system to the thermostat
terminals. Refer to Figure 4, Figure 6, and Figure 8 for wiring
diagrams.
2.
Push any extra wire back into the wall. The wires must be flush to the
plastic base.
3.
Plug the hole in the wall to eliminate air drafts on the sensor.
Wiring the
TEC1100 Series
Thermostats
 Loading...