Quick Start Guide
QFX5120 Switch Quick Start
IN THIS GUIDE
System Overview | 1
Tools and Parts Required for Installation | 2
Part 1: Install a Power Supply | 4
Part 2: Install a Fan Module | 5
Part 3: Mount the Switch on Four Posts of a Rack | 7
Part 4: Connect Power to the Switch | 10
Part 5: Perform Initial Configuration | 13
Safety Warnings Summary | 15
Contacting Juniper Networks | 16
System Overview
The QFX5120 switches deliver low latency, rich Layer 2 and Layer 3 features, and advanced EVPN-VXLAN capabilities.
These switches can be used as data center top-of-rack and as aggregation switches for enterprise multicloud deployments.
These switches are also designed for extremely agile data centers that demand support for overlay and underlay network
architectures.
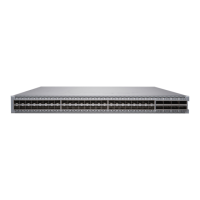
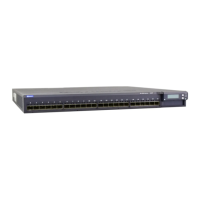
Two variants of the QFX5120 switches are available—32-port and 48-port switches, with AC or DC power supplies, and
with different airflow directions. Offering native 25-Gigabit Ethernet with 100-Gigabit Ethernet uplink ports on the
QFX5120-48Y, combined with 32 ports of 100-Gigabit Ethernet on the QFX5120-32C, the QFX5120 switches are ideally
suited for spine-and-leaf network deployments. The QFX5120 switches run standard Junos operating system (OS).
QFX5120-48Y switches also support virtual chassis technology. You can interconnect up to two QFX5120-48Y switches
in a QFX5120-48Y virtual chassis.