JVC D‐ILA Projector Firmware Update Procedure
This document describes the procedure to update the firmware for JVC D-ILA Projectors:
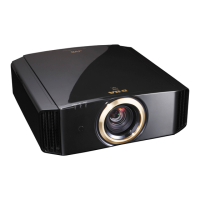
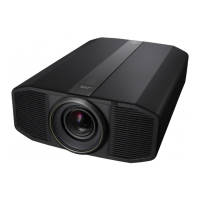
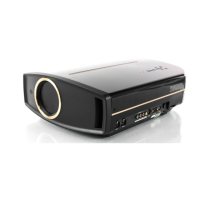
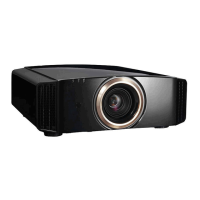
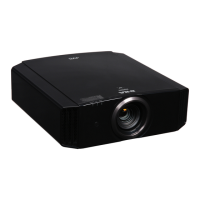
• DLA-X3
• DLA-RS40
Notes:
• It is important that the correct firmware update file be used for the appropriate projector. Use of
incorrect firmware file could render the projector inoperative.
• Customized settings on the projector would be erased during firmware update. Note down the
customized settings and re-enter after firmware update is completed.
• End-user agrees to use this firmware at his own risk. End-user bears the total responsibility for any
failure arising from installing the firmware.
File Download:
Download the appropriate firmware update file for your projector model to your PC desktop.
It is a self-extracting file and installs the ILA-FPJ Updater to the PC.
Tools Required:
• JVC Update Program Installer: ILA-FPJ Updater
• A Standard PC running Windows XP™ or Later (32-bit versions) with a USB Port
• USB to Mini-USB cable
• Philips screwdriver
USB Driver Installation:
JVC ILA-FPJ Updater program should have been installed on your PC at this point. Next step is to install the USB
driver so that PC can communicate with the projector using USB connection. Administrator level access to the
PC is required to proceed.
1. Press the STANDBY button twice to put the projector in STANDBY mode. Unplug the power cord from
the projector.
2. Remove the screw and cover located above the AC connector exposing the USB connector.
3. Plug the Mini USB end to the connector on the projector and the other end to the PC.