English
Notes
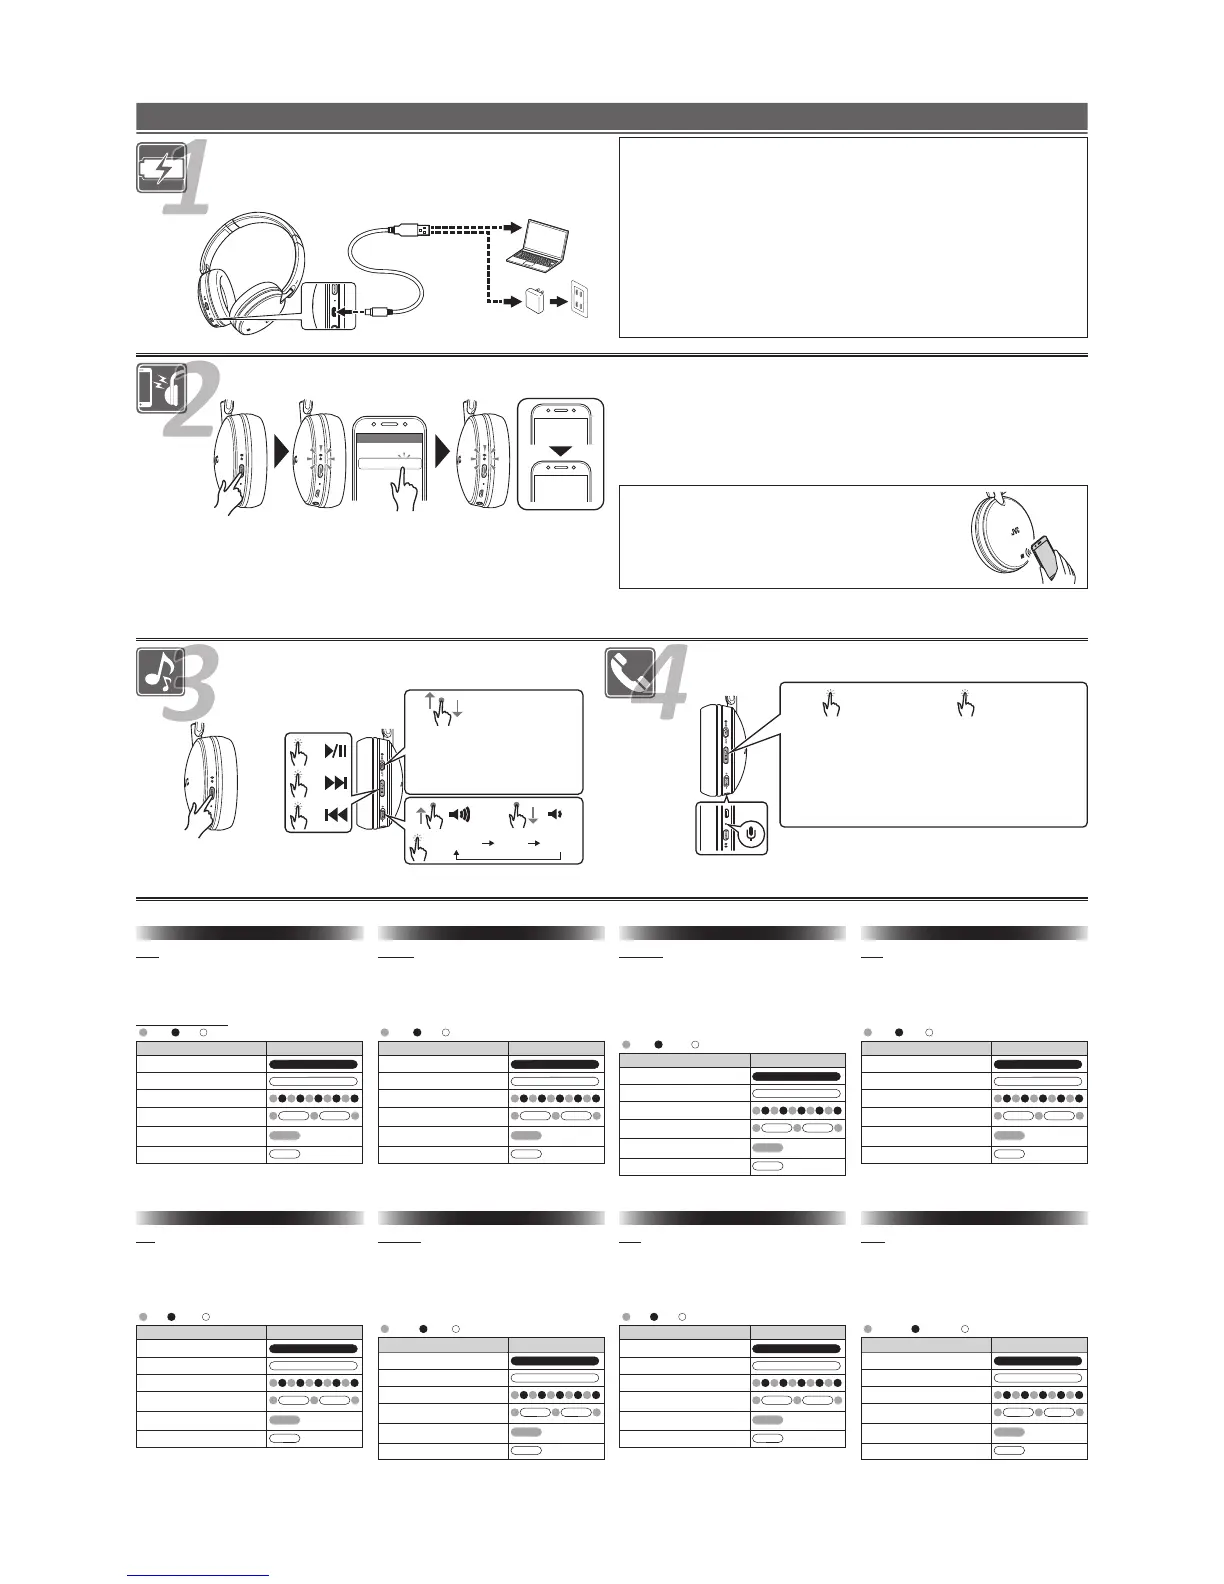
• If no BLUETOOTH device is connected for about 6 minutes, the
System automatically turns itself off.
• This unit cannot guarantee operation of all of the remote
control functions.
About the LED indi
cator
( : blue/ : red/ : turned off)
Operation Indication
Charging
Charging complete
Connecting BLUETOOTH device
Connecting complete
Power on
(1 sec.)
Power off
(1 sec.)
Deutsch
Hinweise
• Wenn das BLUETOOTH-Gerät ca. 6 Minuten lang angeschlossen
is
t, schaltet das System automatisch aus.
• This unit cannot guarantee operation of all of the remote
control functions.
( : Blau/ : Rot/ : )
Bedienung Anzeige
Lädt auf
(1 sec.)
(1 sec.)
Italiano
Note
• Le cuffie si spengono automaticamente al trascorrere di circa 6
minuti senza al
cun dispositivo BLUETOOTH connesso.
•
( : blu/ : rosso/ : turned off)
Condizione Indicazione
Ricarica in corso
(1 sec.)
(1 sec.)
Nederlands
Opmerking
• Indien er gedurende ongeveer 6 minuten geen BLUETOOTH-
appa
raat is aangesloten, wordt het systeem automatisch
ui
tgeschakeld.
•
( : blauw/ : rood/ : turned off)
Bediening Aanduiding
Aan het opladen
(1 sec.)
(1 sec.)
Svenska
Noter
• Om ingen BLUETOOTH-enhet ansluts inom cirka 6 minuter, så
slås hörlu
rarna av automatiskt.
•
( : blå/ : röd/ : turned off)
Driftläge Indikering
Laddning pågår
(1 sec.)
(1 sec.)
Polski
Uwagi
• Jeśli przez ok. 6 minut nie zostanie nawiązane połączenie z
żad
nym urządzeniem BLUETOOTH, słuchawki automatycznie
się
wyłączą.
•
( : niebieski/ : czerwony/ : turned off)
Funkcja Dioda
Ładowanie
(1 sec.)
(1 sec.)
Français
Remarques
• Si aucun périphérique BLUETOOTH n’est connecté pendant
environ 6 minutes, le système se met automatiquement hors
tension.
• This unit cannot guarantee operation of all of the remote
control functions.
( : bleu/ : rouge/ : )
Fonctionnement Indications
Charge
(1 sec.)
(1 sec.)
Español
Notas
• Si no hay ningún dispositivo BLUETOOTH conectado durante
unos 6 minu
tos, el sistema se apaga automáticamente.
•
( : azul/ : rojo/ : )
Operación Indicación
Cargando
(1 sec.)
(1 sec.)
ON/OFF
3sec.
How to use / How to use / How to use / How to use /
How to use / How to use / How to use / How to use
• Hold down the button for 7 seconds (3 seconds if you are using them for the �rst time) until the light starts blinking blue/red.
• Hold down the button for 7 seconds (3 seconds if you are using them for the �rst time) until the light starts blinking blue/red.
• Hold down the button for 7 seconds (3 seconds if you are using them for the �rst time) until the light starts blinking blue/red.
• Hold down the button for 7 seconds (3 seconds if you are using them for the �rst time) until the light starts blinking blue/red.
• Hold down the button for 7 seconds (3 seconds if you are using them for the �rst time) until the light starts blinking blue/red.
• Hold down the button for 7 seconds (3 seconds if you are using them for the �rst time) until the light starts blinking blue/red.
• Hold down the button for 7 seconds (3 seconds if you are using them for the �rst time) until the light starts blinking blue/red.
• Hold down the button for 7 seconds (3 seconds if you are using them for the �rst time) until the light starts blinking blue/red.
• Hold down the button for 7 seconds (3 seconds if you are using them for the �rst time) until the light starts blinking blue/red.
• When charging the headphones, be sure to use a USB to AC adapter with DC 5 V power output to avoid malfunction or abnormal
he
at generation.
• When charging the headphones, be sure to use a USB to AC adapter with DC 5 V power output to avoid malfunction or abnormal
he
at generation.
• When charging the headphones, be sure to use a USB to AC adapter with DC 5 V power output to avoid malfunction or abnormal
he
at generation.
• When charging the headphones, be sure to use a USB to AC adapter with DC 5 V power output to avoid malfunction or abnormal
he
at generation.
• When charging the headphones, be sure to use a USB to AC adapter with DC 5 V power output to avoid malfunction or abnormal
he
at generation.
• When charging the headphones, be sure to use a USB to AC adapter with DC 5 V power output to avoid malfunction or abnormal
he
at generation.
• When charging the headphones, be sure to use a USB to AC adapter with DC 5 V power output to avoid malfunction or abnormal
he
at generation.
• When charging the headphones, be sure to use a USB to AC adapter with DC 5 V power output to avoid malfunction or abnormal
he
at generation.
• Using NFC, touch the N mark on the System with the smartphone.
• Using NFC, touch the N mark on the System with the smartphone.
• Using NFC, touch the N mark on the System with the smartphone.
• Using NFC, touch the N mark on the System with the smartphone.
• Using NFC, touch the N mark on the System with the smartphone.
• Using NFC, touch the N mark on the System with the smartphone.
• Using NFC, touch the N mark on the System with the smartphone.
• Using NFC, touch the N mark on the System with the smartphone.
Bluetooth
Device
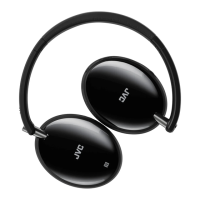
JVC HA-S90BN
PIN?
PIN?
0000
7sec.
×1
1sec.
Answer/End
Antwort/Ende
Réponse/
Fin
Contestar/Finalizar
Rispondere/Terminare
Beantwoorden/Eindigen
Svara/Avsluta
Odbierz/Zakończ
Reje
ct / Switch between phone and headphones
Abgewiesen / Switch between phone and headphones
Rejet / Switch between phone and headphones
Rechazar / Switch between phone and headphones
Ri�utare / Switch between phone and headphones
Negeren / Switch between phone and headphones
Avvisa / Switch between phone and headphones
Odrzuć / Switch between phone and headphones
×2
+
–
×3
×1
ON OFF
NORMAL BASS CLEAR
(HA-S90BN)
Noise canceling
Noise canceling
Noise canceling
Noise canceling
Noise canceling
Noise canceling
Noise canceling
Noise canceling
For HA-S90BN
Für HA-S90BN
Pour le HA-S90BN
Para HA-S90BN
Modello HA-S90BN
Voor de HA-S90BN
Gäller HA-S90BN
Dotyczy HA-S90BN
1124_HA-S90BN_HA-S70BT_E1.indd 2 2016/11/22 13:38
This unit cannot guarantee operation of all of the remote
control functions.
This unit cannot guarantee operation of all of the remote
control functions.
This unit cannot guarantee operation of all of the remote
control functions.
This unit cannot guarantee operation of all of the remote
control functions.
This unit cannot guarantee operation of all of the remote
control functions.
Charging complete
Connecting BLUETOOTH device
Connecting complete
Power on
Charging complete
Connecting BLUETOOTH device
Connecting complete
Power on
Power off
Charging complete
Connecting BLUETOOTH device
Connecting complete
Power on
Power off
Charging complete
Connecting BLUETOOTH device
Connecting complete
Power on
Power off
Charging complete
Connecting BLUETOOTH device
Connecting complete
Power on
Power off
Charging complete
Connecting BLUETOOTH device
Connecting complete
Power on
Power off
Charging complete
Connecting BLUETOOTH device
Connecting complete
Power on
Power off
turned off
turned off
turned off
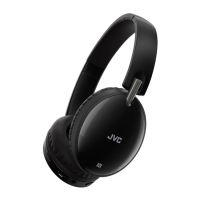
(or HA-S70BT)
(or HA-S70BT)
(or HA-S70BT)
(or HA-S70BT)
(or HA-S70BT)
(or HA-S70BT)
(or HA-S70BT)
(or HA-S70BT)
 Loading...