Do the required electrical connections.
Réalisez les connexions électriques.
*
1
Lorsque vous mettez l’appareil à la verticale, faire attention de ne pas endommager le fusible situé sur l’arrière.
*
2
Non fourni avec cet autoradio.
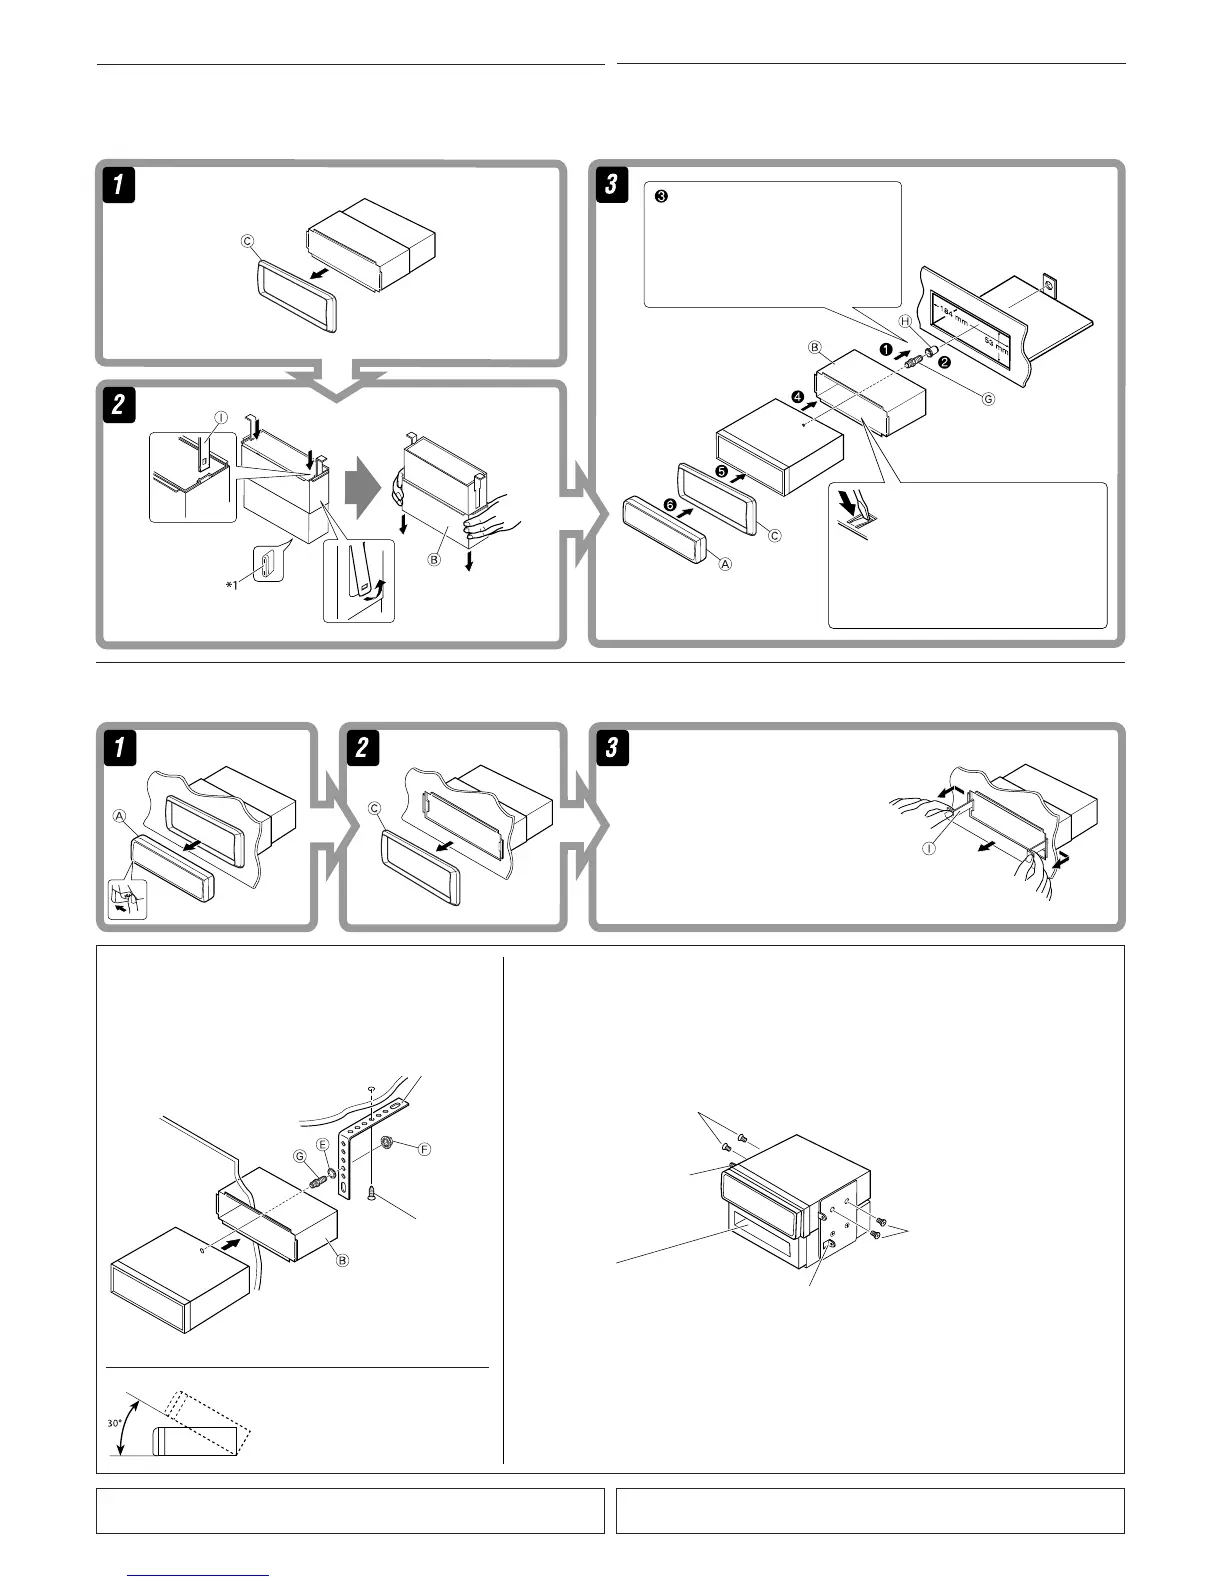
Bend the appropriate tabs to hold the
sleeve firmly in place.
Tordez les languettes appropriées
pour maintenir le manchon en place.
INSTALLATION (IN-DASH MOUNTING)
The following illustration shows a typical installation. If you have any questions or require information
regarding installation kits, consult your JVC IN-CAR ENTERTAINMENT dealer or a company supplying
kits.
• If you are not sure how to install this unit correctly, have it installed by a qualified technician.
Removing the unit
Before removing the unit, release the rear section.
INSTALLATION (MONTAGE DANS LE TABLEAU DE BORD)
L’illustration suivante est un exemple d’installation typique. Si vous avez des questions ou avez besoin
d’information sur des kits d’installation, consulter votre revendeur d’autoradios JVC ou une compagnie
d’approvisionnement.
• Si l’on n’est pas sûr de pouvoir installer correctement cet appareil, le faire installer par un technicien
qualifié.
Retrait de l’appareil
Avant de retirer l’appareil, libérer la section arrière.
Insert the two handles, then pull them as
illustrated so that the unit can be removed.
Insérez les deux poignées, puis tirez de la façon
illustrée de façon à retirer l’appareil.
When installing the unit without using the sleeve / Lors de l’installation de l’appareil
scans utiliser de manchon
In a Toyota car for example, first remove the car radio and install the unit in its place.
Dans une voiture Toyota, par exemple, retirez d’abord l’autoradio et installez l’appareil à sa place.
When using the optional stay / Lors de l’utilisation du
hauban en option
Note : When installing the unit on the mounting bracket, make sure to use the 8 mm-long screws. If longer screws
are used, they could damage the unit.
Remarque : Lors de l’installation de l’appareil sur le support de montage, s’assurer d’utiliser des vis d’une longueur de
8 mm. Si des vis plus longues sont utilisées, elles peuvent endommager l’appareil.
Screw (option)
Vis (en option)
Stay (option)
Hauban (en option)
Fire wall
Cloison
Dashboard
Tableau de bord
Install the unit at an angle of less than 30˚.
Installez l’appareil avec un angle de moins
de 30˚.
Bracket*
2
Support*
2
Flat type screws (M5 × 8 mm)*
2
Vis à tête plate (M5 × 8 mm)*
2
Pocket
Poche
Flat type screws (M5 × 8 mm)
*
2
Vis à tête plate (M5 × 8 mm)*
2
Bracket*
2
Support*
2
*
1
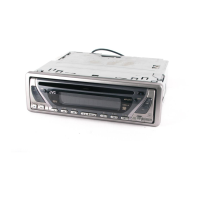
When you stand the unit, be careful not to damage the fuse on the rear.
*
2
Not supplied for this unit.
INSTALARE (MONTARE ÎN BORD)
Următoarea imagine ilustrează un mod tipic de instalare. Dacă aveţi întrebări sau aveţi nevoie de
informaţii referitoare la kit-urile de instalare, adresaţi-vă unui dealer JVC IN-CAR ENTERTAINMENT
sau rmei care furnizează kit-urile.
• Dacă nu sunteţi sigur că puteţi instala acest aparat în mod corect, apelaţi la un tehnician autorizat.
Efectuaţi conexiunile electrice necesare.
Îndoiţi clemele adecvate pentru a xa
cutia corespunzător.
Demontarea aparatului
Înainte de a demonta aparatul, eliberaţi placa posterioară.
Pentru a scoate aparatul, introduceţi cele două
bride, apoi trageţi-le conform ilustraţiei.
La utilizarea bridei de xare opţionale
Tablou de bord
Perete ignifug
Brida de xare
(opţională)
Şurub (opţional)
Instalaţi aparatul astfel încât să formeze un
unghi mai mic de 30˚faţă de orizontală.
*
1
Când ţineţi aparatul vertical, asiguraţi-vă că nu deterioraţi siguranţa din partea posterioară.
*
2
Nu sunt incluse pentru acest aparat.
La instalarea aparatului fără a se utiliza cutia
În cazul unui autovehicul Toyota, de exemplu, mai întâi scoateţi aparatul radio al maşinii şi instalaţi echipamentul în
locul acestuia.
Şuruburi cu cap plat (M5 x 8 mm)
*2
Suport
*2
Fantă
Suport
*2
Şuruburi cu cap plat (M5 x 8 mm)
*2
Observaţie : Când instalaţi aparatul pe suportul de montare, utilizaţi şuruburi cu o lungime de 8 mm. Dacă utilizaţi
şuruburi mai lungi, aparatul poate suferi deteriorări.
 Loading...