1-24 (No.MB108)
SECTION 4
ADJUSTMENT
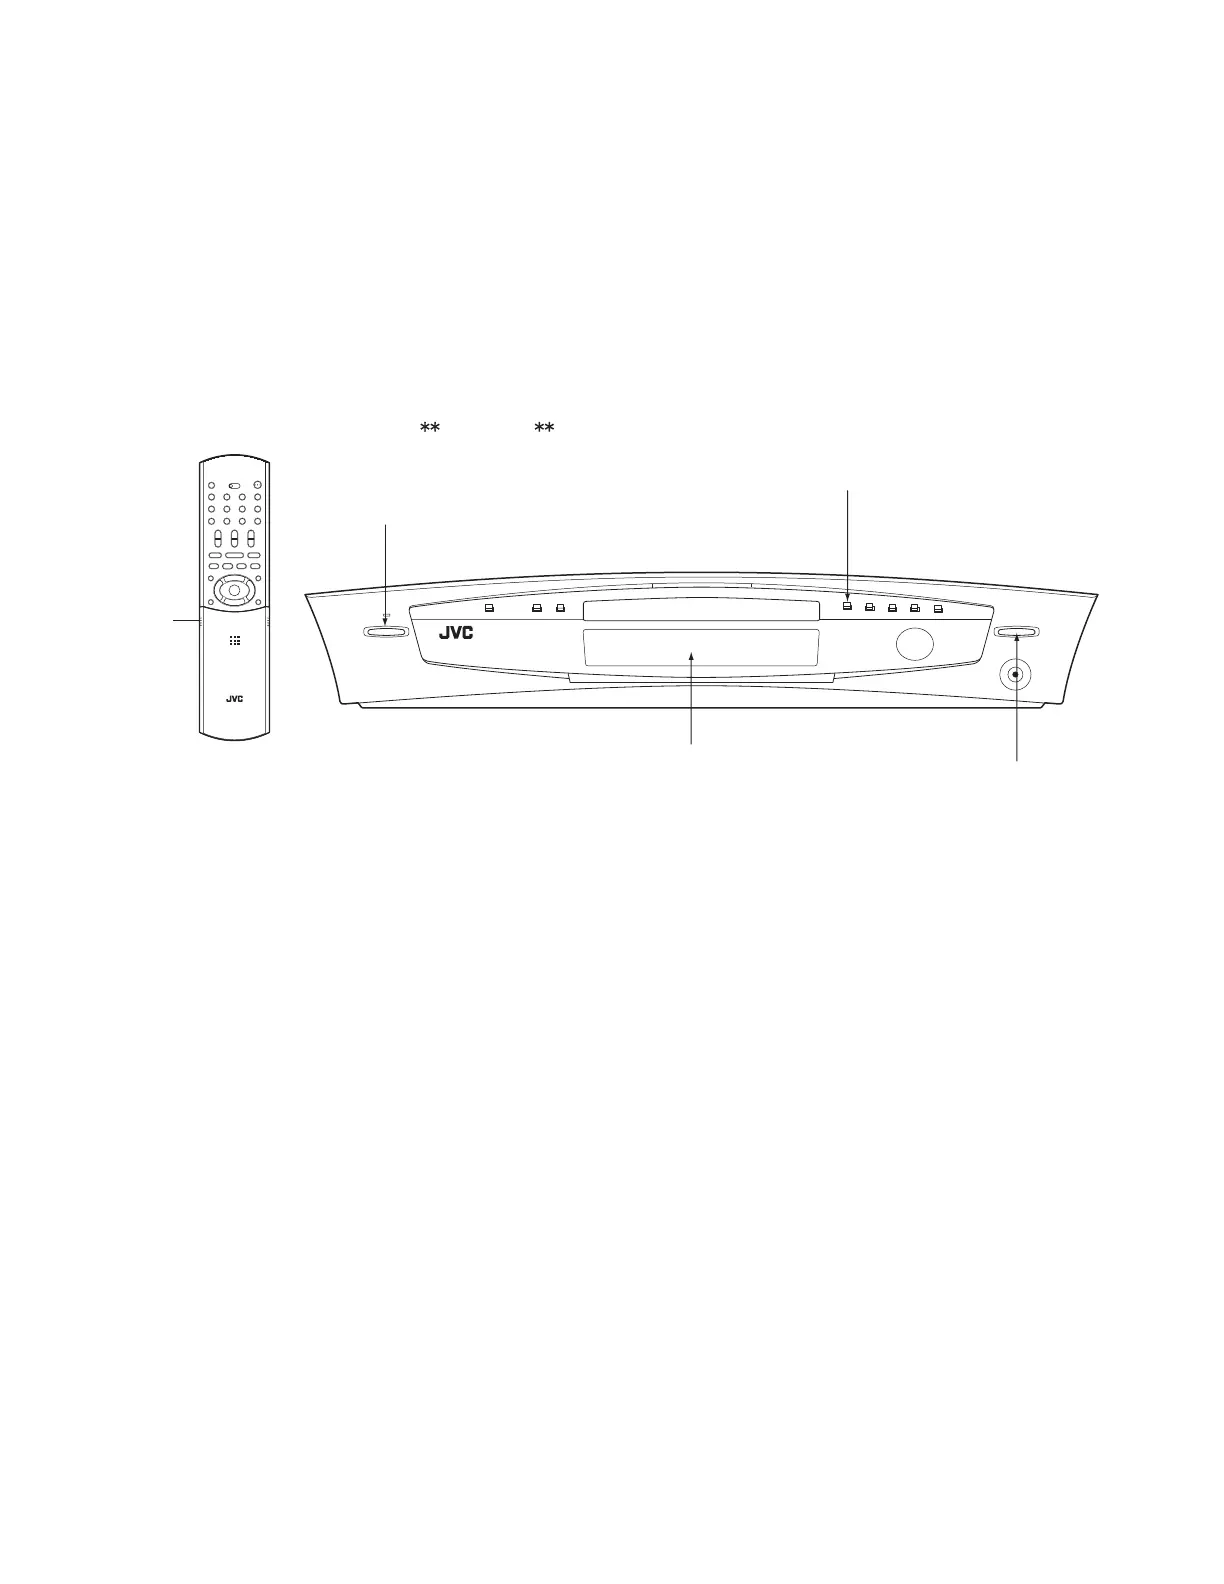
4.1 TEST mode (See Fig.1)
(1) This model is provided with a test mode for use in production QC, service and repair.
(2) Before executing the test mode, if a tray is not completely close up, make power to standby from on to close up the tray.
(3) After confirm that a tray is completely close up, pull off the power plug.
(4) Insert the power plug to the outlet while pressing the "STOP" and "OPEN/CLOSE" buttons on the main unit at the same time.
(5) The opening screen showing the version number is displayed.
(6) The test mode includes the following four different states, which are switched over every time the "CHOICE" button on the remote
control unit is pressed.
(7) The test mode is exited when the power is switched on or off.
Fig.1
NOTE:
(1) Press the "CHOICE" button once: Firmware version display mode / The FL display shows the version numbers of the micro-
computers in use.
Displayed information: [System firm] [Front-end (FE) firm] [Back-end (BE) firm]
(2) Press the "CHOICE" button twice: Indicator check mode / All FL and LED segments light up.
(3) Press the "CHOICE" button three times: Mechanism check mode / The FL display shows "CHECK".
(4) Press the "CHOICE" button four times: Front-end check mode / The FL display shows "EXPERT".
The FL display shows "TEST ". : Area code
CHOICE button
STANDBY/ON button
STOP button
OPEN/CLOSE button
FL display
 Loading...