DE
FRNL
IT
EN
29
ENGLISH
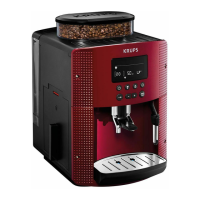
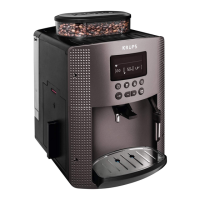
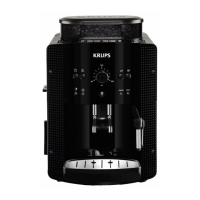
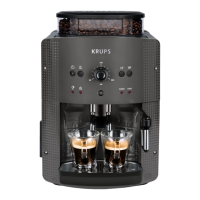
KRUPS SERIE EA9000
28
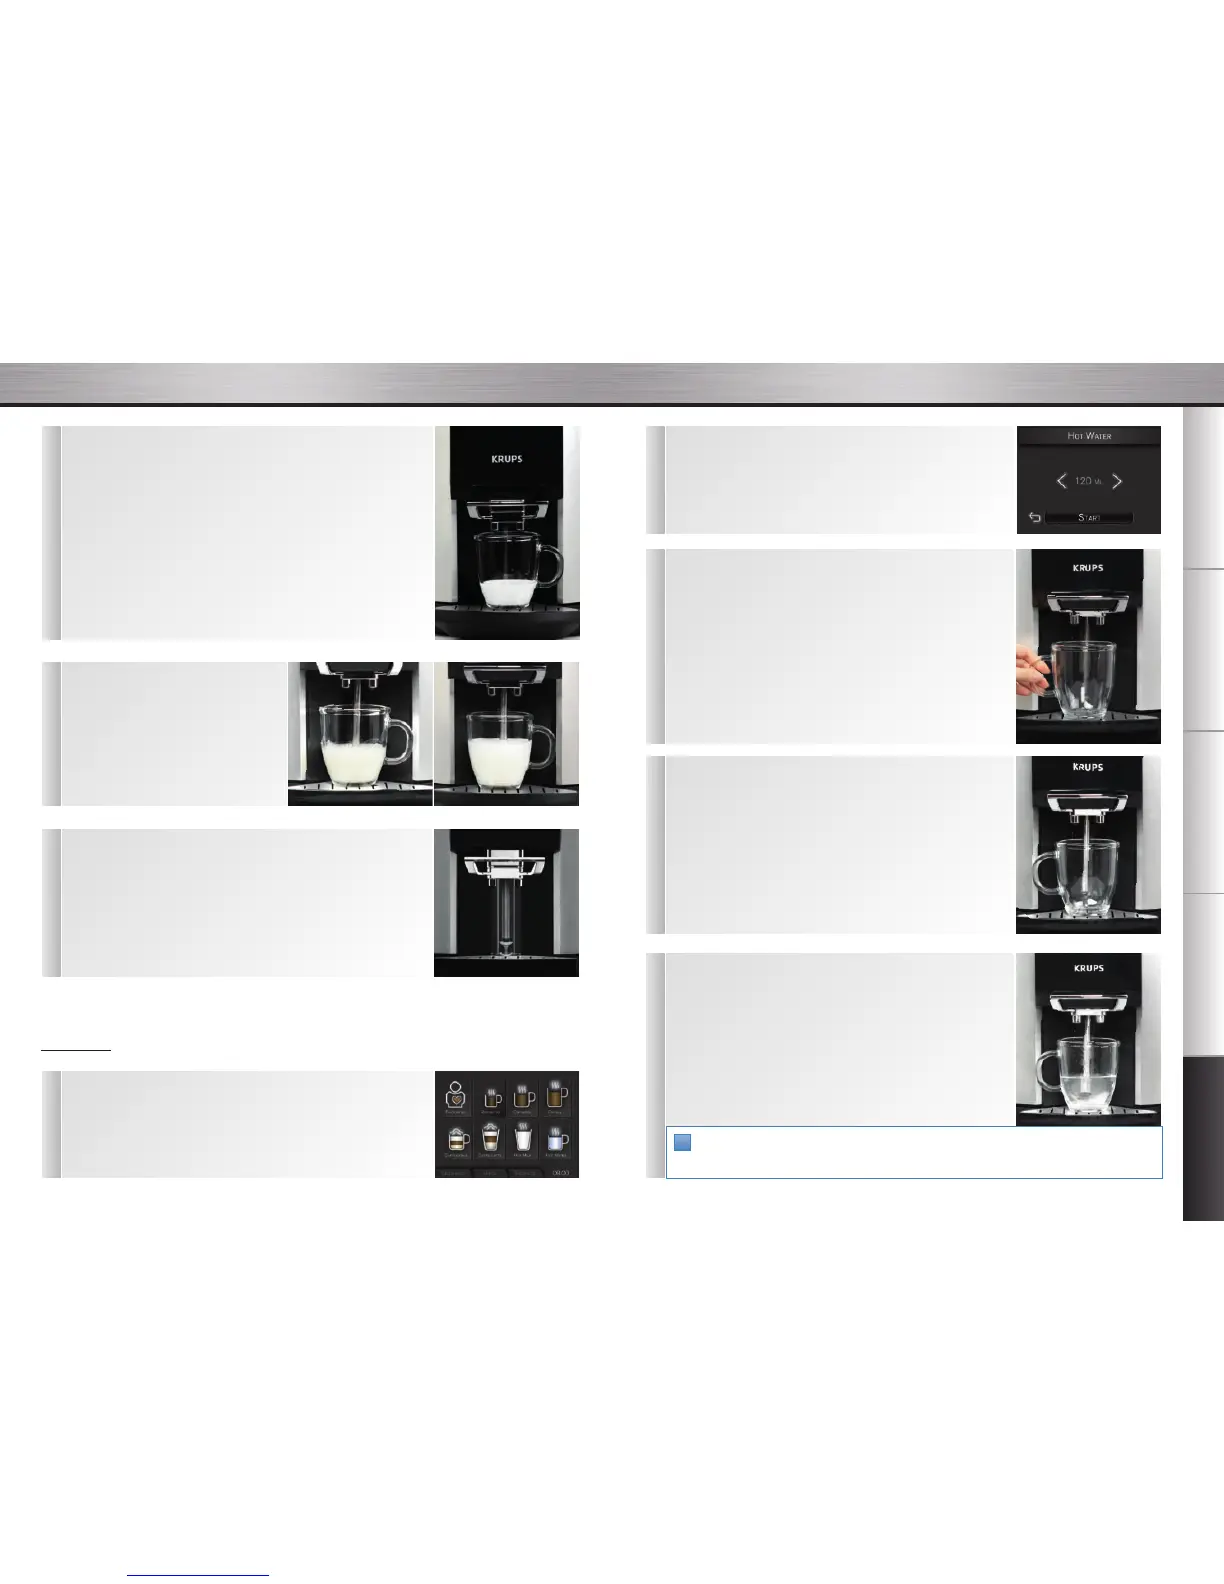
n Hot water
1
n Press the “Hot water” button on the touch screen.
n If the machine detects no water when you request this recipe, it will ask
you to fill the tank.
5
n Dispensing hot water through the steam nozzle.
n If necessary, the machine goes into preheating mode, then begins to
dispense hot water.
n You can modify the volume of your preparation using the arrows on
the left and right of the indicated value.
n Press “Stop” to stop the recipe.
Important: The production of hot water does not stop immediately after you press the “Stop” button
(it takes 3 to 5 seconds to stop). Press the button sufficiently early to avoid overflows.
!
4
n Press OK. The steam nozzle then comes out of its cleaning
container to stop just above your cup.
n You will need to modify the steam nozzle position using the + and -
symbols according to your convenience. If the steam nozzle is too high
from the bottom of the cup, there is a risk of splashing. Caution: The
nozzle must not touch the bottom of the cup either.
n Press the OK button on the touch screen.
2
n Choosing the volume.
n The screen displays the last volume requested. You can modify this
volume using the arrows on the left and right of the indicated value.
3
n Place your cup under the coffee nozzles.
n To use a large cup (or mug), you must remove the small drip tray.
Make sure that the cup fits under the coffee nozzles without
interference.
n The cup must be placed close to the cleaning container.
n Caution: use a cup that matches the volume of the recipe. The
maximum height of the cup is defined by the coffee nozzles; do not
tilt the cup to place it under the coffee nozzles.
n Caution: Do not press the cleaning container (11) with the cup;
otherwise, it might break off.
3
n Fill the cup with the volume of milk indicated on the screen and
place it under the coffee spouts.
n The cup must be placed close to the cleaning container, under the steam
nozzle, at the back of the niche.
n However, do not press the cleaning container (11) with the cup; otherwise,
it might break off.
n You can lower or raise the coffee nozzle to suit the size of your cup. The
steam nozzle will descend just behind the coffee nozzles. Caution: the
maximum height of the cup is defined by the coffee nozzles; do not tilt the
cup to place it under the coffee nozzles.
n To use a large cup (or mug), you might have to remove the small drip tray (6).
n Press the “OK” button.
4
n Milk preheating phase.
n Milk frothing phase:
the milk is then frothed
according to the chosen recipe.
5
n The nozzle moves up and draws back to return to its cleaning
container.
n Remove the cup when the screen shows: Your milk is ready.
n Rinsing the nozzle.
n The nozzle is rinsed automatically. You must wait for this rinsing to be
complete before starting the next preparation.
 Loading...