Using the Operation Panel 4-23
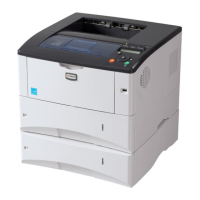
2 Press U or V to select Print.
3 Press [OK]. The Copies menu screen appears.
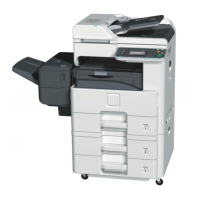
If you want to change the number of remaining copies to be printed,
use the arrow keys to set the number of copies to be printed.
Press U or V to increase or decrease, respectively, the value at the
blinking cursor.
Use Y and Z to move the cursor right and left.
If Job Accounting is enabled, enter the account ID in the login screen
that appears. The Copies menu screen appears after login.
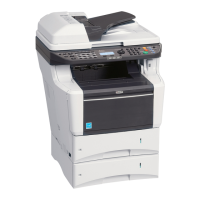
4 Press [OK]. The Paper Selection menu screen appears.
5 Press U or V to select the tray containing the paper you want to use.
6 Press [OK]. The Del. after Print menu screen appears.
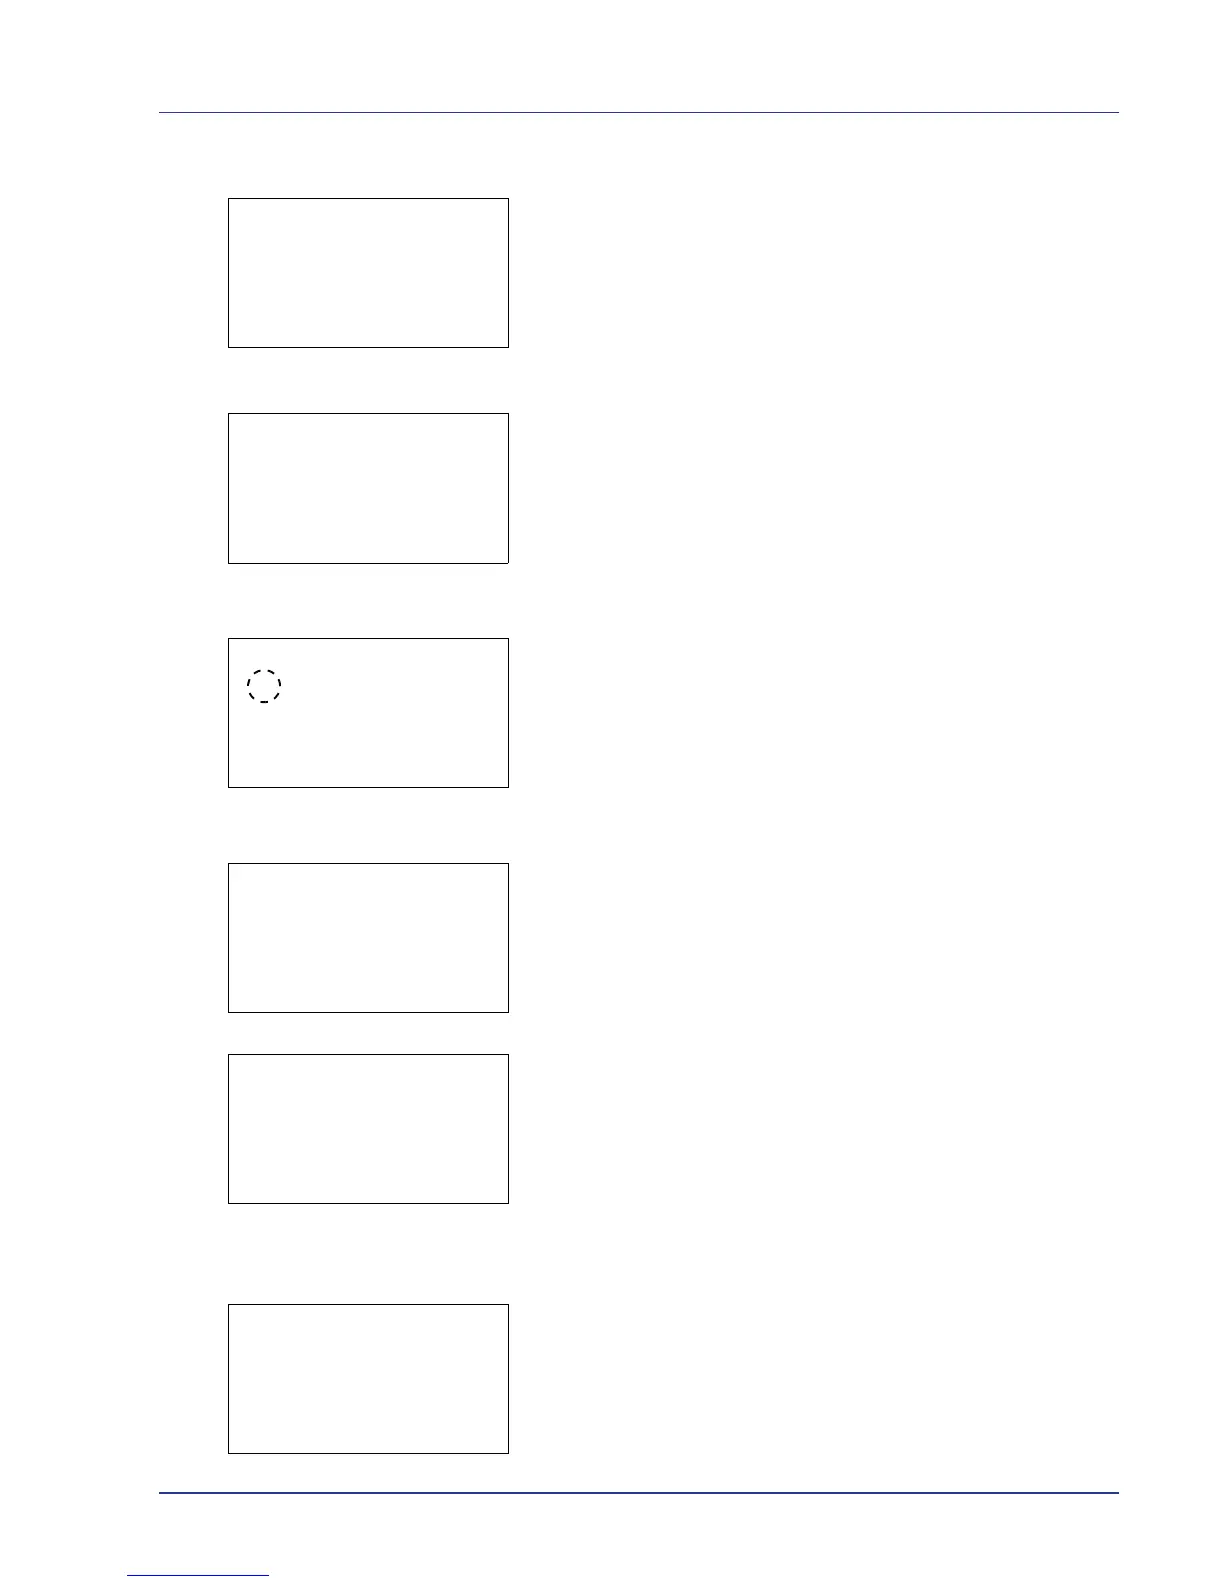
7 Press U or V to select Off or On.
8
Press [OK]. A confirmation screen appears.
9
Press [Yes] ([Left Select]). The message Accepted. appears and
printing begins. When On is selected, the selected file will be deleted
from the Custom Box after it is printed.
Press [No] ([Right Select]) to return to the previous screen.
Delete a File
Delete the file(s) selected in the Custom Box.
1 In the file list screen, select the item and press [OK]. The Print/
Delete menu screen appears.
 Loading...