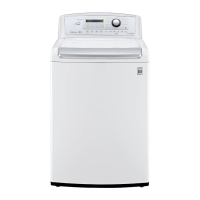
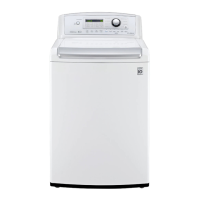
4-2. DISASSEMBLY INSTRUCION
19
▶ Be sure to unplug the power to repair and
replace electric parts.
CAUTION FOR ELECTROSTATICS
Be sure to ground yourself before diagnosing
or replacing parts. Touch a grounded surface
repeatedly during the repair process to
eliminate the chance of a static buildup or
discharge.
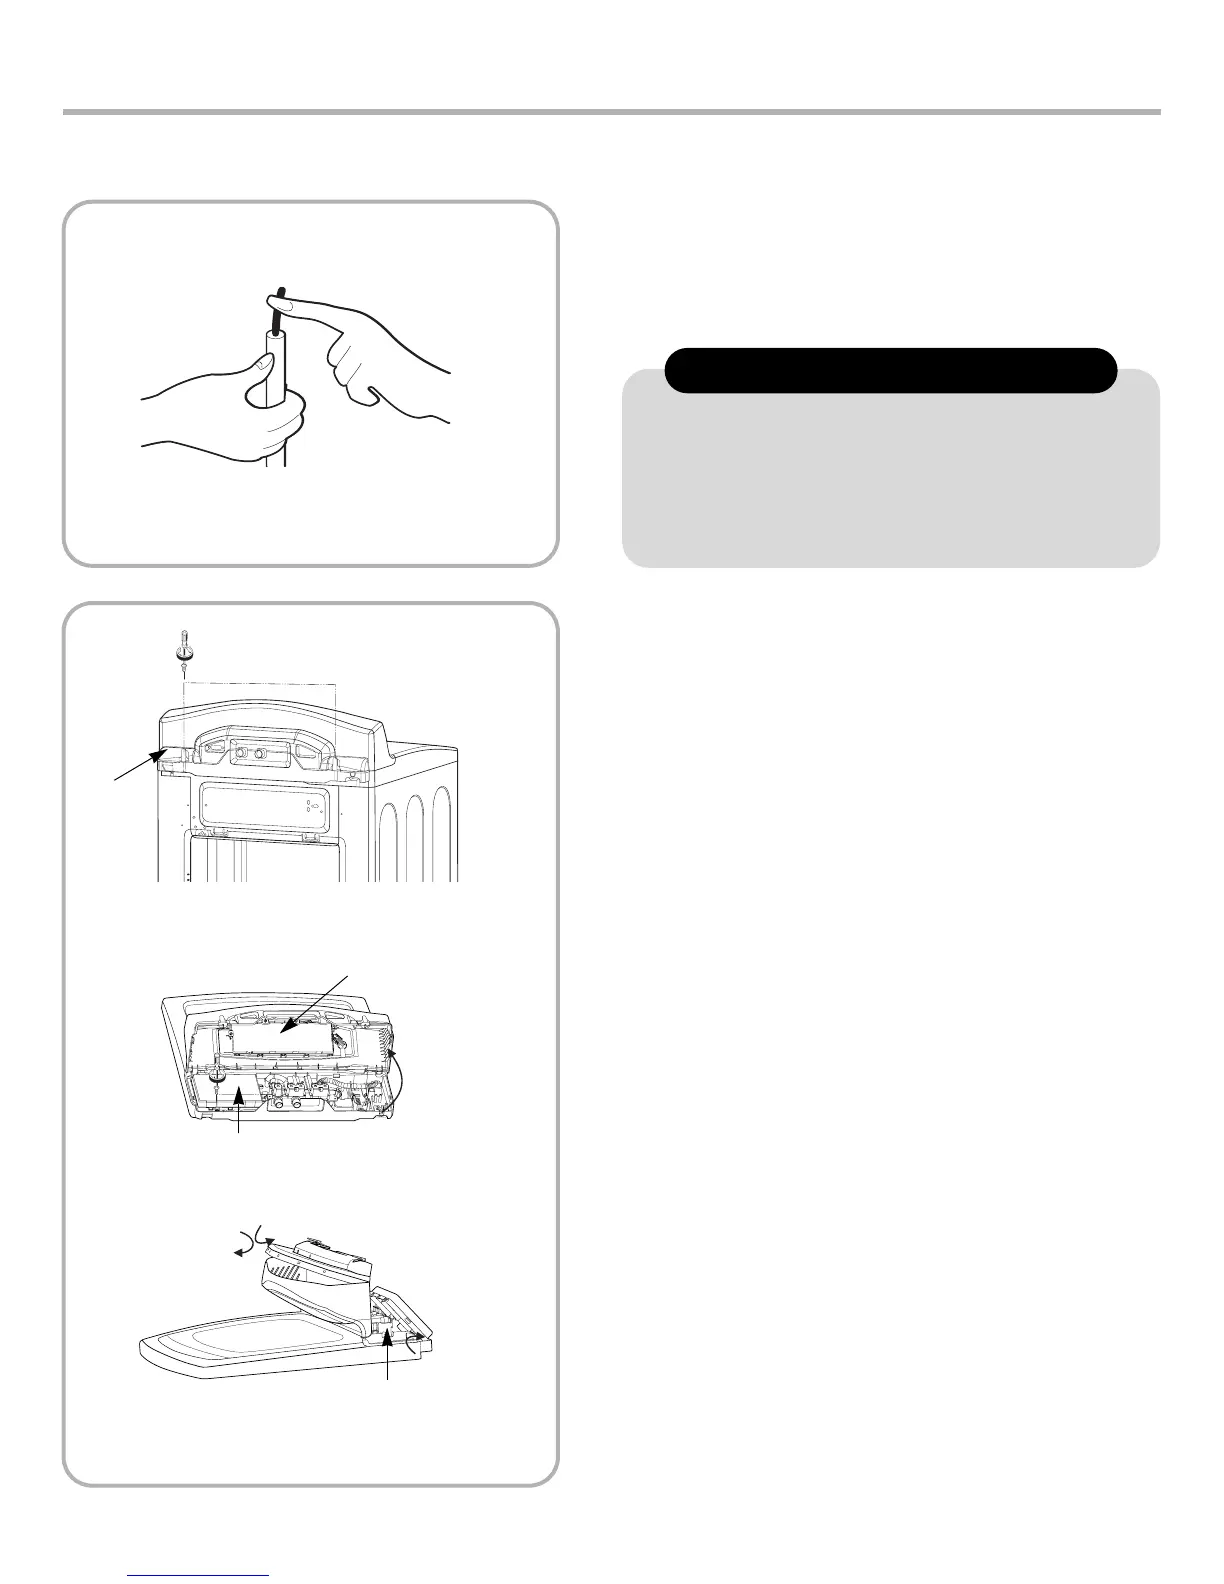
1) Disassembly of Front Panel & PCB
(Main+Display) Assembly
① Remove two panel fixing screws on the back
side.
② Pull the control panel forward.
③ Remove two screws on Main PCB.
④ Disassemble the protect cover.
⑤ Disconnect the leads from the controller.
⑥ Disassemble the rear frame.
⑦ Unscrew 6 screws on the PCB Display.
Rear Panel
Main PCB
PROTECT COVER
PCB Display
 Loading...