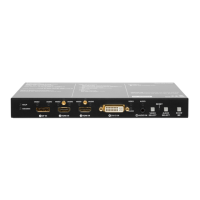
Laptop
Projector
5V DC
Power
adaptor
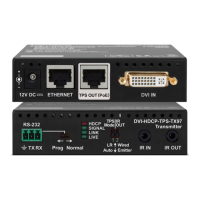
HDMI-3D-OPT-TX210A
PIN: 2.1mm
RS-232
TX RX
LIVE
LASER ACTIVE
FIBER LINK
RS-232
12V 1A DC
HDMI OUT
SC MM
LASER APERTURE
OUTPUT
6 AUDIO2 IN
A
A
A
A
HID
A
O
<=
mW
CLASSIFIED B
A
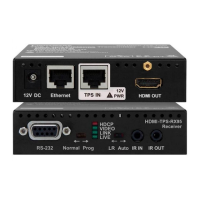
HDMI-3D-OPT-RX150RA
Power amplifier
5V DC
Power
adaptor
HDMI
HDMI
RS-232
Analog audio
USB
Single fiber multimode
optical cable up to 2500m
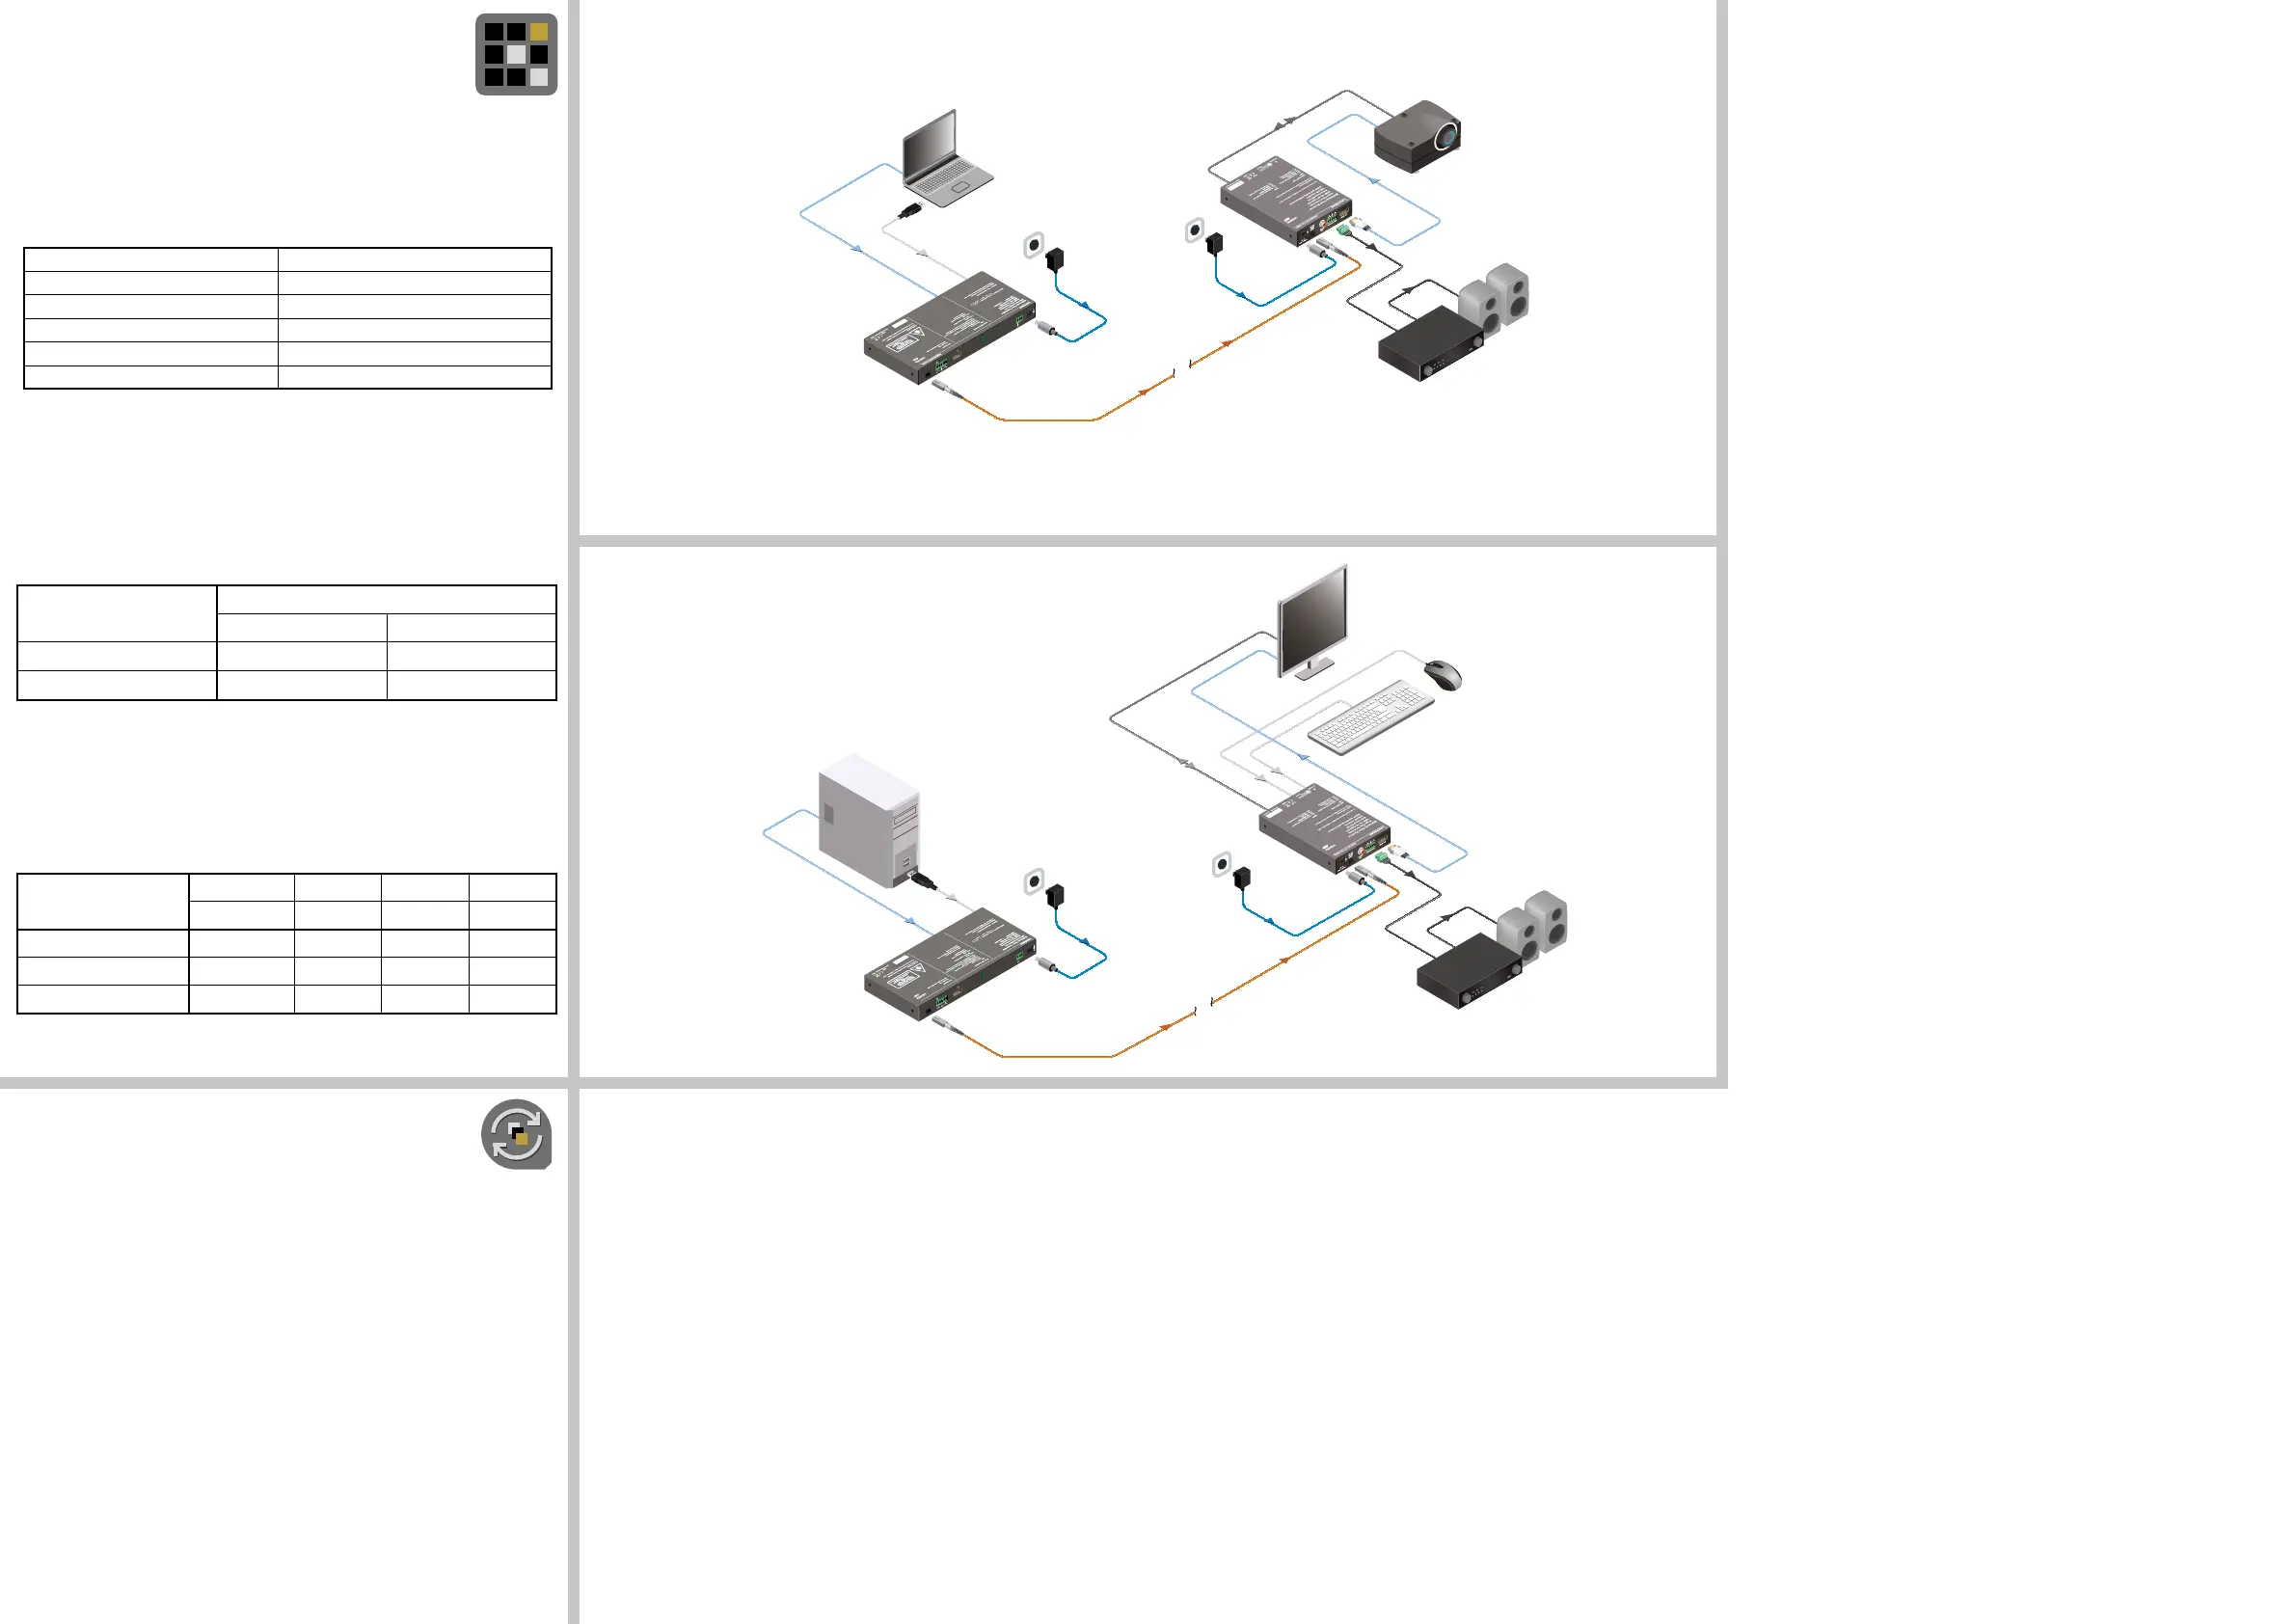
Single fiber multimode
optical cable up to 2500m
5V DC
Power
adaptor
HDMI-3D-OPT-TX210RAK
PC
PIN: 2.1mm
RS-232
TX RX
LIVE
LASER ACTIVE
FIBER LINK
RS-232
12V 1A DC
HDMI OUT
SC MM
LASER APERTURE
OUTPUT
6 AUDIO2 IN
HHDDMMII--33DD--OOPPTT--TTXX221100RRAAKK
RS-232
A
A
A
A
HID
A
O
<=
mW
CLASSIFIED B
A
HDMI
USB
Monitor
Mouse
Keyboard
HDMI-3D-OPT-RX150RA
Power amplifier
HDMI
RS-232
Analog audio
USB
USB
5V DC
Power
adaptor
Software control – Using Lightware Device Controller (LDC)
The device can be controlled from a computer through the USB or RS-232
ports using Lightware Device Controller. Please download the application
from www.lightware.eu, install on a Windows PC or a Mac OS X and connect
to the device.
Restore factory default settings
1. Keep the Show me button pressed for 10 seconds, the LEDs start to blink faster.
2. Release the button, then press it 3 times quickly; factory default settings are restored:
Crosspoint setting (Video/Audio) HDMI input
SC laser output Enabled
Emulated EDID Dynamic
RS-232 mode Passthrough
RS-232 control protocol LW2
RS-232 port setting 57600 BAUD, 8, N, 1
Typical application
HDMI-3D-OPT-TX210A
Typical application
HDMI-3D-OPT-TX210RAK
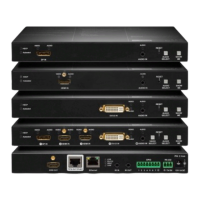
Model comparison
Optical interface
Serial communication USB KVM
HDMI-3D-OPT-TX210A
CT -
HDMI-3D-OPT-TX210RAK
CT / PT Yes *
CT = Control mode, PT = Pass-through mode
* USB KVM function is under development, it will be added by rmware upgrade.
AV signal is always transmitted on ber optical interface.
Fiber optical output settings
ON: high-speed (AV signal) and low-speed (serial) communication are transmitted.
STANDBY: only low-speed (serial) communication is transmitted.
Firmware upgrade
Lightware Device Updater (LDU) is an easy and comfortable way to keep
your device up-to-date. Steps of rmware upgrading are the following:
1. Download and install LDU software from the company’s website
www.lightware.eu.
2. Get the latest rmware package from Lightware Support (support@lightware.eu).
3. Establish the connection between the extender and the computer with a mini-USB cable.
4. Start LDU software and select the Extender mode.
5. Load the new rmware le.
6. Please read the Instructions related this model.
7. Select your upgradeable device.
8. Review the list of selected devices. Please check “Factory reset” option to be disabled
to avoid settings loss. If you want to set all settings to default values, enable this option.
9. Start rmware upgrading.
10. Please wait until it is completed and device rebooted.
11. Ready.
In certain cases new rmware version requires a factory reset to apply all new
features in the device. In this case “Factory reset” option is enabled by default and not
changeable by the user.
Maximum cable extension distances
OM1 OM2 OM3 OM4
(62.5/125) (50/125) (50/125) (50/125)
1080p@60Hz 24 bpp 250 m 600 m 1200 m 2500 m
1080p@60Hz 36 bpp 150 m 400 m 800 m 1300 m
4096x2048@30Hz 24 bpp Not supported 350 m 700 m 1100 m
 Loading...