Page 10 of 13 FA69349–2 English
Jun 2013
13
How To Create a Logo
Linx 7900
2.4.5 Resize
Press this key to see more menu options (see ‘Resize options’ on page 12).
2.4.6 Exit
Press the Exit key to leave the Options page and return to the Logo Editor page.
2.5 Transformation options
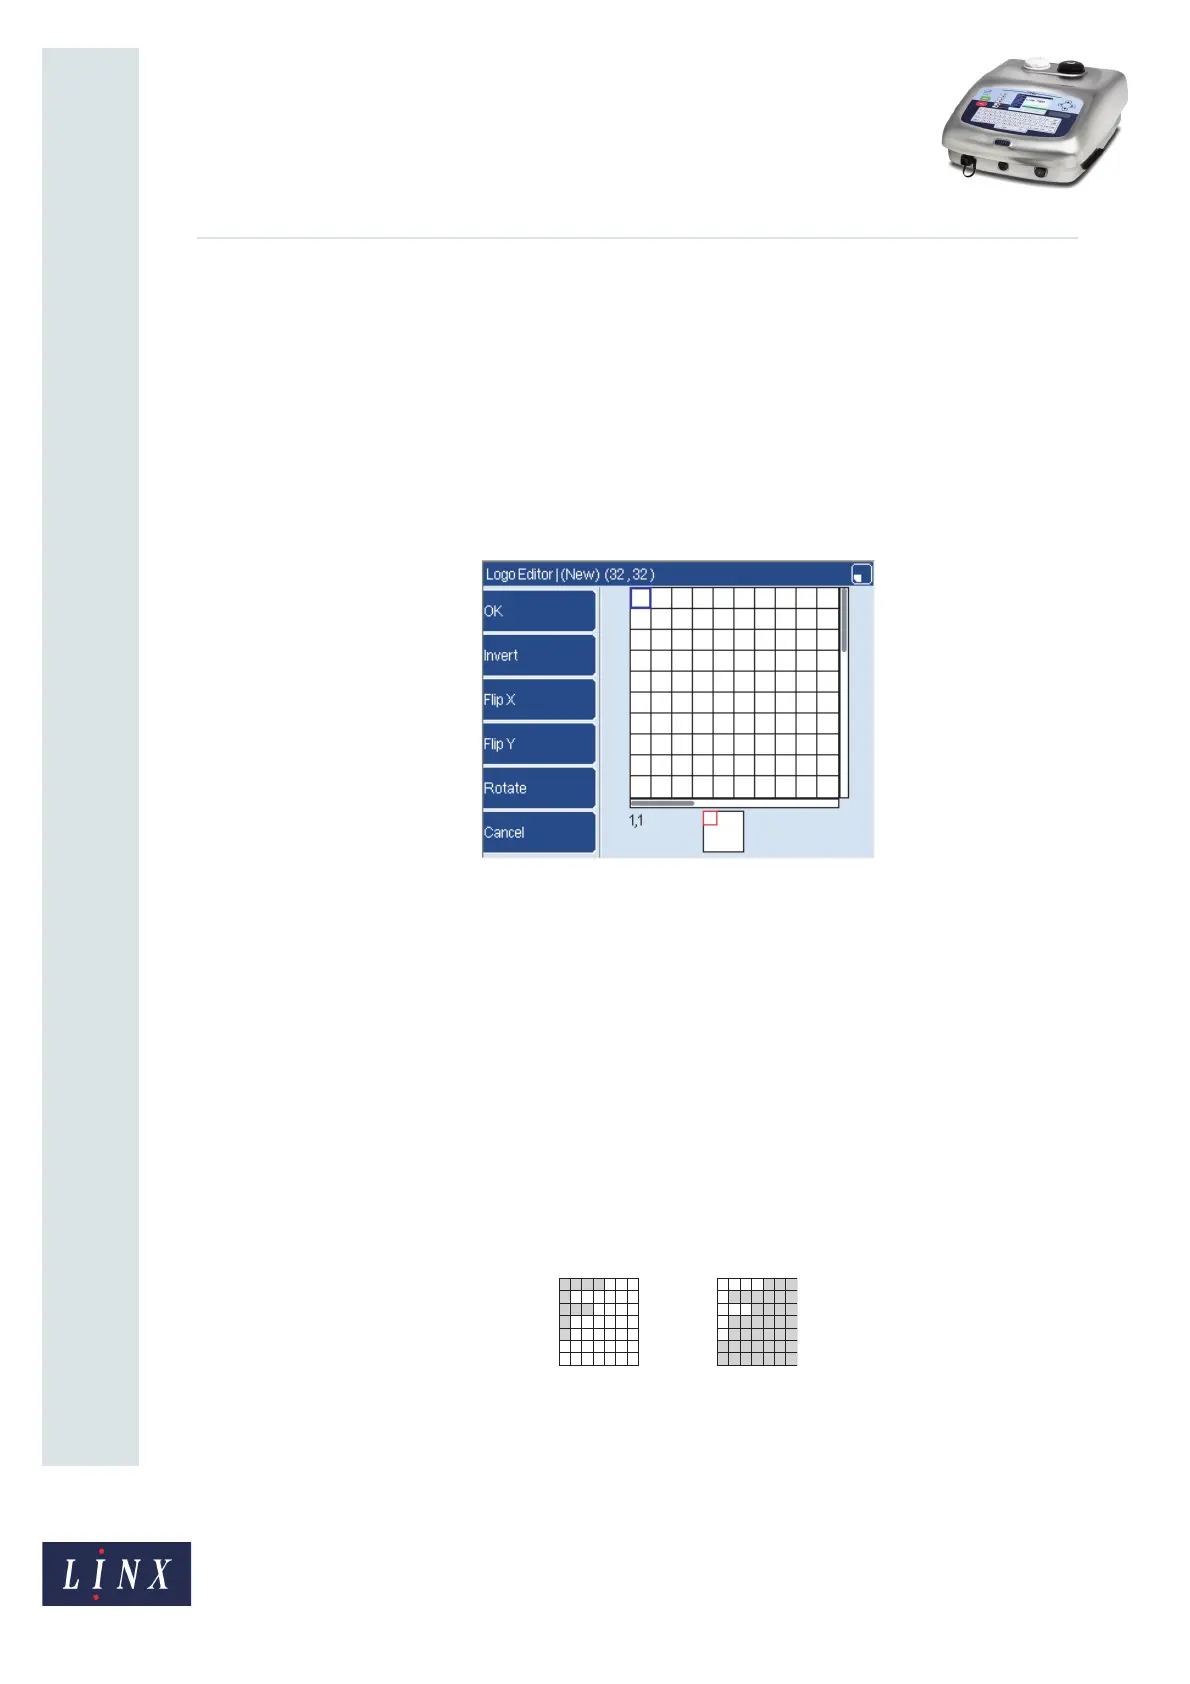
When you press the Transformations key, the printer displays a new set of options:
Figure 13. Transformations page
The new options are described below.
NOTE: The squares that you changed can move outside the visible area when you use
some of these options. Remember to use the preview box to find the position of
these squares (see page 5).
2.5.1 OK
When you leave this page, press this key to save any changes that you made. (To discard the
changes, press the Cancel key.)
2.5.2 Invert
Press this key to change the black squares to white and change the white squares to black as
shown below.
Figure 14. Invert
69270

 Loading...