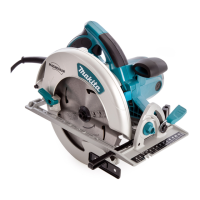
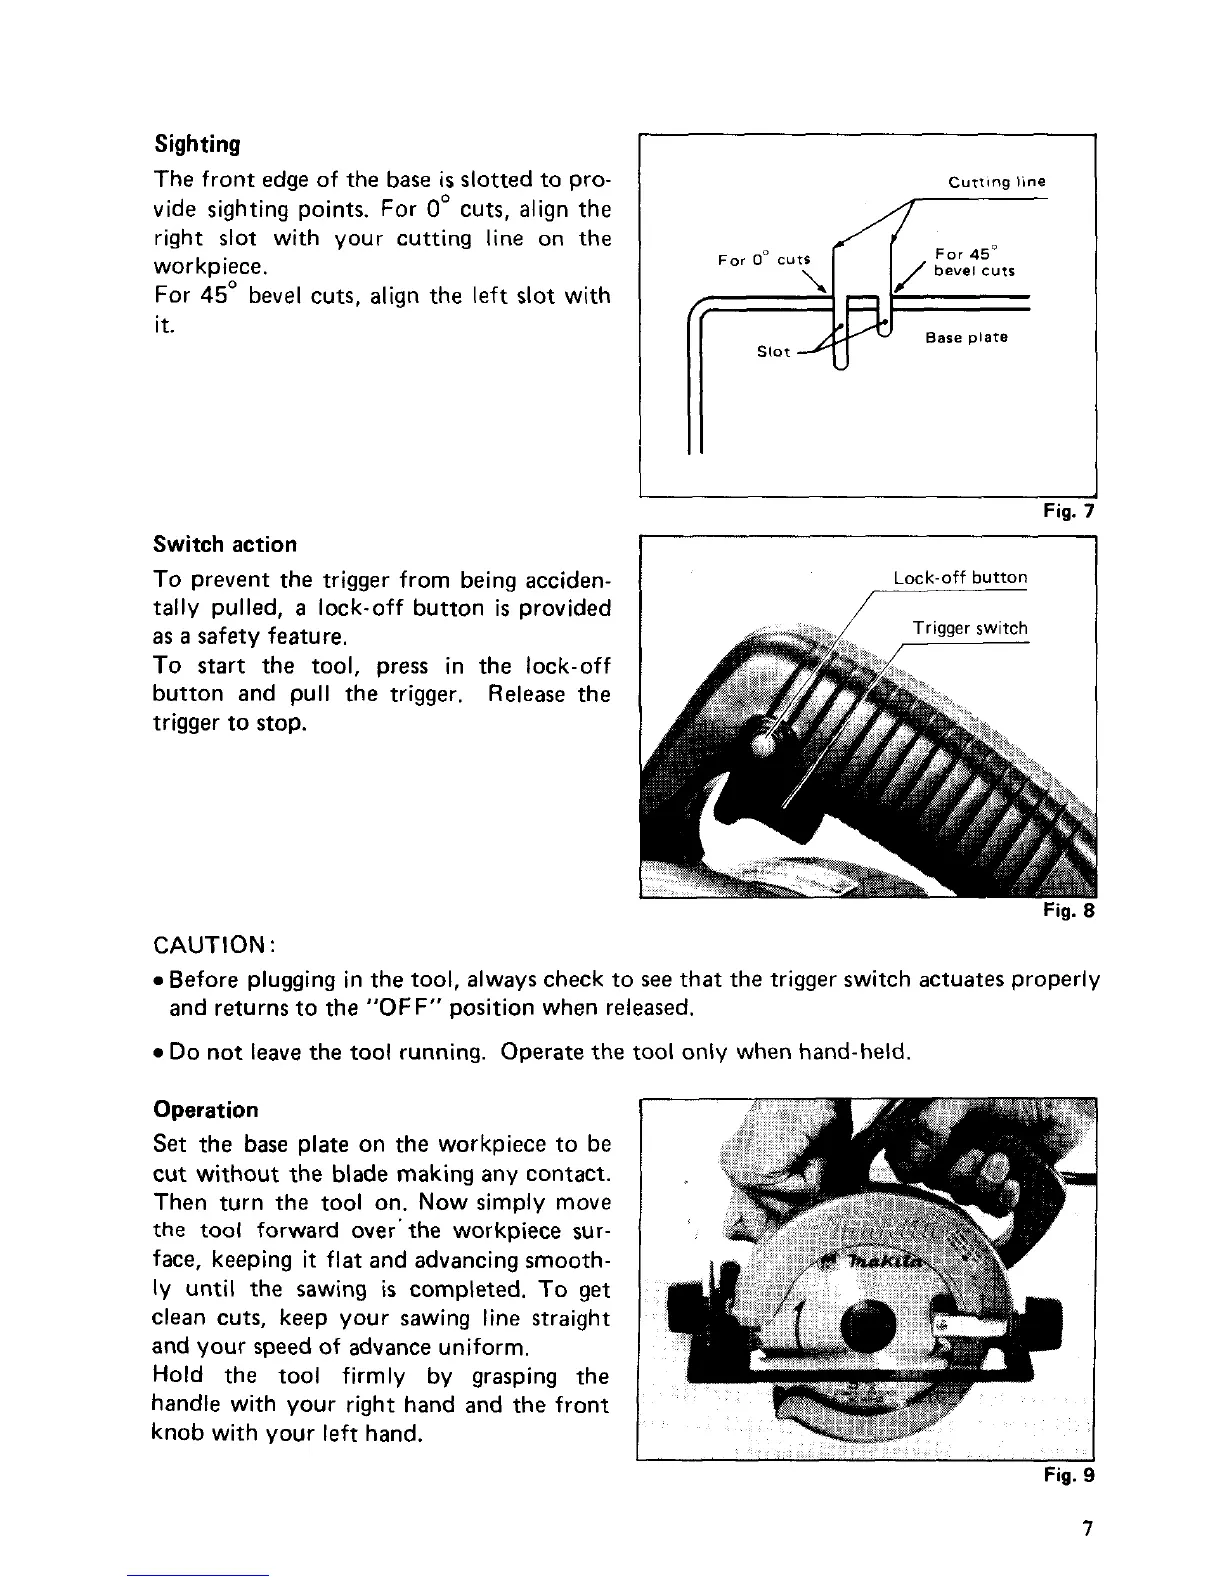
Sighting
The front edge
of
the base
is
slotted to pro-
vide sighting points. For
0"
cuts, align the
right slot with your cutting line on the
workpiece.
For
45"
bevel cuts, align the left slot with
it.
Cutting Line
F
Base plate
1
Fig.
Switch action
I
I
To prevent the trigger from being acciden-
tally
pulled,
a
lock-off button
is
provided
Lock-off
button
7
as
a
safety feature.
To start the tool, press in the lock-off
button and pull the trigger.
Release
the
trigger to stop.
Fig.
8
CAUTION
:
0
Before plugging in the tool, always check to
see
that the trigger switch actuates properly
0
Do
not
leave
the tool running. Operate the tool only when hand-held.
and returns to the
"OFF"
position when released.
Operation
Set
the base plate on the workpiece to be
cut without the blade making any contact.
Then turn the tool on. Now simply move
the
tool forward over' the workpiece sur-
face, keeping
it
flat and advancing smooth-
ly
until the sawing
is
completed. To
get
clean cuts, keep your sawing line straight
and your speed of advance uniform.
Hold the tool firmly by grasping the
handle with your right hand and the front
knob with your left hand.
Fig.
7
 Loading...