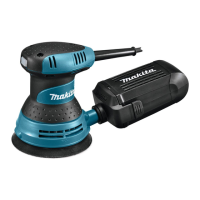
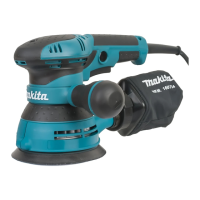
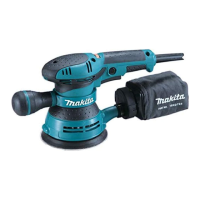
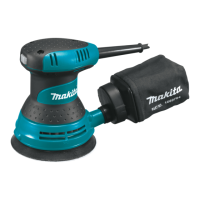
Switch and Power supply cord are readily replaceable by removing Top cover.
1) Remove Top cover from Motor housing by unscrewing three 4x18 Tapping screws, then disconnect Flag terminal from
each Brush holder. (Fig. 1)
2) Clamp the terminal of Brush holder with long-nose pliers, then pull up Brush holder together with Carbon brush while
pushing Carbon brush with slotted screwdriver. (Fig. 2)
Note: Do not scratch Commutator when clamping the terminal of Brush holder with long-nose pliers.
3) Remove Pad 123, Bearing box cover and Brake ring by unscrewing four M4x16 Pan head screws. (Fig. 3)
Note: Brake ring is not dropped out of machine. Pull it out by hand.
4) Lock Armature shaft by inserting screwdriver from the discharge nozzle of Skirt to hold Fan 88 linked with Armature
shaft. (Fig. 4) and remove M4x16 Pan head screw from the locked Armature shaft.
Bearing box cover, Ball bearing 6202DDW and Flat washer 4 can be removed.
[1] NECESSARY REPAIRING TOOLS
CAUTION: Unplug the tool and remove the abrasive disc for safety before repair/ maintenance!
Repair
DescriptionCode No.
1R269 Bearing extractor Removing Ball bearings
Use for
P 2/ 7
[2] LUBRICATION
[3] DISASSEMBLY/ASSEMBLY
Lubrication is not required for this product because no gear is used for transmission.
Fig. 1 Fig. 2
Fig. 4Fig. 3
DISASSEMBLING
Flag terminal
4x18 Tapping
screw (3 pcs)
Top cover
terminal of
Brush holder
Carbon brush
Slotted screwdriver Long-nose pliers
Motor housing
M4x16 Pan head screw
Flat washer 4
Bearing box cover
Screwdriver
Fan 88
Ball bearing 6202DDW
Brake ring
Bearing box cover
M4x16 Pan head
screws (3 pcs.)
Pad 123
 Loading...