21 ENGLISH
3. Align the pipe of the tool with the groove inside the
wire guide B, and assemble them.
► Fig.43: 1. Pipe 2. Groove 3. Wire guide B
4. Fix wire guide B by temporarily tightening bolt A.
► Fig.44: 1. Bolt A 2. Wire guide B
5. Install the contact plate cover in the direction of the
arrow.
► Fig.45: 1. Contact plate cover
6. Fix wire guide B and contact plate cover securely
by tightening bolt A and bolt B.
► Fig.46: 1. Wire guide B 2. Contact plate
cover
3. Bolt A 4. Bolt B
7. After assembling, confirm that
the contact plate can
move as shown in
the figure. ► Fig.47: 1. Contact
plate
NOTE: If the contact plate is caught, press it as shown
in the figure.
► Fig.48
Error display and error tone
CAUTION: During inspection, be sure to lock the trigger, turn the power off, and remove the battery
cartridge. Failure to do so may cause an accident.
CAUTION: When you turn the power on, never bring your limbs or face close to the binding or rotating
parts of the tool tip. Otherwise, you may be injured.
CAUTION: When the power is turned on, never touch the binding or rotating parts of the tool tip.
Otherwise, you may be injured.
CAUTION: If an error tone sounds, or if the tool malfunctions, immediately stop using the tool.
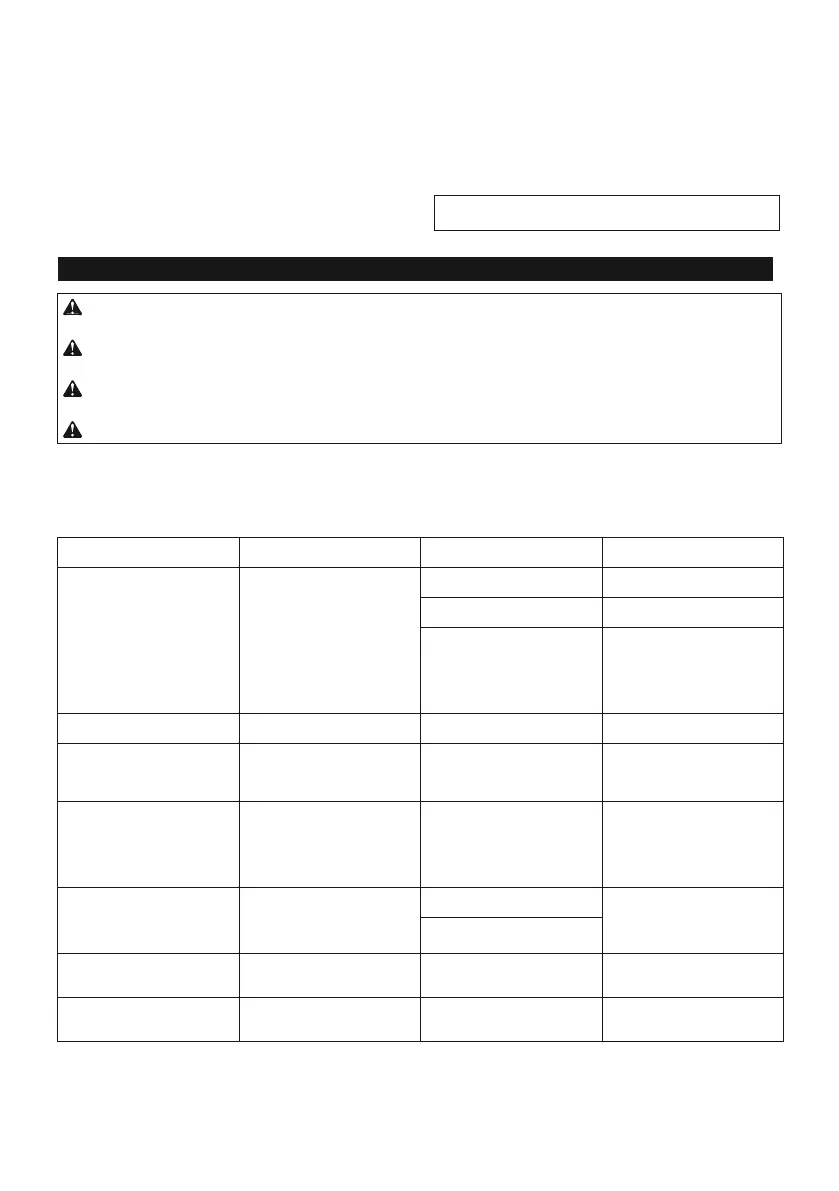
Error tone and display
If an error occurs, an error tone will sound, and an error number will be shown on the display panel. Refer to the
following table and take appropriate actions. If the error persists, ask Makita Authorized Service Centers for repairs.
 Loading...