angle and the wall hole is sufficiently sealed afterwards, so no water can enter the space.
Make sure the piping is protected against dirt during installation.
Dirt in the piping might clog the heat exchanger of the solar panel and reduce its performance.
3.6 Installing the solar kit
● At delivery, the unit should be checked and any damage should be reported immediately to
the carrier claims agent.
● Check if all unit's accessories are enclosed.
● Bring the unit as close as possible to its final installation position in its original package. in
order to prevent damage during transport.
Procedure
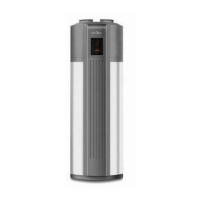
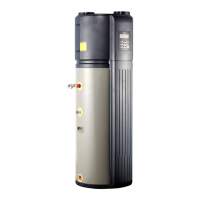
Locate the sanitary hot water tank in a suitable position to facilitate the installation of the solar kit.
It is therefore recommended to first read the entire installation procedure. Refer to the
installation guidelines in the installation manual of the sanitary hot water tank.
The installation of the solar kit as following:
 Loading...


