6
1
2. To set the STOPPING time.
3. Set the STARTING & STOPPING time
Model
R51, R51/BG,R51/E,R51/CE,R51/BGE,R51/CBGE
Environment
Temperature Range
Reaching Distance
Lowest Voltage of CPU
Emitting Signal
Rated Voltage
-5 C 60 C
8m (when using 3.0 voltage, it Gets 11m)
3.0V
2.0V
~
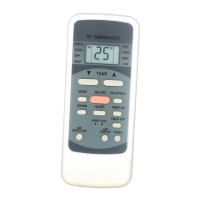
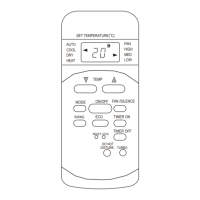
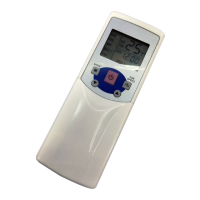
Remote Controller Specifications
Performance Features
Introduction of Function Buttons on the Remote Controller
1. Operating Mode: COOL HEAT DRY FAN and AUTO .
2. Timer Setting Function in 24 hours.
3. Indoor Setting Temperature Range : 17 C~30 C.
4. LCD (Liquid Crystal Display) of all functions.
5. Night Light Function (only R51/BG model available)
6. Compatible with the former R11.
2.1 Please press the CANCEL button to cancel any former settings.
2.3 Push the TEMP button to cancel the TIMER ON setting. The
digital area will show "00".
2.6 After setting the TIMER there will be a one-half second delay before
the remote controller transmits the signals to the Air Conditioner.
Then after approximately another 2 seconds, the set temperature
will re-appear on the digital display.
3.1 Please press the CANCEL button to cancel any former settings.
3.2 Push the TIMER button and the remote controller will show the
last set time for START operation and the signal "h" will
be shown on the display panel. You are now ready to readjust
the TIMER ON to start the operation.
3.3 Push the TEMP button ( or ) to set the time you want to
start the operation.
3.4 Push the TIMER button and the remote controller will show
the last set time for STOP operation and the signal "h" will be
shown on the display panel. You are now ready to reset the
time of the STOP operation.
3.5 Push the TEMP button ( or ) to set the time you want to
stop the operation.
3.6 After setting the TIMER there will be a one-half second delay
before the remote controller transmits the signal to the Air
Conditioner. Then, after approximately another 2 seconds ,the
set temperature will re-appear on the digital display.
2.5 Push the TEMP button ( or ) to set the time you want to
stop the operation.
2.4 Push the TIMER button and the remote controller will show the last
set time for the STOP operation and the signal "h" will be shown
on the display panel. You are now ready to reset the time of the
STOP operation.
2.2 Push the TIMER button and the remote controller will show the
last set time for the START operation and the signal "h"
will be shown on the display panel. You are now ready to re-
adjust the TIMER OFF to stop the operation.
NOTE
1. Please reset the TIMER after cancelling the former time
settings.
2. The setting time is relative time. That is the time set is based on
the delay of the current time.
CANCEL
LOCK
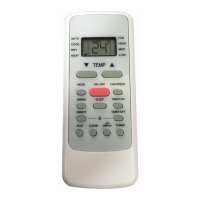
1
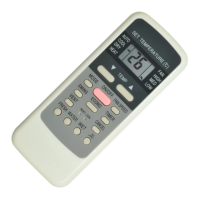
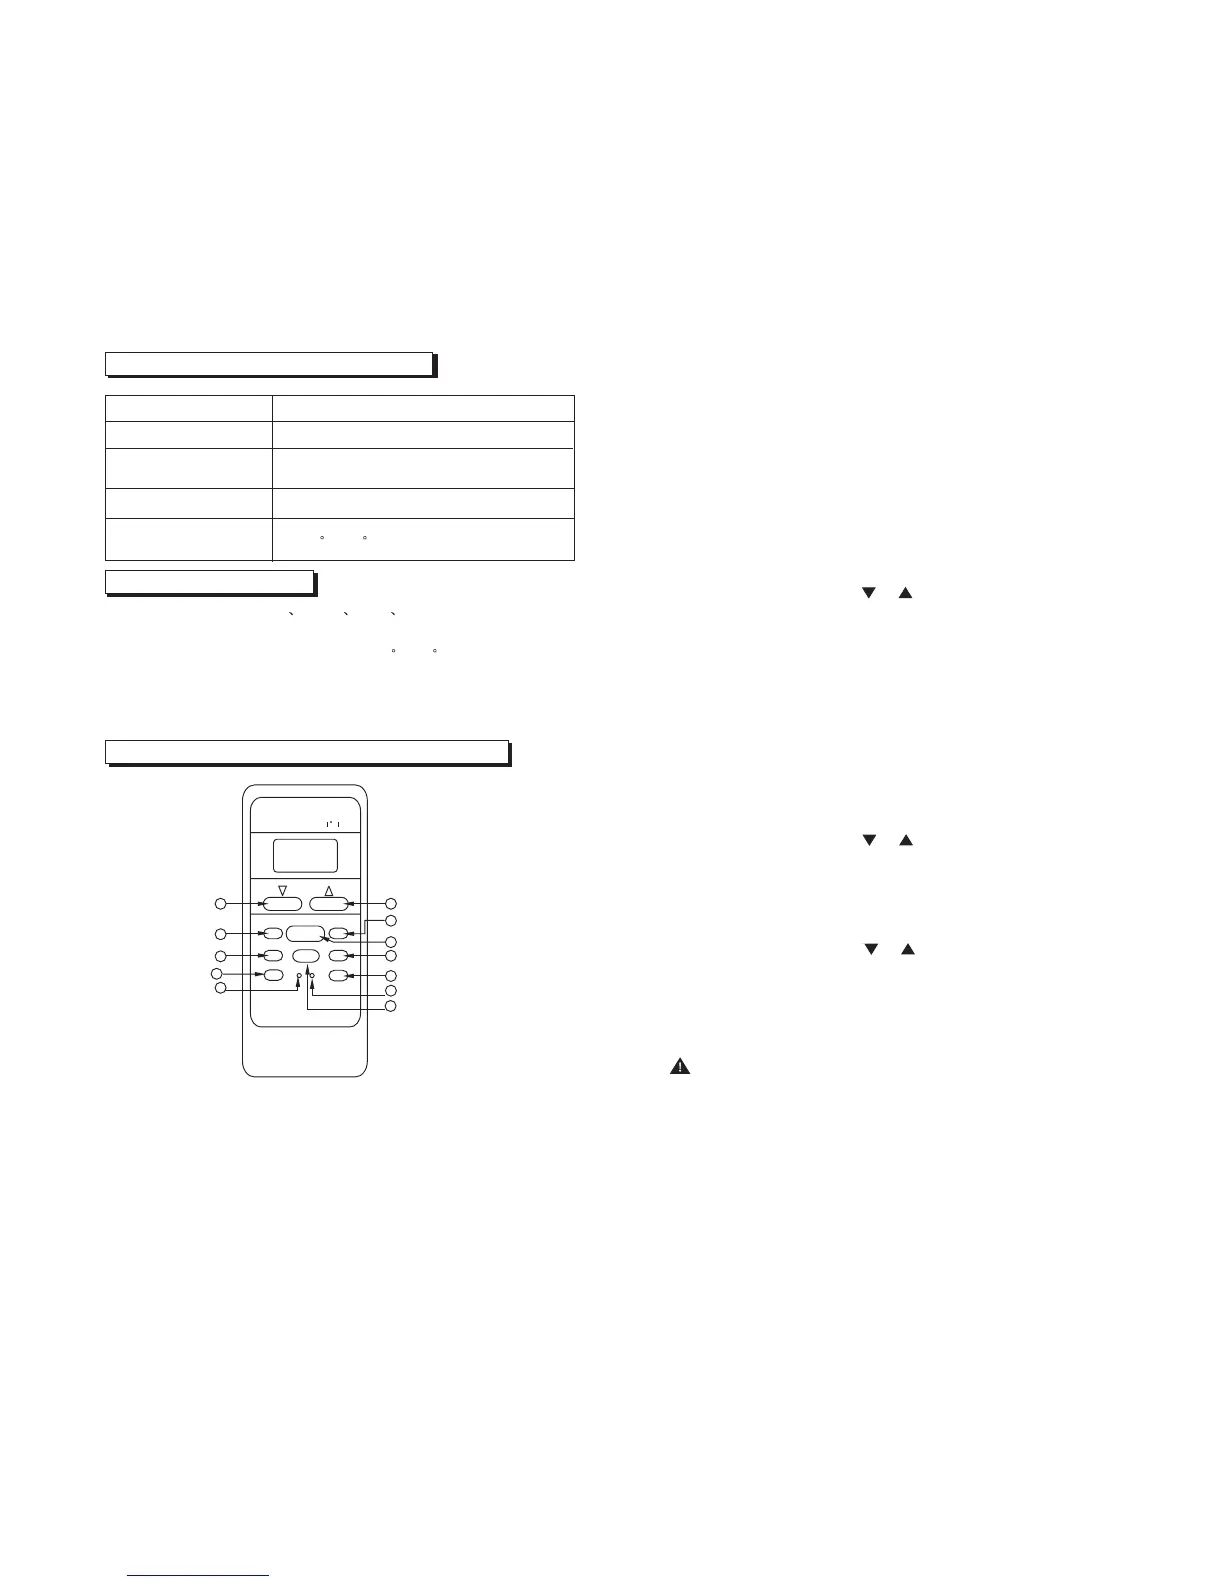
Fig. 1
SET TEMPERATURE
AUTO
COOL
DRY
HEAT
FAN
HIGH
MED
LOW
C
TEMP
MODE
SWING
TIMER
RESET
ON/OFF
FAN SPEED
2
3
4
5
6
7
8
9
10
ECONOMIC RUNNING
11
VENT
12
Note: This illustration is for explanation purposes only. The actual
shape or button names of the remote controller may be slightly
different.
 Loading...