
B
Brenda McfarlandAug 3, 2025
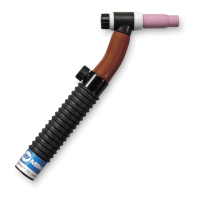
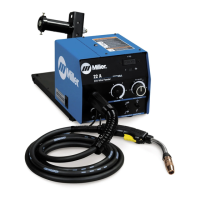
What to do if Miller Welding Accessories system does not track gun/electrode?
- IidavisAug 3, 2025
If the Miller Welding Accessories system does not track the gun or electrode, ensure that hands, tools, or debris are not blocking the markers on the gun or electrode. Adjust the brightness of the helmet LEDs. Perform a lighting calibration. Clean the camera lens cover.