50
Notice
• When you use the auto setting, <Audio recording>
setting is not reflected. The setting values based
on the designated condition are assigned to image
recording only. When <Audio recording> is set to
active, estimated time displayed on the screen
becomes shorter.
Confi rm the recording settings
Step
6 Check the recording settings and select [Next].
•
The settings you make in this procedure are applied
to normal recording.
•
The picture quality and FPS are same among all the
cameras detected in step 4.
•
To change the settings, select [Return] to go back to
the screen in step 5.
•
When the confirmation is completed, select [Next].
The <Apply settings> screen is displayed.
Apply new settings
Step
7 Select the recording pattern from [Recording A]
to [Recording D] to which you want to apply the
settings and then select [Execute].
•
The automatically confi gured settings are applied to
the selected recording pattern.
[Recording A]: Used for manual recording and timer
recording.
[Recording B] to [Recording D]: Used for timer
recording.
Making recording settings automatically
<Auto setting>
When you defi ne the normal recording cycle, the recorder
automatically sets the picture quality and FPS for normal
recording.
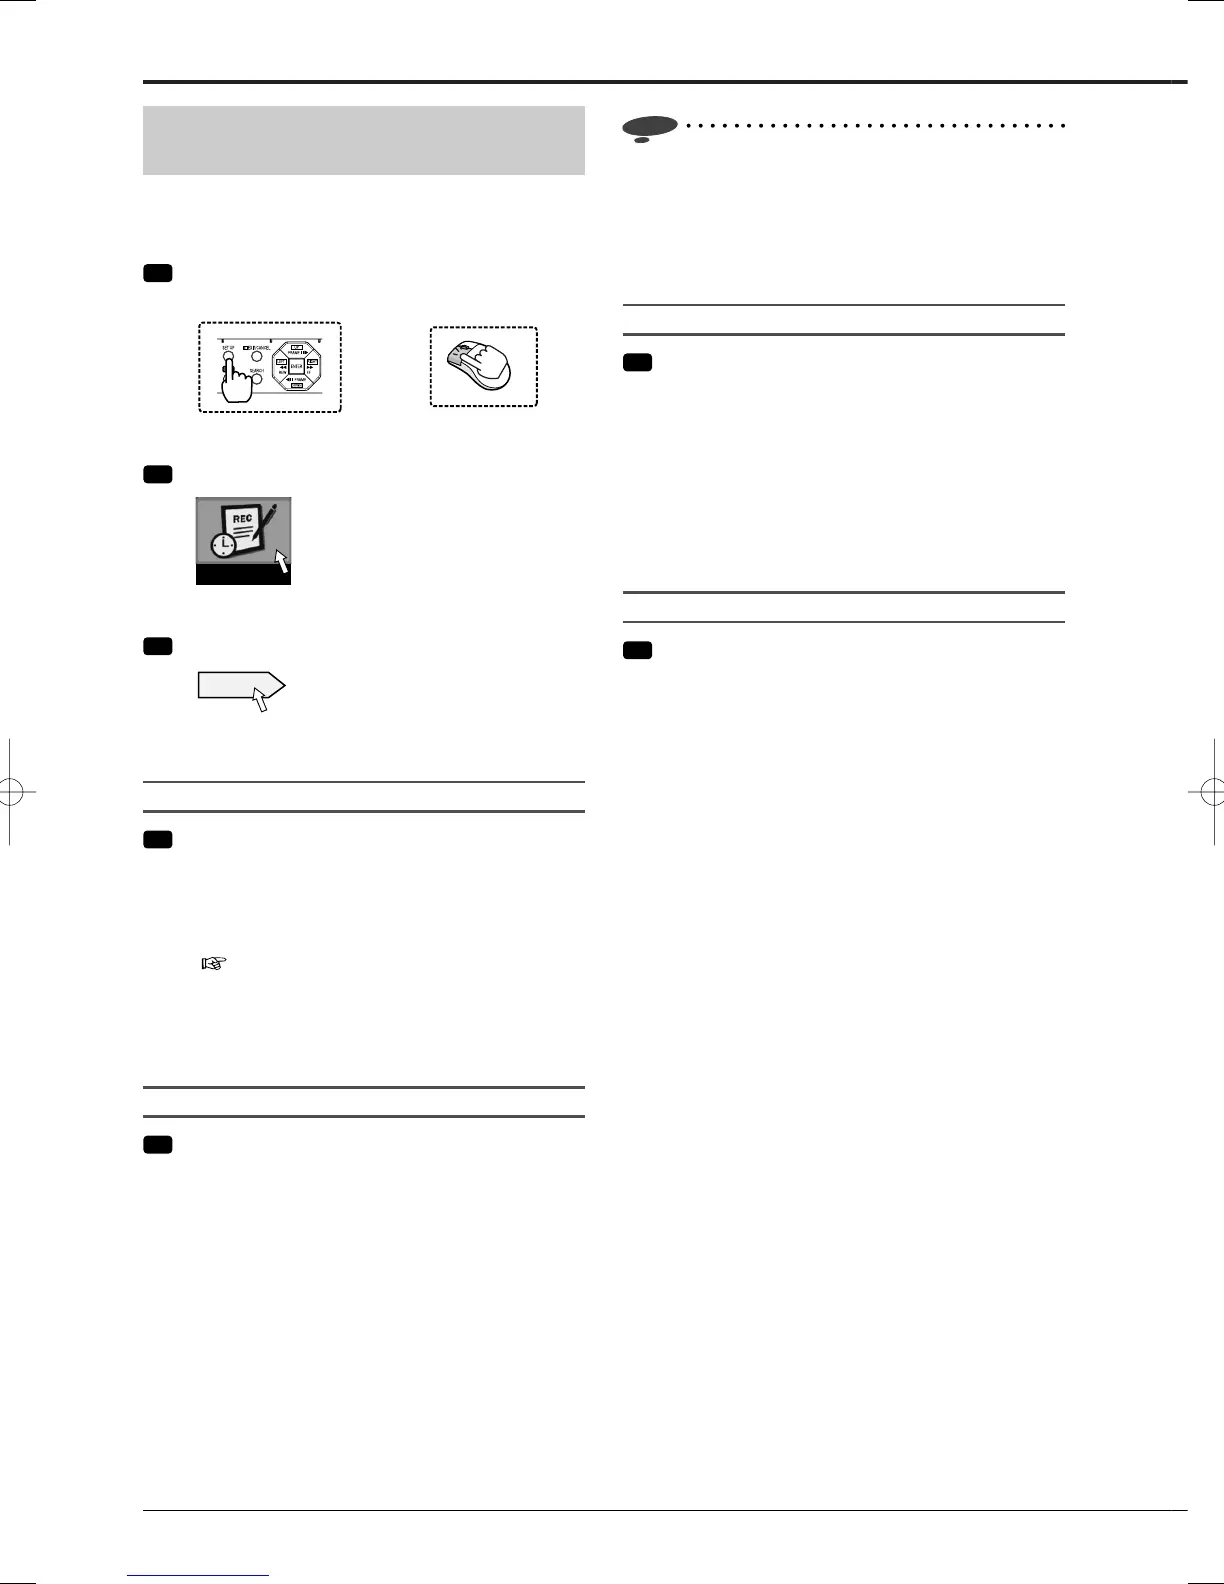
Step
1 Press the SET UP button on the front panel of
the recorder or left-click the mouse.
or
•
<Main menu> is displayed.
Step
2 Select [Recording setting].
Recording setting
•
The <Recording setting> screen is displayed.
Step
3 Select [Setting] next to [Auto setting].
Setting
•
Select [Next] on the <Recording setting Auto>
screen.
Camera check
Step
4 Select [Execute].
•
When you select [Execute], the recorder
automatically detects the cameras from which it is
receiving video signals.
•
When the transparent setting in the Main menu
(
page 103) is disabled, you cannot view images.
Change the setting, as needed.
•
When the detection is completed, select [Next].
The <Defi ne the normal recording cycle> screen is
displayed.
Defi ne the normal recording cycle
Step
5 Set [Recording duration], [Recording time per
day], and [Picture size].
•
Picture quality and FPS are automatically set for
the cameras detected in step 4 and a confi rmation
screen is displayed.
•
When you set the recording duration to 2 years,
images are recorded in the long recording mode,
where FPS is set to 3 or less to prolong the
recording duration. However, the recording and
playback picture quality decreases.
•
When the setting is completed, select [Next].
The <Confirm the recording settings> screen is
displayed.
Recording (continued)
 Loading...