DLR1060 Two-Way Radio Quick Reference Guide
This Quick Reference Guide covers the basic operation of the radio.
Ensure your battery is fully charged before first use.
The DLR Series operates in the license-free 900 MHz ISM Band.
For more information on product details, user guide, brochures, and
accessories, refer to http://www.motorolasolutions.com/map/en_xa/dlr or
call 1-800-931-855.
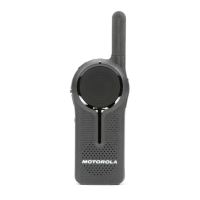
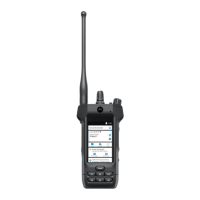
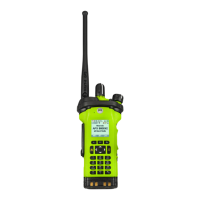
Radio Overview
1. Audio Accessory Connector
2. Battery
3. Channel/Menu Button
4. Volume Up/Down Control Buttons
5. Power Button
6. Top Button
7. Speaker
8. Microphone
9. Push-To-Talk (PTT) Button
10. Tx/Rx LED Indicator
11. Antenna
Getting Started
For more information, refer to the User Guide in https://
www.motorolasolutions.com/content/dam/msi/docs/en_xa/DLR-
UserGuide.pdf.
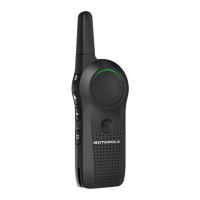
Attaching the Battery
1
Slide the latch at the top of the battery door to the unlock position and
lift the battery door at the center recess.
2
Align the battery contacts with the tabs in the battery compartment.
Insert the contact side of the battery first, then press the battery down
to secure in place.
3
Put the battery door back on the radio. Slide the latch to the lock
position.
1. Battery Latch
2. Lateral Battery Slot
3. Holster
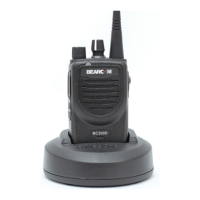
Charging the Battery
1
Connect the power supply to the drop-in charger tray or a power cord
to the multi-unit charger.
2
Insert the radio into the tray, make sure that the lateral battery slots
are inserted in the tray rails.
The charger LED flashes a few times, indicating the battery is
charging.
English
1