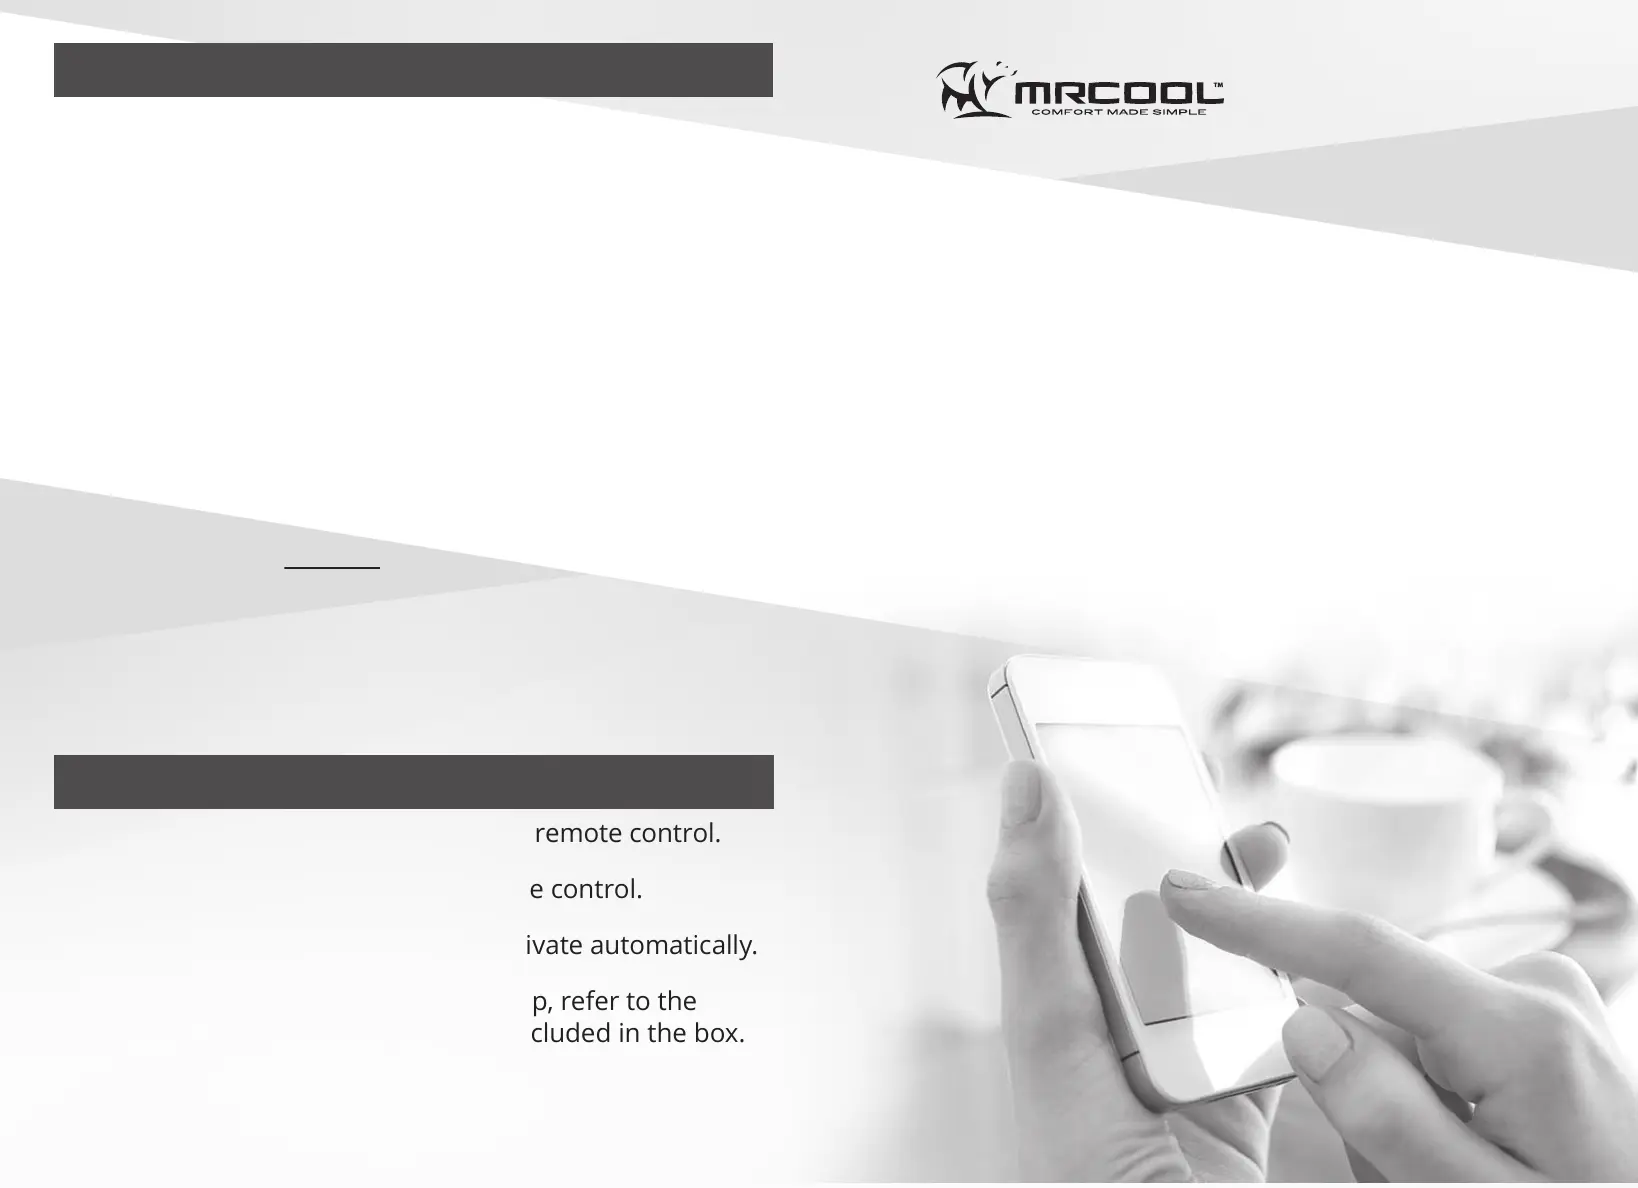
1. Install the provided batteries into the remote control.
2. Press the Power button on the remote control.
3. The MRCOOL
®
DIY
®
Series should activate automatically.
4. To use the MRCOOL
®
Smartphone App, refer to the
Smart Controller Module instructions included in the box.
STEP 8 - Continued
STEP 9 - Inside
DIY
®
E Star
™
Series
3RD GEN Do-It-Yourself Ductless Mini-Split Heat Pump A/C
1. Pack the wall hole with the supplied Neoprene (or Spray
Foam), filling any space not taken up by the piping & lines,
in order to seal the hole.
2. To protect Quick Connect® connections and reduce
vibration, wrap them with the black sound deadening
pads. Then, install the white pipe insulation over the pads.
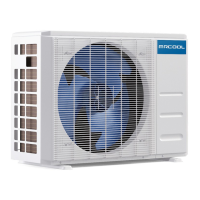
3. Now, starting at the outdoor condenser and working
your way up to the wall hole, you will wrap the exposed
line set, cables, and drain hose together tightly using the
supplied Non-adhesive U.V. tape. The drain pipe will need
to be at the bottom of the bundle. Refer to the diagram on
the previous page. DO NOT wrap the end of the drain
hose.
4. To further improve overall appearance and long-term
durability of the line set, it is recommended to install an
optional MRCOOL
®
LineGuard
®
(sold separately).
 Loading...