C-7
Marvell RAID
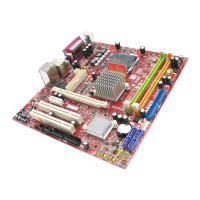
MS-7666
Appendix C
Rebuilding Virtual Disk
This topic describes the procedure to manually rebuild a degraded virtual disk by using
the Marvell BIOS setup utility. This is applicable to the RAID 1 virtual disk.
Important
The rebuild process is both initiated and completed in the Marvell BIOS setup. The Mar-
vell RAID Utility (MRU), which runs in as OS environment, cannot be used to either initi-
ate, resume, or complete the rebuild process Spare physical disks are not supported.
When a virtual disk is degraded, the “Status” of a virtual disk is changed from Func-
tional to Degrade.
Replace the faulty physical disk with an identical physical disk. (Note: If an identi-
cal disk is unavailable, use a replacement physical disk of larger size or one with
a slightly smaller size as determined the Gigabyte Rounding setting for the virtual
disk.) The BIOS detects the new physical disk and lists the device under “Free
Physical Disks” in the [Topology] pane.
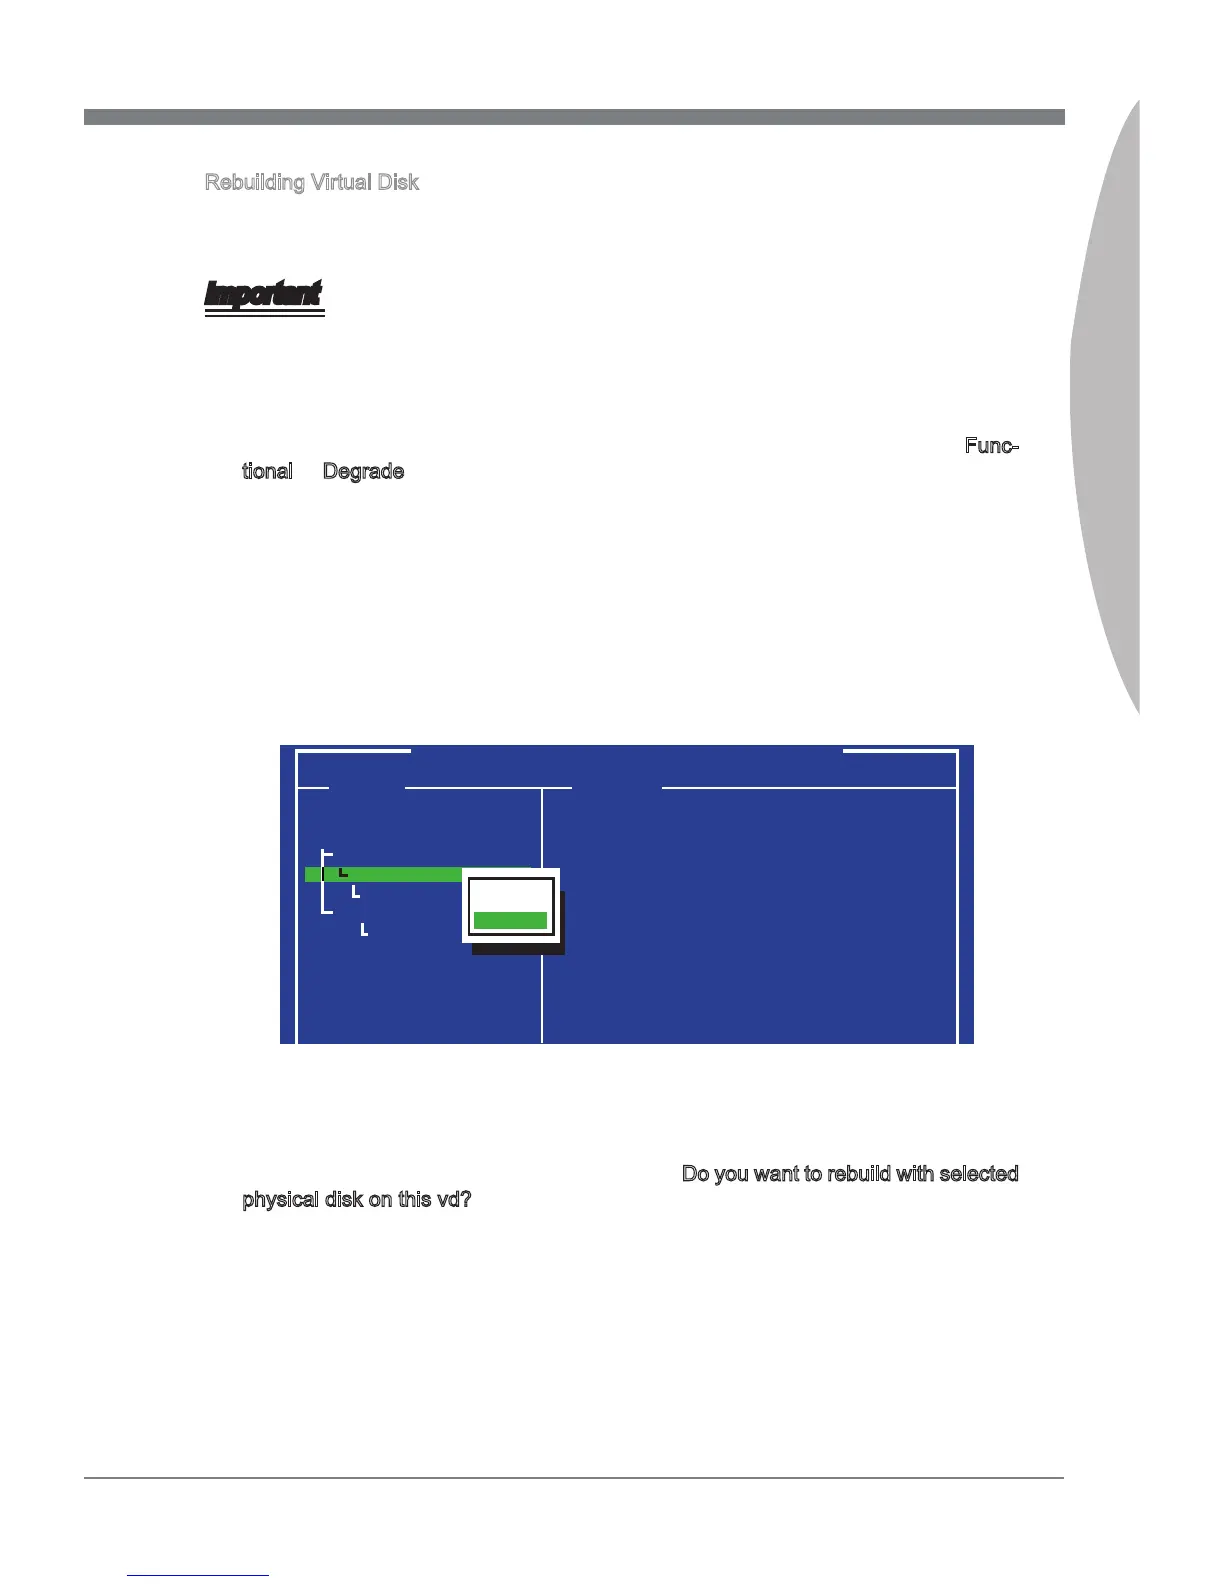
In the [Topology] pane, scroll to “Virtual Disk” (VD 0: XXXX), and press Enter to
select. A menu pops-up as shown below. Scroll to “Rebuild” and press Enter to
congure the rebuild process.
1.
2.
3.
Marvell BIOS Setup (c) xxxx Marvell Technology Group Ltd.
Topology Information
ID
Namd
Status
Stripe Size
RAID Mode
Size
BGA Status
Number of PDs
Members
: 0
: MRAID1
: Degrade
: 64K
: RAID1
: 953344MB
: N/A
: 2
: 0 8
HBA 0: Marvell 0
Virtual Disks
VD 0: MRAID1
PD 8: ST3750330MS
Free Physical Disks
PD 0: ST3750XXX
[Delete]
[Rebuild]
Scroll through the list of free disks, and press Space to select a replacement physi-
cal disk. Press Enter to continue.
Press Y to conrm the request when prompted Do you want to rebuild with selected
physical disk on this vd?.
The status of the rebuild process is reected in the properties of the virtual disk.
4.
5.
6.
 Loading...