Chapter 5 Maintenance and Inspection
UD-series Screw Compressor 5.5 Reassembly
5-51
b) Assemble the balance piston sleeve (part number 33).
Make sure that the shaped edge side of the outer periphery of the balanced piston sleeve is
on the "O" ring side and the side with the locking cut out is on the outside.
Align the cut out
position with the hexagon socket set screw.
c)
Assemble the stop ring (part number 37) for fixing the balance piston sleeve.
d)
Tighten the hexagon socket set screw until the head protrudes from the hole. Tighten the
other screw from the F rotor side.
e)
Screw the eyebolt into the balance piston, aligning it with the key and keyway of the M rotor
and insert it.
f)
Assemble the stop ring (part number 32) to fix the balance piston.
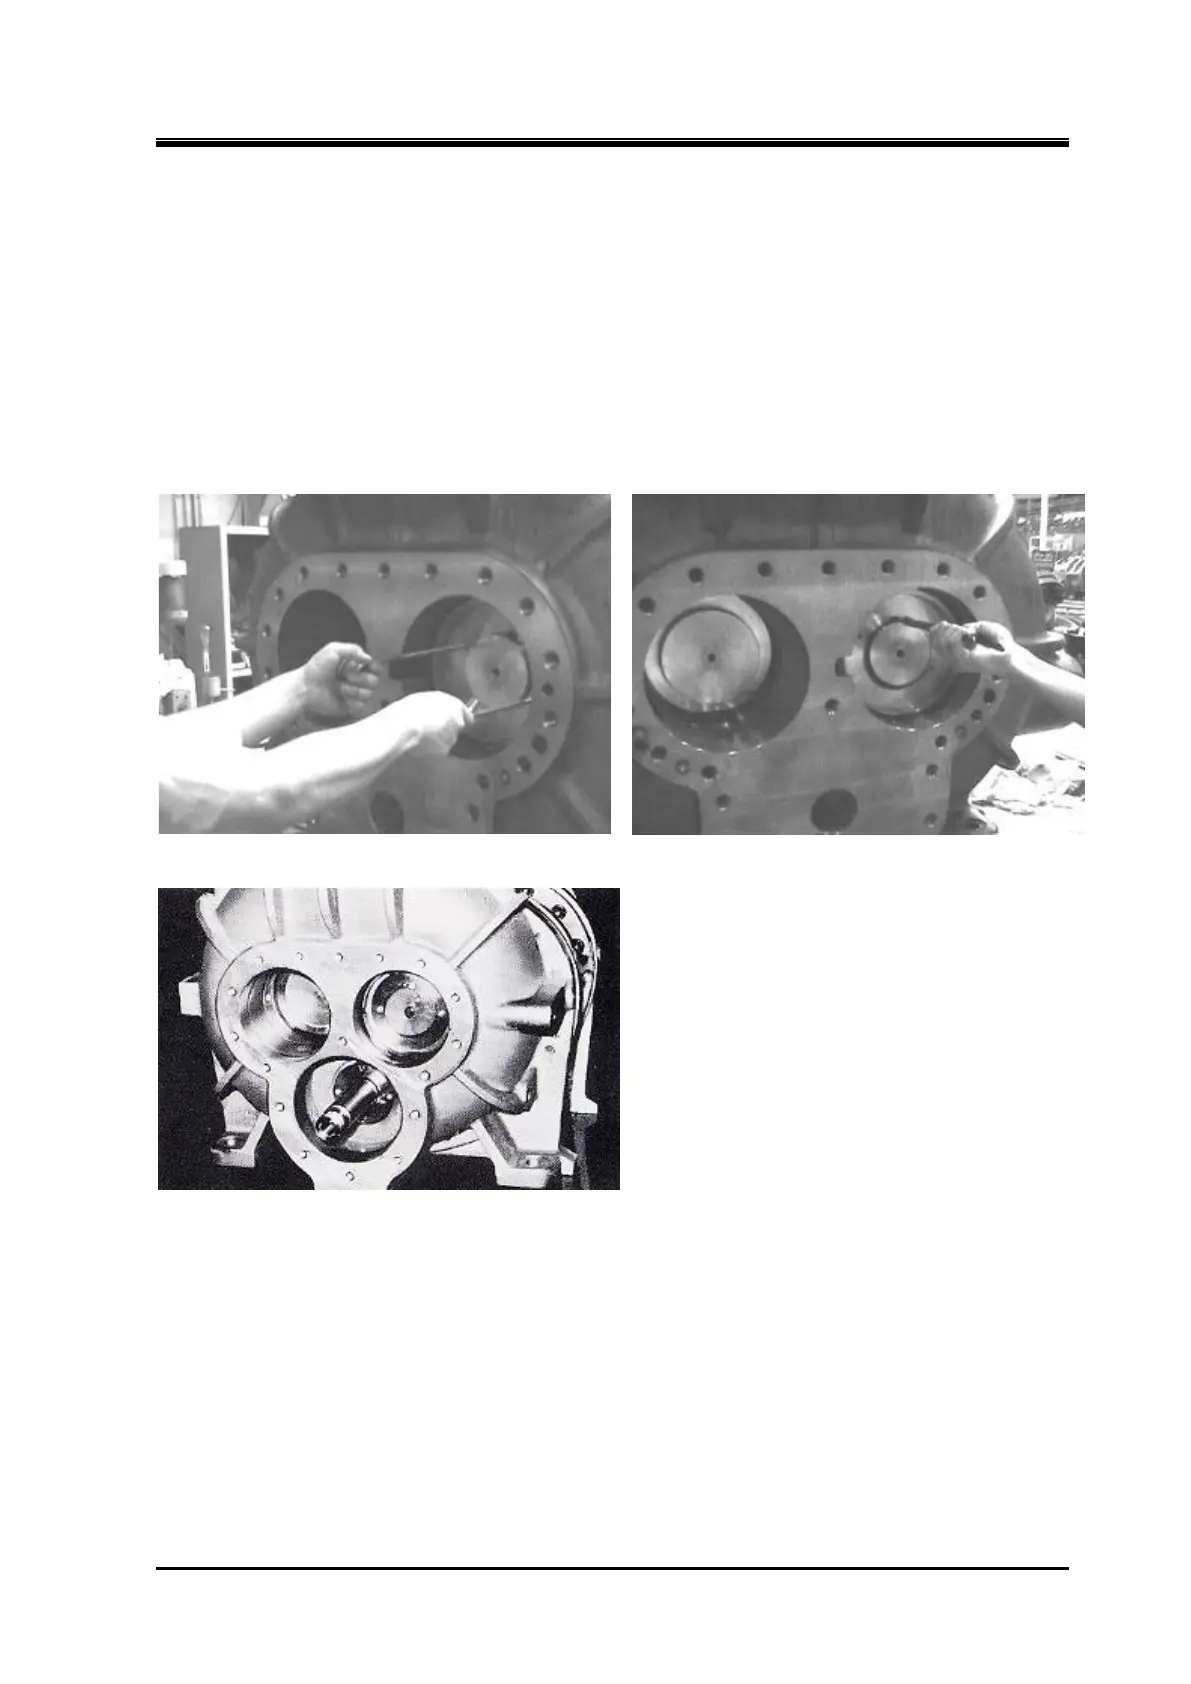
Install Retaining Ring(400VMD)
Completed Setting of Balance Piston
 Loading...
