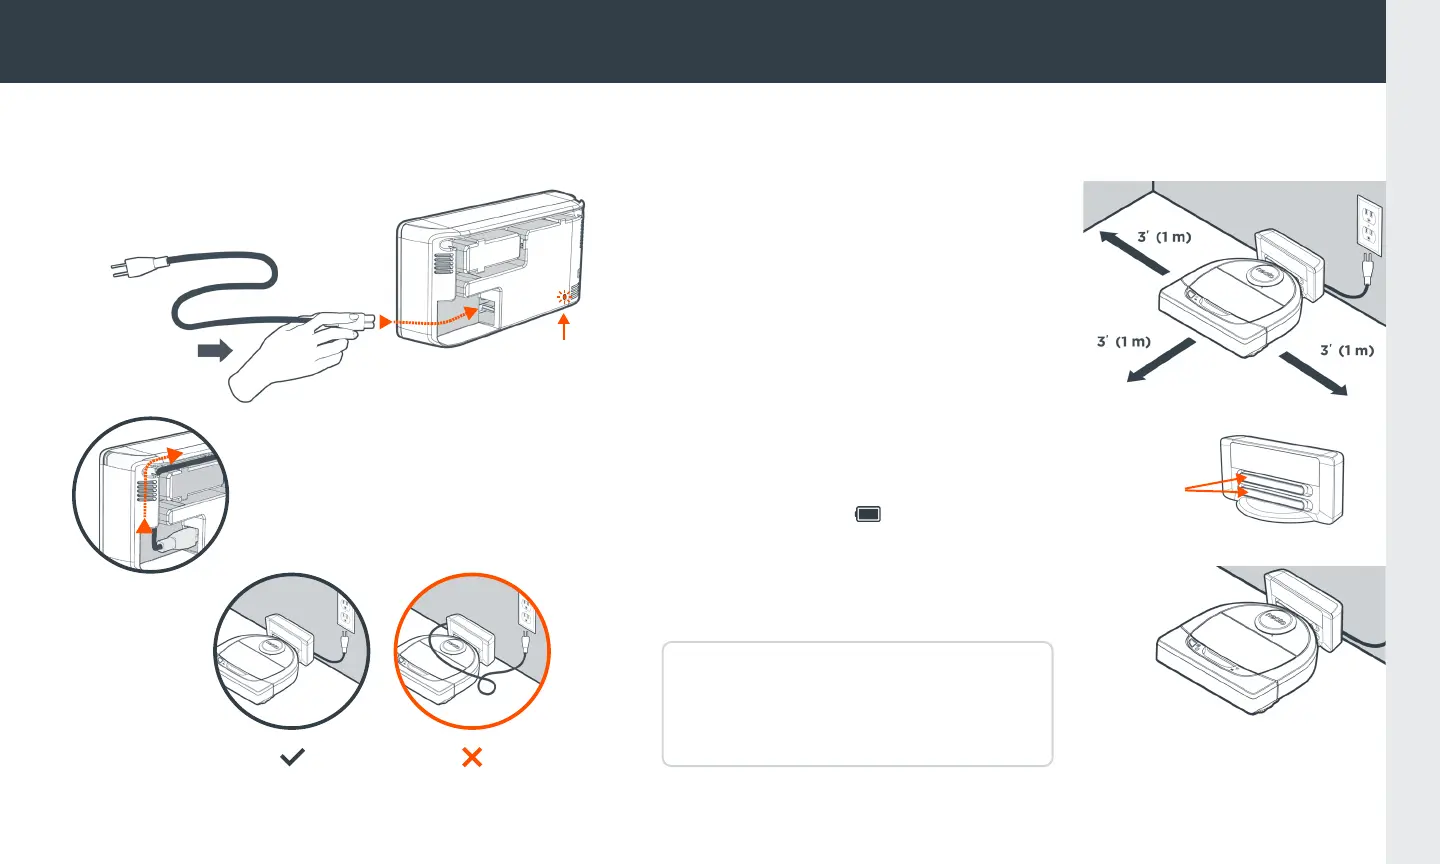
2 PLACE CHARGE BASE IN THE PROPER LOCATION
Choose a wall outlet that has a 3ˇ(1 m)
clearance on both sides and in front of the
charge base. This helps your robot find
the charge base.
Push the charge base against the wall
and plug in the power cord.
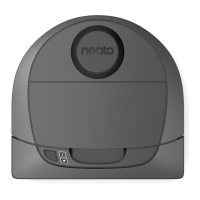
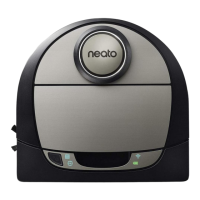
Place the rounded side of your Neato
robot against the metal charging
contacts on the charge base. The battery
LED should light up.
For best results, charge the robot fully
before your first cleaning cycle. A green
battery LED indicates a full battery.
SETTING UP YOUR ROBOT
ENGLISH
3 CHARGE YOUR ROBOT
Adjust the length of the
cord by wrapping it as shown.
NOTE: During bootup, the robot LEDs
next to the Start Button will blink. You
will need to wait for an audible tone
before performing additional functions.
Charging
Contacts
1 SET UP CHARGE BASE
Plug the power cord firmly into
the charge base.
When the cable
is plugged in LED
should light up.

 Loading...