TITAN12L1, 912L (w/1050)
Swing Gate System
QUICK START
INSTALLATION
GUIDE
22
support.hysecurity.com
CAUTION!
AC POWER
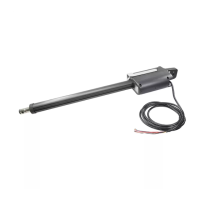
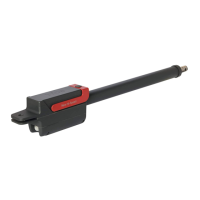
Actuator Cable
BlueBUS Wiring
Loop Wiring
Solar Panel Wiring
AC Power Wiring
6 foot min.
from pivot
install
Conduit for BlueBUS
and actuator cable
BlueBUS
Photo Eye
Open
Limit
Safety
Loop
Open
Limit
Close
Limit
8
16
9
10
3
4
5
15
11 11
12
1
7
7
7
2
6
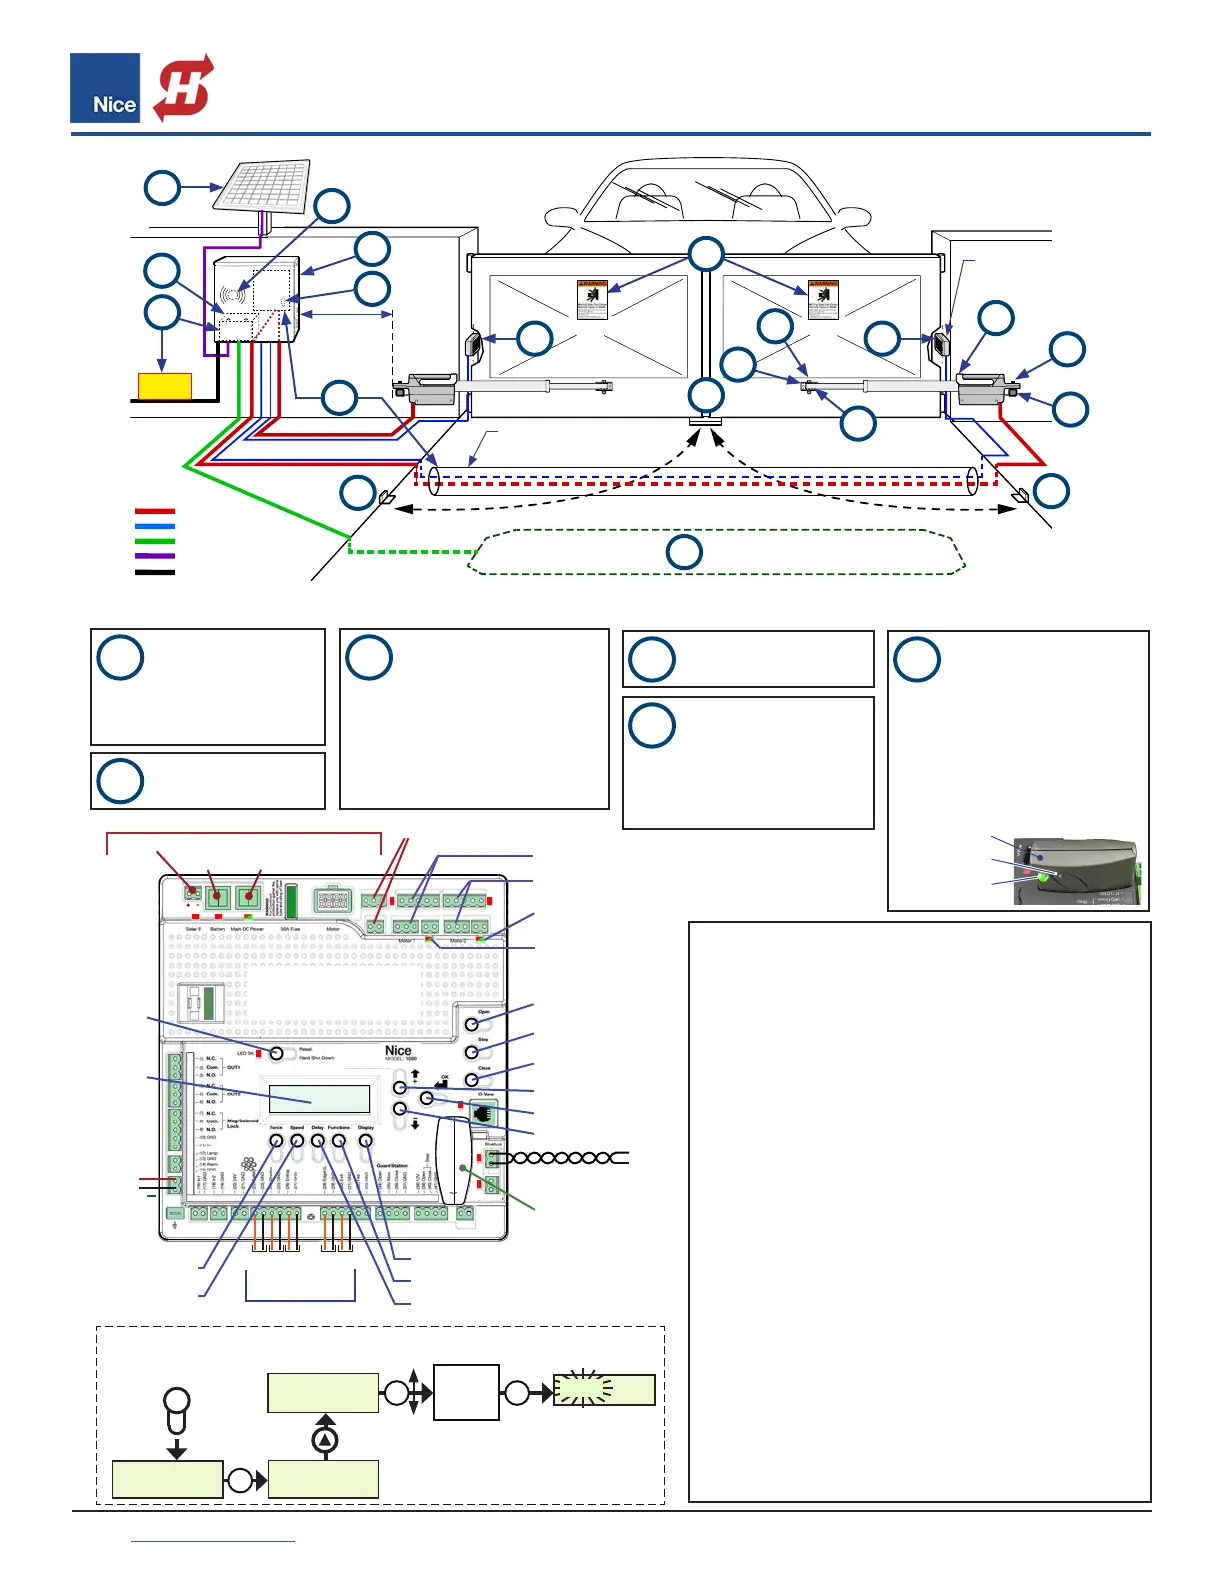
FIGURE 2: TYPICAL TITAN GATE SYSTEM (PULL-TO-OPEN, DUAL-GATE SHOWN)
Primary/Secondary
OPEN
MOTOR 2 Limit
LED (Red/Green)
MOTOR 1 Limit
LED (Red/Green)
MOTOR 1 Inputs
Button
OXI/A RX
Green LED
Solar
Panel
12VDC
Battery
DO NOT USE
POWER INPUTS
12-32VDC Power
Supply (Optional)
MOTOR 2 Inputs
STOP
CLOSE
UP
OK
DOWN
Exit
Edge
Entrap
Shadow
Safety
OXI/A Plugin
Radio Receiver
DISPLAY
FORCE
RESET
Display
SPEED
Safety Device Conn.
Audio
Alarm
BlueBUS Connector
+
FUNCTIONS
DELAY
FUNCTION
1. Learn
LEARN
Swing
FUNCTIONS
Button
PRESS
OK
OK OK
Light
Heavy
Average
Enter
LEARN
Slide
UP
Use UP/DOWN
buttons to
select
“Average”
BLINKING =
Learn Mode
GATE LIMIT LEARN PROCEDURE:
1. Test Gate Conditions: Remove pivot bolt(s) and move gate
to open/close positions. Check for free travel without bind-
ing, then reconnect actuator(s) to gate.
2. Connect power: See INSTRUCTION 13, above.
3. Enter Learn Mode: See FIGURE 4. NOTE: With “ENTER”
ashing, “OPEN” and “CLOSE” buttons must be held
down to operate. Complete Step 4 for each actuator/gate
individually (disconnect actuator NOT being adjusted). Re-
connect both actuators prior to Step 5.
4. Adjust Limit Location: a) Hold down “OPEN” button until
desired open position reached. If motion is opposite than
desired, switch RED and BLACK wires at motor input. b)
Adjust open limit until Limit LED glows GREEN. If illumi-
nated RED, switch ORANGE & WHITEWHITE wires at terminal
block. c) Hold down “CLOSE” button until desired close
position. d) Adjust close limit until Motor Limit LED illumi-
nates RED. e) Hold down “OPEN” until gate at middle of
travel. If dual gate, connect both actuator cables to board.
5. Commence Limit Learn: In Learn Mode (with “ENTER” still
ashing) press “OK” and the following events will occur:
a) Partial open. b) Slow travel in close direction. c) Slow
travel in open direction. d) Full speed in close direction.
Basic limit programming is complete. See the manual for ad-
ditional programming.
11
12
13 16
15
14
Install, and connect to con-
trol board, 100 feet max.
See 1050 diagram below.
al power supply, and/or solar
panels to board. See 1050 dia-
gram below. Run AC power to
AC-DC power supply, but do
NOT connect AC power direct-
ly to control board!
hold OXI/A RX button until
green LED lights solid, then
release. b) Within 10 seconds,
press/hold any key on Nice TX
until green LED blinks 3 times.
c) Wait 15 sec. then press TX
buttons to verify operation.
accessories, such as safety
loops, strobes, photo eyes,
or other safety devices. See
FIGURE 3 below.
Determine BlueBUS
photo eye locations:
Attach warning
signs to gate.
To power 1050 board,
connect battery, option-
Program receiver and
transmitters: a) Press/
Connect audio alarm,
then connect other
Perform limit learn
procedure (below).
15
13
13
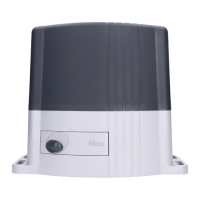
FIGURE 3: 1050
Control Board
FIGURE 3:
1050 CON-
TROL BOARD
FIGURE 4: ENTERING LEARN MODE (1050 BOARD)
 Loading...