Format #2 button (described later
in this chapter).
✦ Exposure compensation/Reset
#1. Hold down this button while
spinning the command dial to add
or subtract exposure from the basic
setting calculated by the D200’s
auto-exposure system. Hold down
simultaneously with the Image
Quality/Reset #2 button to reset
the D200 to its factory settings.
✦ Shutter Release button. Partially
depress this button to lock in
exposure and focus; press it all the
way to take the picture. Tapping
the shutter release when the
camera has turned off the autoex-
posure and autofocus mechanisms
reactivates both. When a review
image is displayed on the back-
panel color LCD, tapping this but-
ton removes the image from the
display and reactivates the autoex-
posure and autofocus mechanisms.
✦ On/Off switch/LCD illuminator.
Flip this switch to turn the D200
on or off. Move the switch all the
way to the right to illuminate the
LCD panel lamp, which remains
active while the metering system is
operating, or until you press the
shutter release down all the way.
20 Part I ✦ Using the Nikon D200
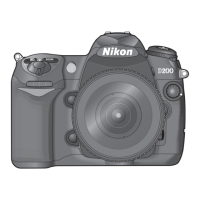
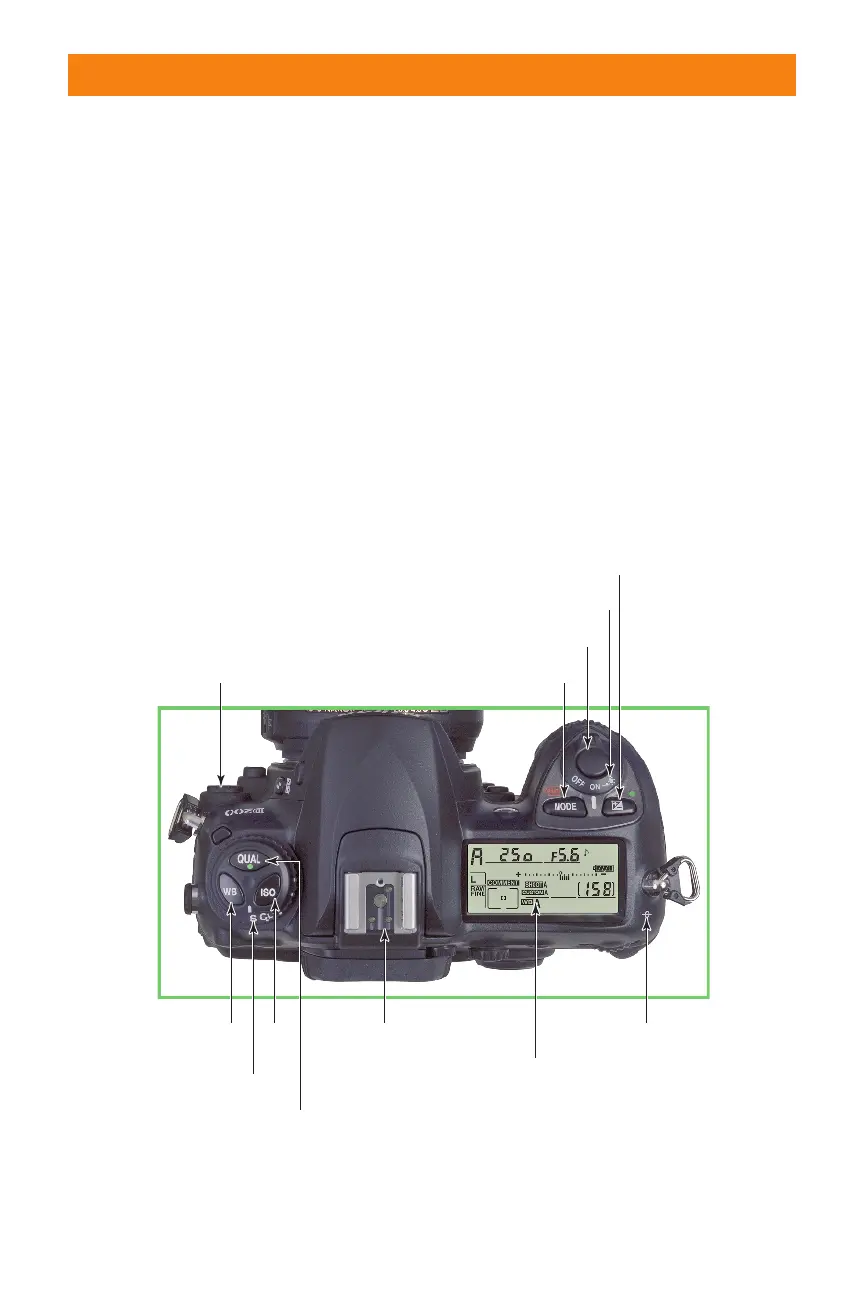
Mode dial
ISO
Flash accessory shoe
White
balance
Image Quality/Reset #2
Monochrome LCD status panel
Sensor focal plane
Mode dial lock
Shutter release
Exposure compensation/Reset #1
On/Off Switch/LCD illuminator
Metering Mode/Format #1
1.8. Key components on the top panel of the D200.
06_037482 ch01.qxp 9/18/06 1:38 PM Page 20
 Loading...