1
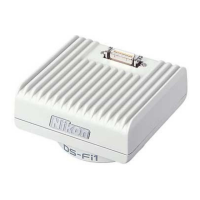
DS Camera Head DS-Fi2 / DS-Fi1 / DS-Vi1
DS Cooled Camera Head DS-Qi1Mc / DS-Fi1c / DS-Ri1
This section describes procedures for installation, connection, and startup of the DS-L3 based on the standard configuration.
Set the DS-L3 at the desired position.
Install the DS-L3 on a level surface of a desk, etc., with its stand
arm open, and adjust the stand arm angle.
Using the stand arm
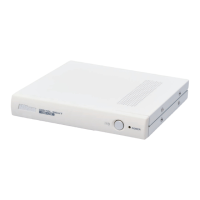
Connect the DS-L3 with peripheral devices.
Connect a DS camera head and the AC adapter to the DS-L3,
and insert a CF card or USB memory stick.
CF CARD
Connecting the DS-L3 and peripheral devices
Note: When plugging the power cord, be sure that:
• all other connections are setup; and
• the power cord is connected directly to the AC socket
(100-240 VAC).
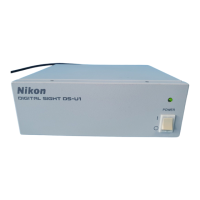
Switch on the power to the DS-L3.
Push the POWER switch on the front of the DS-L3 to turn it on.
Operating the POWER switch
When the power is on, the POWER indicator lights up, and the
start screen is displayed on the monitor for a few seconds.
Start screen
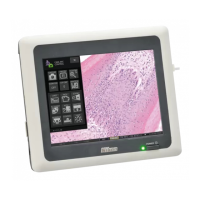
Check the monitor for the live image.
After the start screen, the task bar and the live image from the
DS camera head are shown on the monitor.
Live image on the monitor
Note: The live image may be unclear depending on the
settings or conditions of the optical device.
M555 E 11.9.NF.1 (2/3)
Q
Q
u
u
i
i
c
c
k
k
R
R
e
e
f