Chapter 3 Installation and Connection
12
Please Read
First t
3.2.2
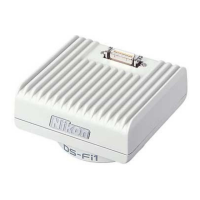
Connecting a DS Camera Head
This section shows the procedure for mounting a DS camera head on an optical device and for connecting it to DS-L3 using
the accessory DS camera cable.
Cautions on DS camera head installation
• Mount the DS camera head before connecting the DS camera cable.
• Dust adhered on the image pickup device will affect the quality of photographed images. Attach the DS camera head
to the optical device as soon as you remove the C mount cap. Do not leave the DS camera head with the cap
removed.
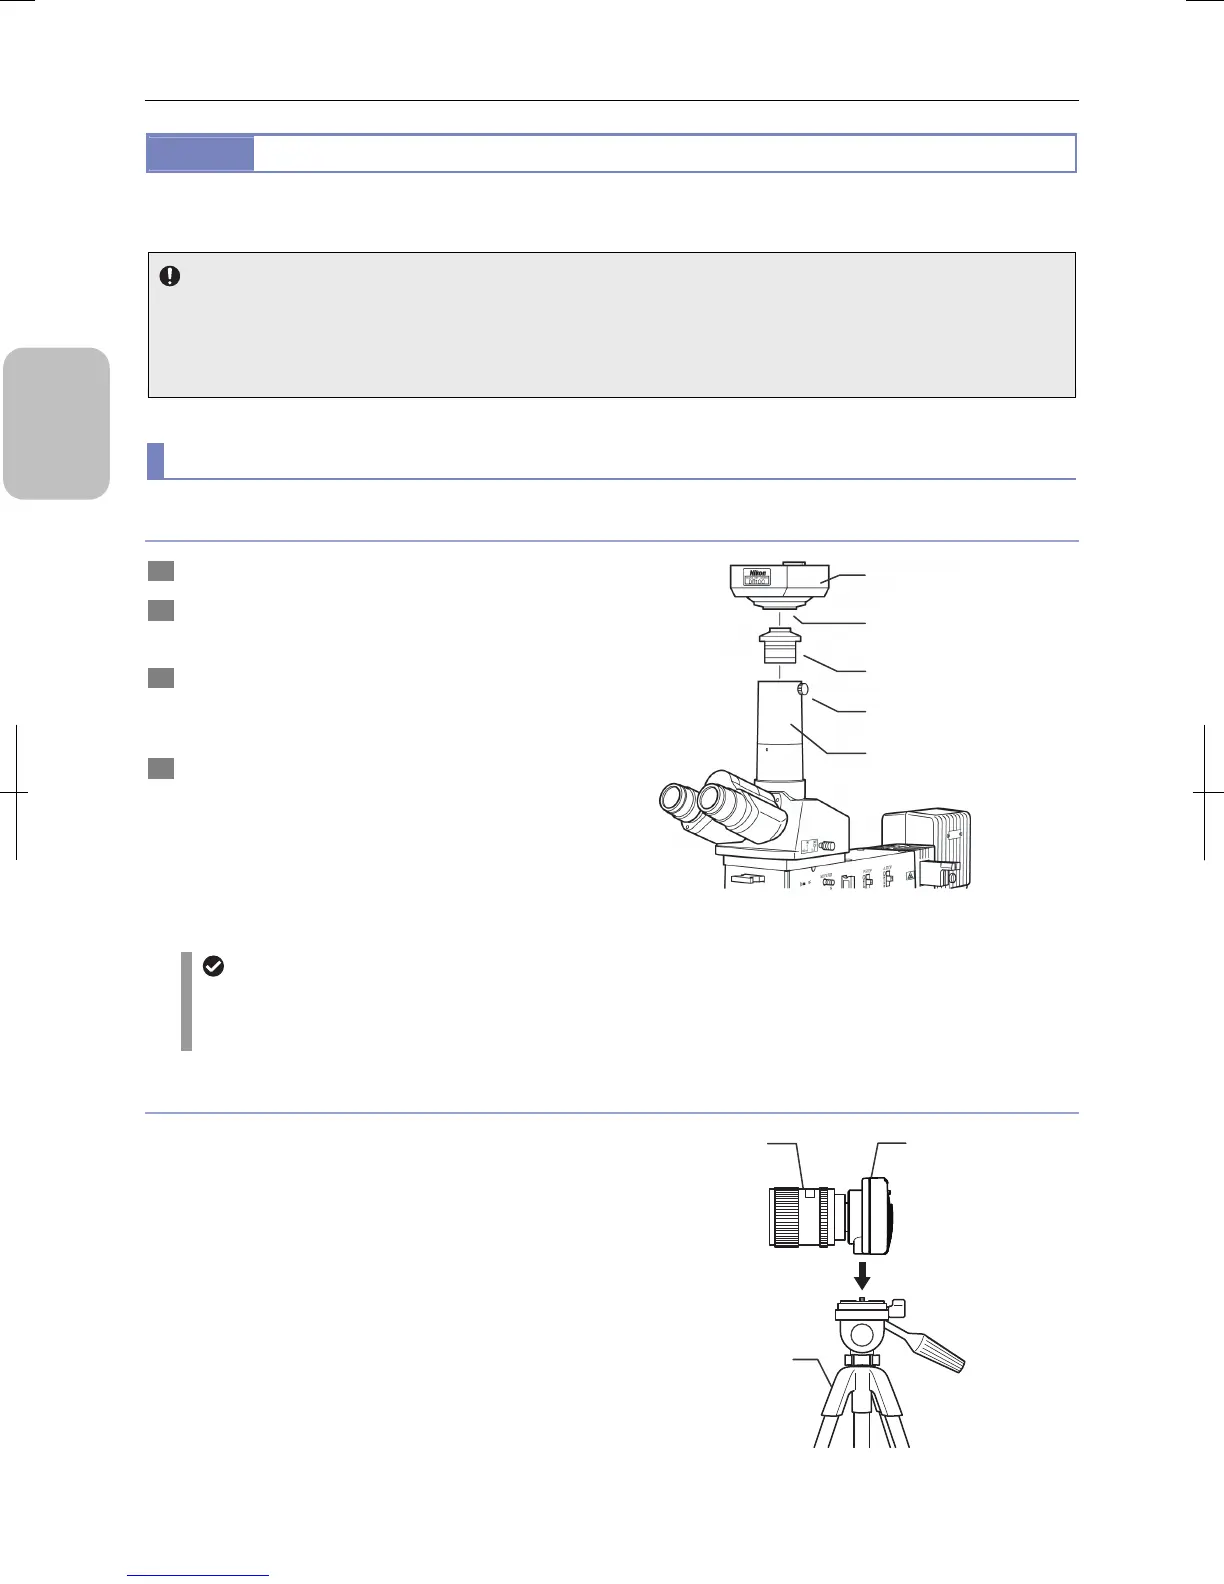
(1) Attaching DS camera head to an optical device
Mounting the DS camera head on a microscope
1 Remove the C mount cap from the DS camera head.
2 Make sure there is no dust on the C mount adapter.
If there is, use an air blower or similar means to remove it.
3 Mount the C mount adapter into the C mount on the DS
camera head.
Screw it in as far as it will go.
4 Insert the C mount adapter to the camera port of the
microscope, and tighten the clamp screw to fix it.
Example of microscope mounting
Using a relay lens
You can also attach a relay lens on the camera port. We recommend the x0.7 relay lens for the DS-Fi2, DS-Fi1,
DS-Fi1c, DS-Qi1Mc, and DS-Ri1. We recommend the x0.55 relay lens for the DS-Vi1. When you have mounted the
DS camera head on a microscope, be sure to read “7.2 Setting the Environment for Microscope Photographing”.
Installing a third-party C mount lens on the DS camera head
Select a mountable lens (see “1.3 Peripheral Devices That Can
Be Used”), then screw it into the C mount of DS camera head.
The tripod mount on the DS camera head can also be used to
mount the DS camera head on a tripod.
Note: Note that the image quality of DS-L3 is tuned for
microscope photographing.
Example of using C mount lens and tripod
DS camera head
(side view)
C mount lens
Tripod
(commercial item)
DS camera head
(C mount)
C mount adaptor
Vertical cylinder of
microscope
Clamp screw
 Loading...