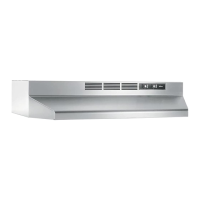
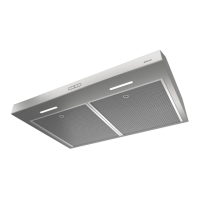
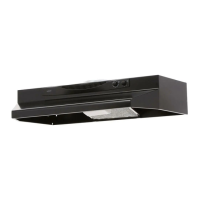
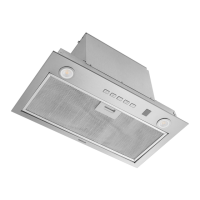
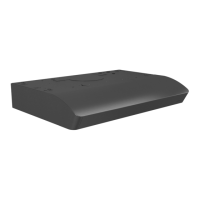
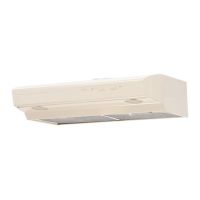
INSTALLATION INSTRUCTIONS
RL6100C, RL6100F, BP, CM & HFRM SERIES RANGE HOODS
FIGURE 4
FIGURE 3
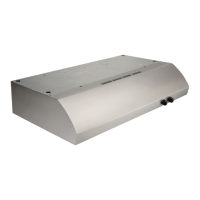
DUCTLESS INST
ALLA
TION (BP
, RL6100F and HFRM)
For a ductless installation a charcoal filter kit is required.
For BP/RL6100F/HFRM (Series) order conversion kit (FKM65) .
A. Remove louver cover from front of hood and discard. (Fig. 3)
B.
Lay the charcoal filter in the recess on the top side of the aluminum filter.
C. Install the converted filter using the clips to hold in place.
FILTER
CLIPS
FKM-65 FILTER
(FOR DUCTLESS
OPERATION ONLY)
ALUMINUM FILTER
PREPARATION
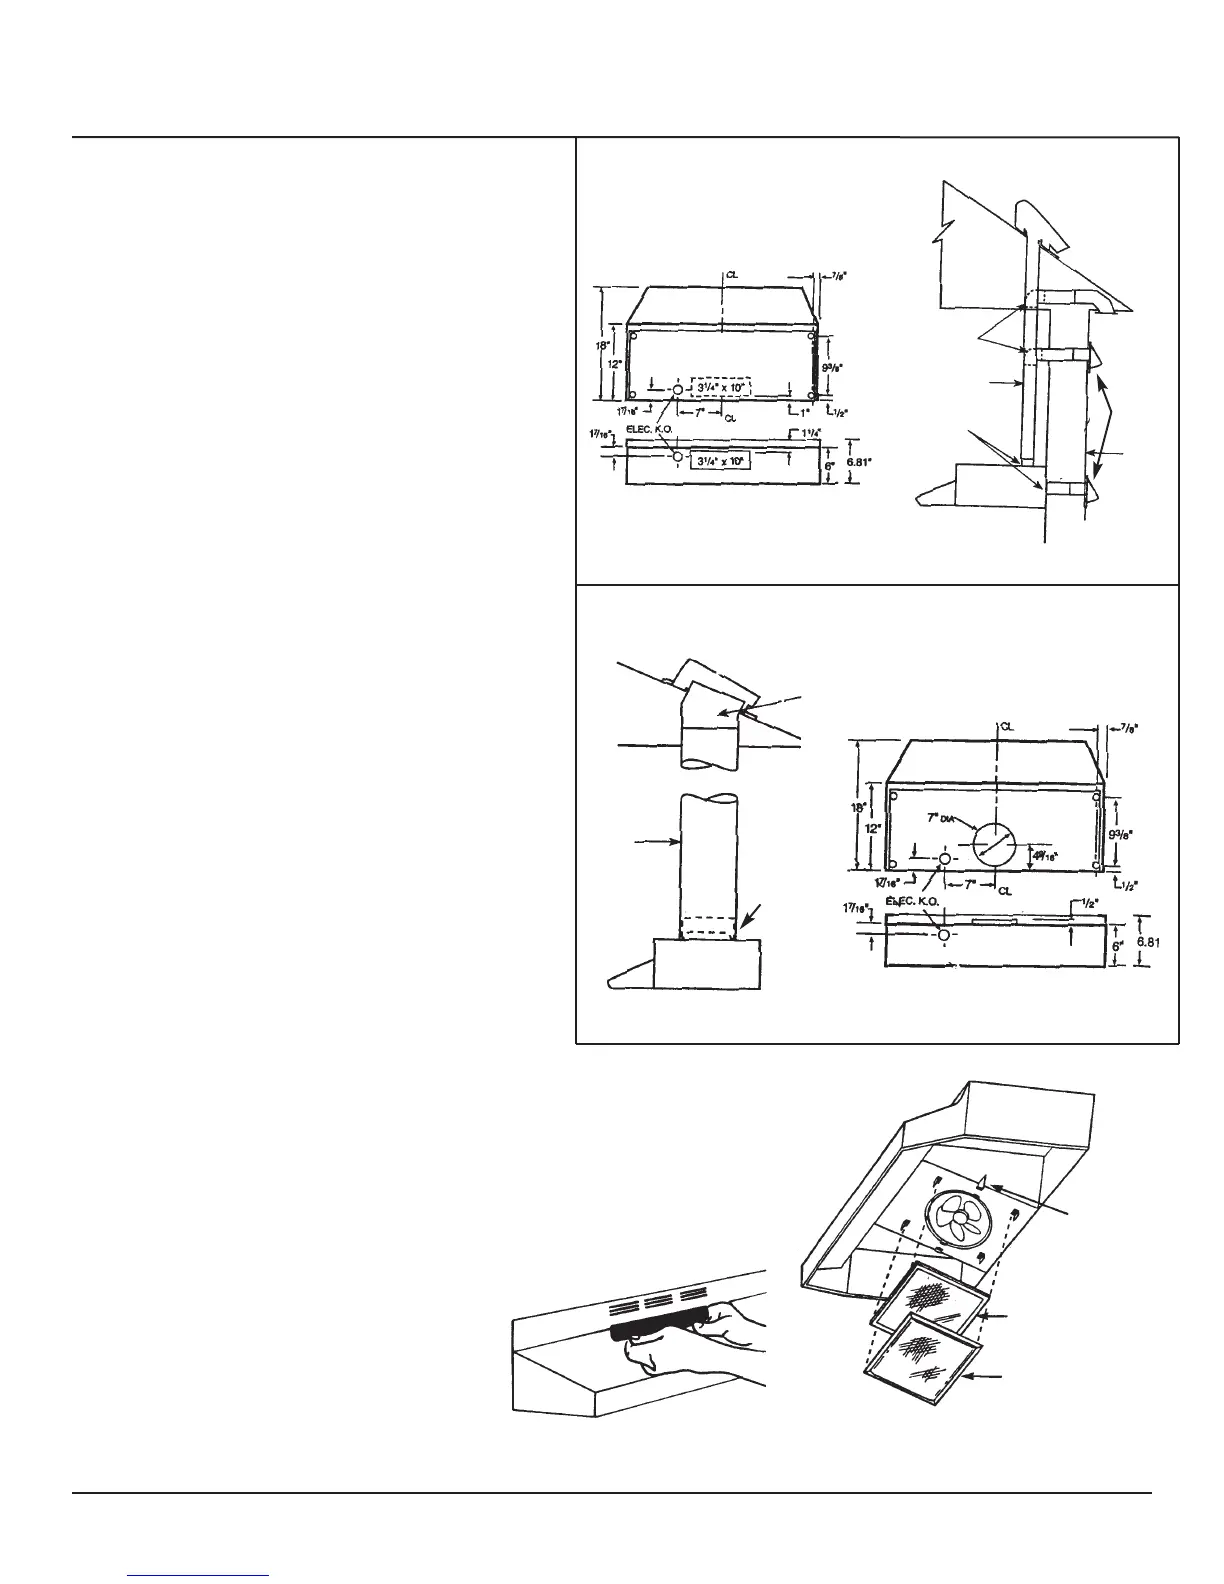
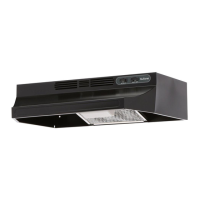
1. Use the dimensional drawing to lay out the Range Hood’s
mounting holes, wiring access and ductwork.
2. Make cutouts for wiring and ductwork.
3. If the hood is to be ducted, install the ductwork so that it is flush
to the Range Hood’s mounting surface.
• Refer to Figure 1 or 2.
4. Run two-conductor wire (with ground) from a power source to
the hood location. Bring approximately 12” of wiring through
wiring hole in cabinet.
5. Drill four 3/32” diameter pilot holes at points where mounting
holes are marked in the filler strips or cabinet bottom.
6. Insert four (4) mounting screws (not included), leaving
approximately 1/4” of thread exposed. Use No. 8 or No. 10
round head screws
DUCTED INSTALLATION
1. Attach duct transition to top or back of hood using screws
provided. (Refer to figure 1 or 2)
Note: for horizontal venting the damper in the duct transition
may be removed to avoid interference with the wall cap.
2. Remove top or back wiring knockout from the hood and feed
the wiring into the electrical box.
3. Align hood’s keyhole mounting slots over the four partially
installed screws.
4. Making sure the duct positions over the hood’s duct transition,
push the hood against the rear wall. Secure hood by tightening
screws.
5. Using a long blade screwdriver, reach into the discharge
openings and be certain the damper operates freely.
6. Secure ducting to hood.
FIGURE 1
VERTICAL
OR HORIZONTAL DISCHARGE
USING 3
1
/4” x 10” DUCT
CUTOUT DIMENSIONS
ROOF CAP
WALL
CAP
3
1
/4”x 10”
SLEEVE
WALL
SUPPLIED DUCT
TRANSITION
3
1
/4” x 10” DUCT
ELBOW
(If required)
FIGURE 2
VERTICAL DISCHARGE
USING 7” ROUND DUCT
CUTOUT DIMENSIONS
ROOF CAP
ADJUSTABLE
ELBOW
(If required)
ROOF
7” ROUND
DUCT
RANGE HOOD
RANGE
HOOD
FILTER CLIP
INSTALLATION
7” ROUND
TRANSITION
(Not Included)