VISERA ELITE II Quick Reference Guide
Disclaimer: Information provided in this guide is not exhaustive. Please refer to the complete Instructions For Use for each
item of equipment which should be thoroughlyread and understoodprior to handling, use and storage of the equipment.
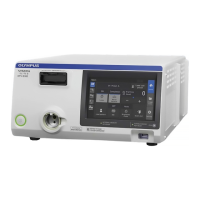
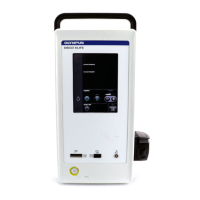
Light SourceCamera HeadSwitch On
Switch on the camera system using the workstation master
switch which will then turn from white to green.
There is a secondary power switch on the transformer
under the workstation. This should remain switched on.
Insert the camera head into the camera processor,
ensuring the connector is the correct way up.
Connect the light guide cable to the output socket.
If required, turn the lamp off by pressing and holding the
lamp button.
Note: The “Lamp” status is stand-by when the light guide
connector of the endoscope or the light guide cable is not
connected to the output socket of the video system
centre while the lamp is turned ON.
Caution: Do not touch the endoscope’s distal end and light
guide connector while the examination lamp is lit up. The
endoscope becomes hot while the examination lamp is lit
up and could cause operator burns.
UP mark
Video connector
Electrical contacts
Video connector socket
UP mark
Video connector
The colour bars on the monitor will now be replaced with
an image from the camera head.
Output socket
OT
Lamp
Lamp status