Linkr
LINKR-LT/TELE-CONN~~T
·. UNKRH_
QIM
~:
02
~~~
23
:,'.
le
\ttmci<
INSTALL
GUID£
:.
~ ·
(lM.ffiM
,.
M
0
8
I L E
support:
800-921-TECH
(8324)
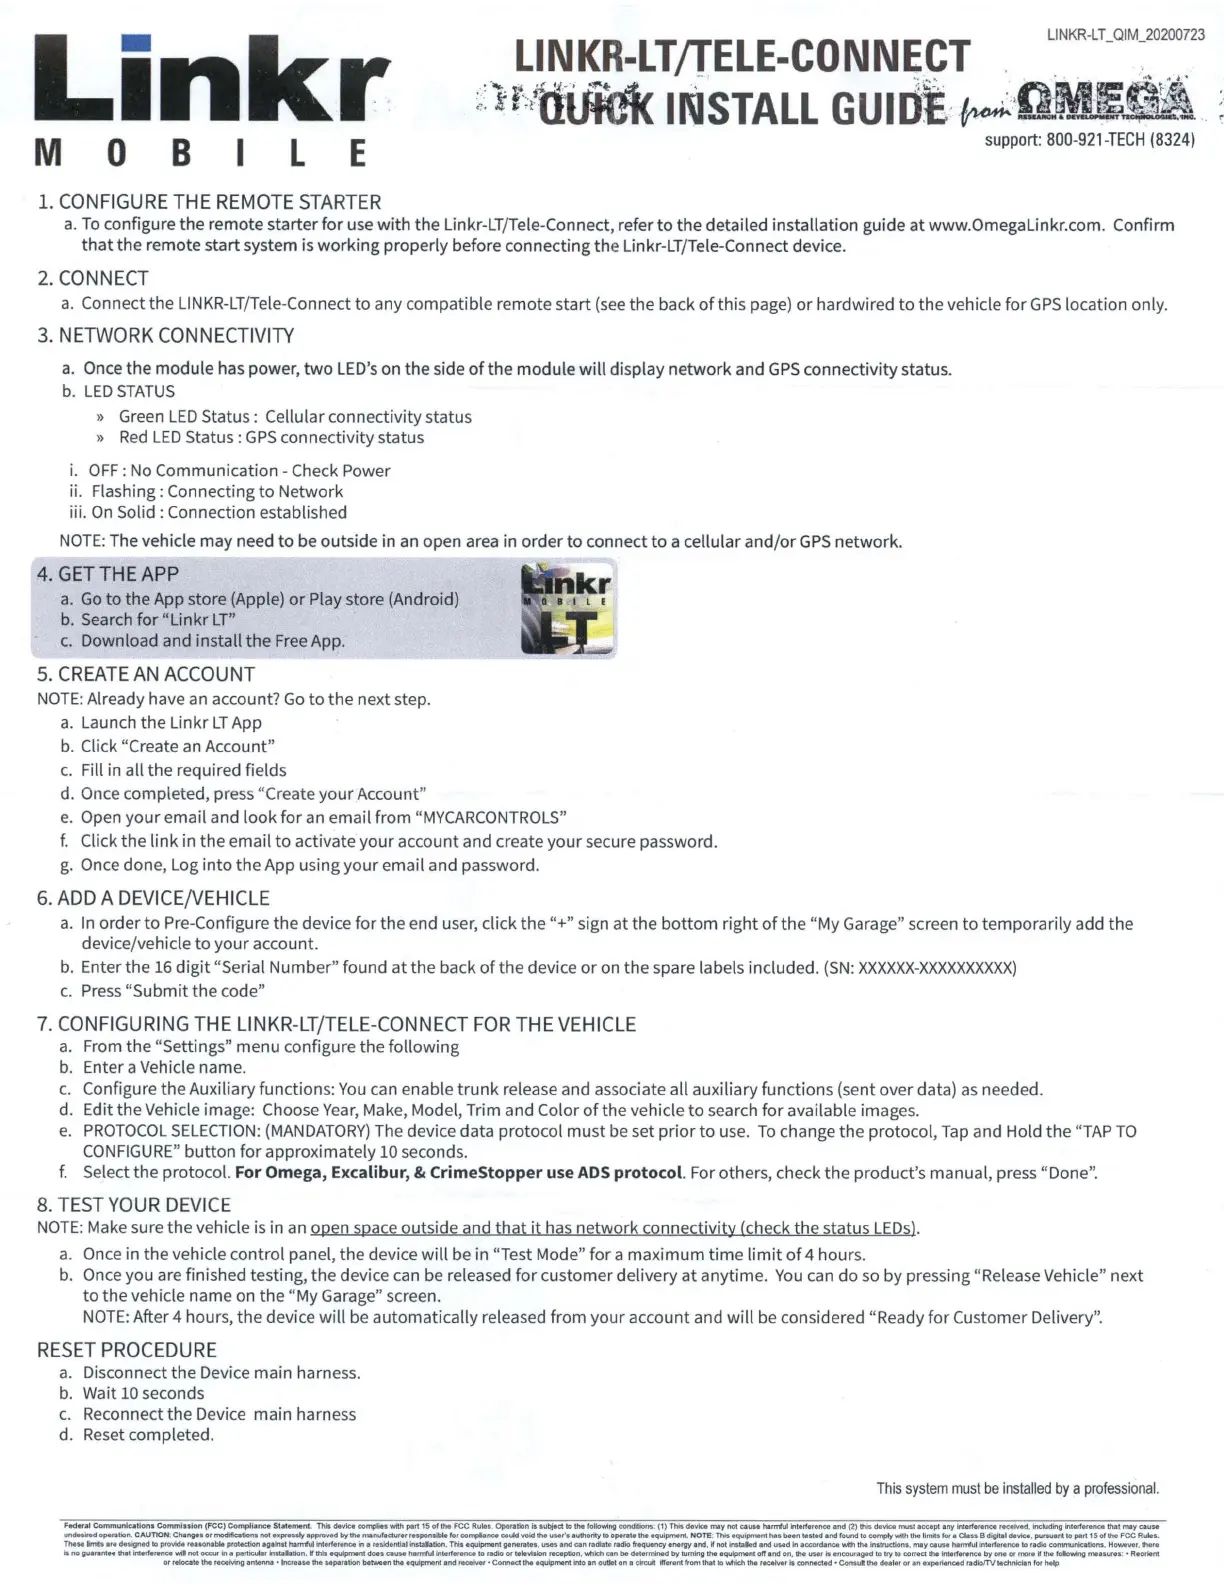
1.
CONFIGURE
THE
REMOTE
STARTER
a.
To
configure the remote starter
for
use
with
the Linkr-LT/Tele-Connect, refer
to
the detailed installation guide at www.OmegaLinkr.com. Confirm
that
the remote start system is working properly before connecting the Linkr-LT/Tele-Connect device.
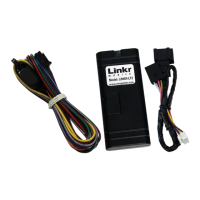
2.
CONNECT
a.
Connect the
LIN
KR-LT/Tele-Connect
to
any compatible remote start
(see
the back
of
this page) or hardwired
to
the vehicle for
GPS
location only.
3.
NETWORK
CONNECTIVITY
a. Once the module has power,
two
LED's
on the side
of
the module
will
display
network
and
GPS
connectivity status.
b.
LED
STATUS
» Green
LED
Status: Cellular connectivity status
»
Red
LED
Status:
GPS
connectivity status
i.
OFF:
No
Communication - Check Power
ii. Flashing : Connecting
to
Network
iii.
On
Solid : Connection established
NOTE:
The vehicle may need
to
be
outside in
an
open area in order
to
connect
to
a cellular
and/or
GPS
network.
4.
GET
THE
APP
a.
Go
to
the App store (Apple)
or
Play store (Android)
b.
Search for
"Linkr
LT"
c.
Download and install the
Free
App.
5.
CREATE
AN
ACCOUNT
NOTE
: Already have an account?
Go
to
the next step.
a.
Launch the Linkr
LT
App
b. Click "Create
an
Account"
c.
Fill in all the required fields
d. Once completed, press "Create
your
Account"
e.
Open
your
email and look for
an
email from
"MYCARCONTROLS"
f. Click the link in the email
to
activate
your
account and create
your
secure password.
g. Once done, Log into the App using your email and password.
6.
ADD
A
DEVICE/VEHICLE
a.
In
order
to
Pre-Configure the device
for
the end user, click
the"+"
sign at the
bottom
right
of
the "My Garage" screen
to
temporarily add the
device/vehicle
to
your
account.
b.
Enter the 16
digit
"Serial Number" found
at
the back
of
the device
or
on
the spare labels included.
(SN:
XXXXXX-XXXXXXXXXX)
c.
Press
"Submit
the code"
7.
CONFIGURING
THE
LINKR-LT/TELE-CONNECT
FOR
THE
VEHICLE
a. From the "Settings" menu configure the following
b.
Enter a Vehicle name.
c.
Configure the Auxiliary functions:
You
can enable
trunk
release and associate all auxiliary functions (sent over data)
as
needed.
d. Edit the Vehicle image: Choose
Year
, Make, Model, Trim and Color
of
the vehicle
to
search for available images.
e.
PROTOCOL
SELECTION:
(MANDATORY)
The device data protocol must
be
set
prior
to
use.
To
change the protocol,
Tap
and Hold the
"TAP
TO
CONFIGURE"
button
for approximately 10 seconds.
f. Select the protocol. For Omega, Excalibur, & CrimeStopper use
ADS
protocol. For others, check the product's manual, press " Done".
8.
TEST
YOUR
DEVICE
NOTE:
Make sure the vehicle
is
in an open space outside and
that
it
has network connectivity /check the status
LEDsl.
a.
Once
in the vehicle control panel, the device
will
be in "Test Mode" for a maximum
time
limit
of
4 hours.
b.
Once
you are finished testing, the device can
be
released for customer delivery at anytime.
You
can
do
so
by pressing "Release Vehicle" next
to
the vehicle name
on
the "My Garage" screen.
NOTE:
After 4 hours, the device
will
be
automatically released from your account and
will
be
considered " Ready for Customer Delivery".
RESET
PROCEDURE
a.
Disconnect the Device main harness.
b.
Wait 10 seconds
c.
Reconnect the Device main harness
d.
Reset
completed.
This
system
must
be
installed
by
a
professional.
F
«le,al
C
ommunlc
1tlon1
Commissio
n (
FC
C) Compliu
,ce
Stat
ement.
Thi. device co"1)tiff with part 15 of the FCC
RulH
Operation
Is
subject lo
1h41
following conditiuM: (1) Th
il
dlt't'tot may not
aUM
harl'Ttul
in
lu f
ere
nce
■
nd
{2) this deYic• must
■
ccepl
any lntllffarenc;,e
r~itd
. ind.Kling
interf
■
renca
that
mey
cause
undnhd
~ration
. CAUTION:
Cha••
or
modifications not
t1J1pressly
1pproffd
by
llMo
m11nu
l1c:tur1r
rn
po11
tlble
l
ot
oompbnc:.
eould
lo'Old
thlo
user's
1U1horify 10 opa111i.
llM,
t,qulprrMnt. NOTE: This t,quipmant
hH
been
t
ntN
■
nd
found
to
co"Wwth
the l
inils
for
■
Ciau
B digital
device
,
puBU
■
nt
to
part
15
of the
FCC
Rule
s.
n,,.
..
lrrits
a,e
designed
lo
provide rea&0nable protection eg1ln1t h1
mtul
lnterterenc.
In
1
,esldentll
l
inl
ta
lation. This equipment
generates
.
uses
and can radllta radio h quency enervY and,
Jr
no1 Instilled
ind
UNd
In
eeeorcllnc.
'Mlh the ln1ttuctlon1. may
cauw
h111ffiH
lnlufe1enca
lo
radio eomrnunlcetions. H
o-w
r. lhefe
k no
gu1111ntH
dial
intert.rtnce
>M•
not OOC\#
In
e particular lnsi.lalion. If
1h11
equipment d
oes
CIIUN
hemtul
inte
lf
e,enca
lO
radio or 1
11111\slon
rKeption, v.ttich can be determined
by
turning the equipment off i nd
on
. lhe
Ufff
ii
enoour11ged to
try
to
c.orred the lntelfe
rt
nc.
by
OM
Of
mort
if the lolov,wig
menures
: • Reorient
or 1eloelte the 1ecaMng antenna •
lncrHN
the
s.panition
ber-
en the equipmeM
ind
reeeillef •
Conned
the equipment
In
to en outlet
on
I dreuil
ifflf..rt
fr
om 1
h11
lo
vJlith the
rec.1\111
II
connected •
Consul
the
deale
r
o,
an
Hp,11iencad radio/TV technician for help
 Loading...