USE & MAINTENANCE
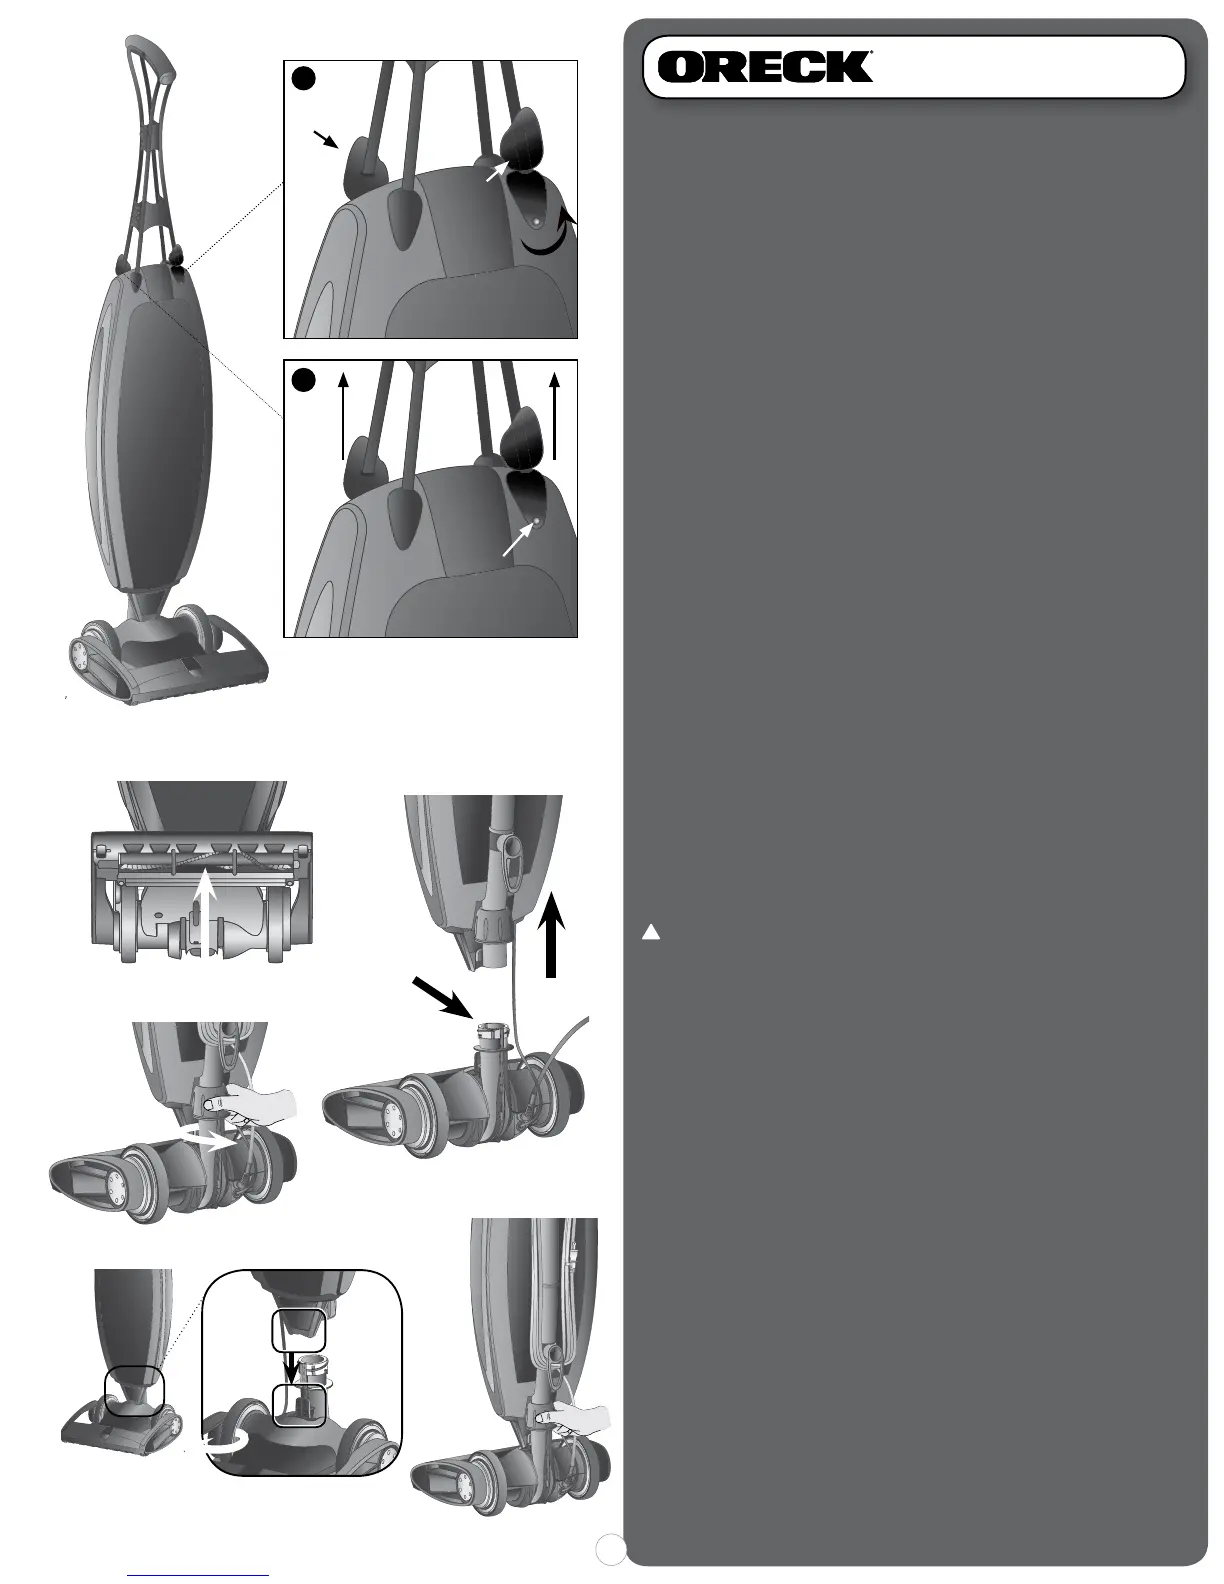
Disassembling the Handle
Note: The upper handle assembly is held in place by two
spring loaded pins. To remove the handle, both spring
loaded pins must be depressed at the same time.
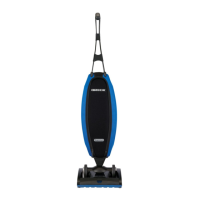
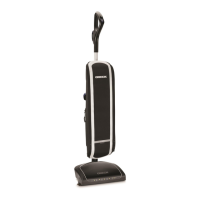
1. Place the unit on a table so that the vacuum handle is at eye
level.
2. Facing the front of the vacuum, flip rubber covers A & B up.
Keep both flaps flipped upright.
3. Locate the silver-colored push pin under flaps A & B.
4.
Use a small household item such as a ballpoint pen, screwdriver,
or paper clip to depress the silver-colored push pin. While
keeping an upward pull on the handle, insert the tip of the
household item into the silver-colored push pin until you feel
a release.
Note: When button is depressed make sure to keep handle
slightly pulled up.
5. Rotate the vacuum 180 degrees and repeat steps 1-4 in flap B.
6. After depressing both silver-colored push pins in flaps A & B,
the handle will release.
A
Pin
A
Pin
B
3
4
Stuffing or Blockage
IMPORTANT: On plush and new carpets, stuffing may occur inside
the intake tube and the lower tube assembly. This is due to
excessive fuzz and loose cuttings in the carpet. Stuffing could
occur for the first few cleanings until all the loose material is
removed. Due to the high efficiency of the vacuum, many older
carpets will cause stuffing when the vacuum is first used on them.
If your vacuum does not pick up properly, or makes unusual noise
and the outer bag does not fluff up or balloon open, follow these
steps:
WARNING: Unplug cord from electrical outlet before servicing.
7.
Check for blockage at the mouth of the intake opening. If
there is blockage, remove it with long-nose pliers, a screwdriver
or coat hanger.
8. Twist lower collar counterclockwise to slide up. Pull tube
out of base. Check for blockage. If blockage is in the tube,
remove with a coat hanger.
9. If tube is not blocked, look into fan housing. Remove debris
with long-nose pliers, a screwdriver or coat hanger.
10.
Insert tube and push down until the tube is seated. Make sure
O-ring is in place against fan housing opening.
11.
To finish reassembly, replace and tighten collar clockwise until
collar locking tabs are locked in place.
NOTE: Many times blockage occurs due to a full disposable inner
bag causing dirt to back down the air flow system. When that
happens, the blockage will be at the top of the system, starting
in the area where the disposable inner bag connects to the
connector assembly. If the above actions do not correct the
problem, contact an Oreck authorized service center or call the
customer service center.
US: 1-800-989-3535 Canada: 1-888-676-7325
7
8
9
10
11
6
 Loading...