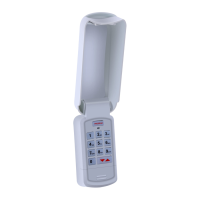
What do xed code dip switches look like and how to convert them for programming the Universal Keypad?
The DIP SWITCHES will be located on the garage door opener motor head or inside the remote control.
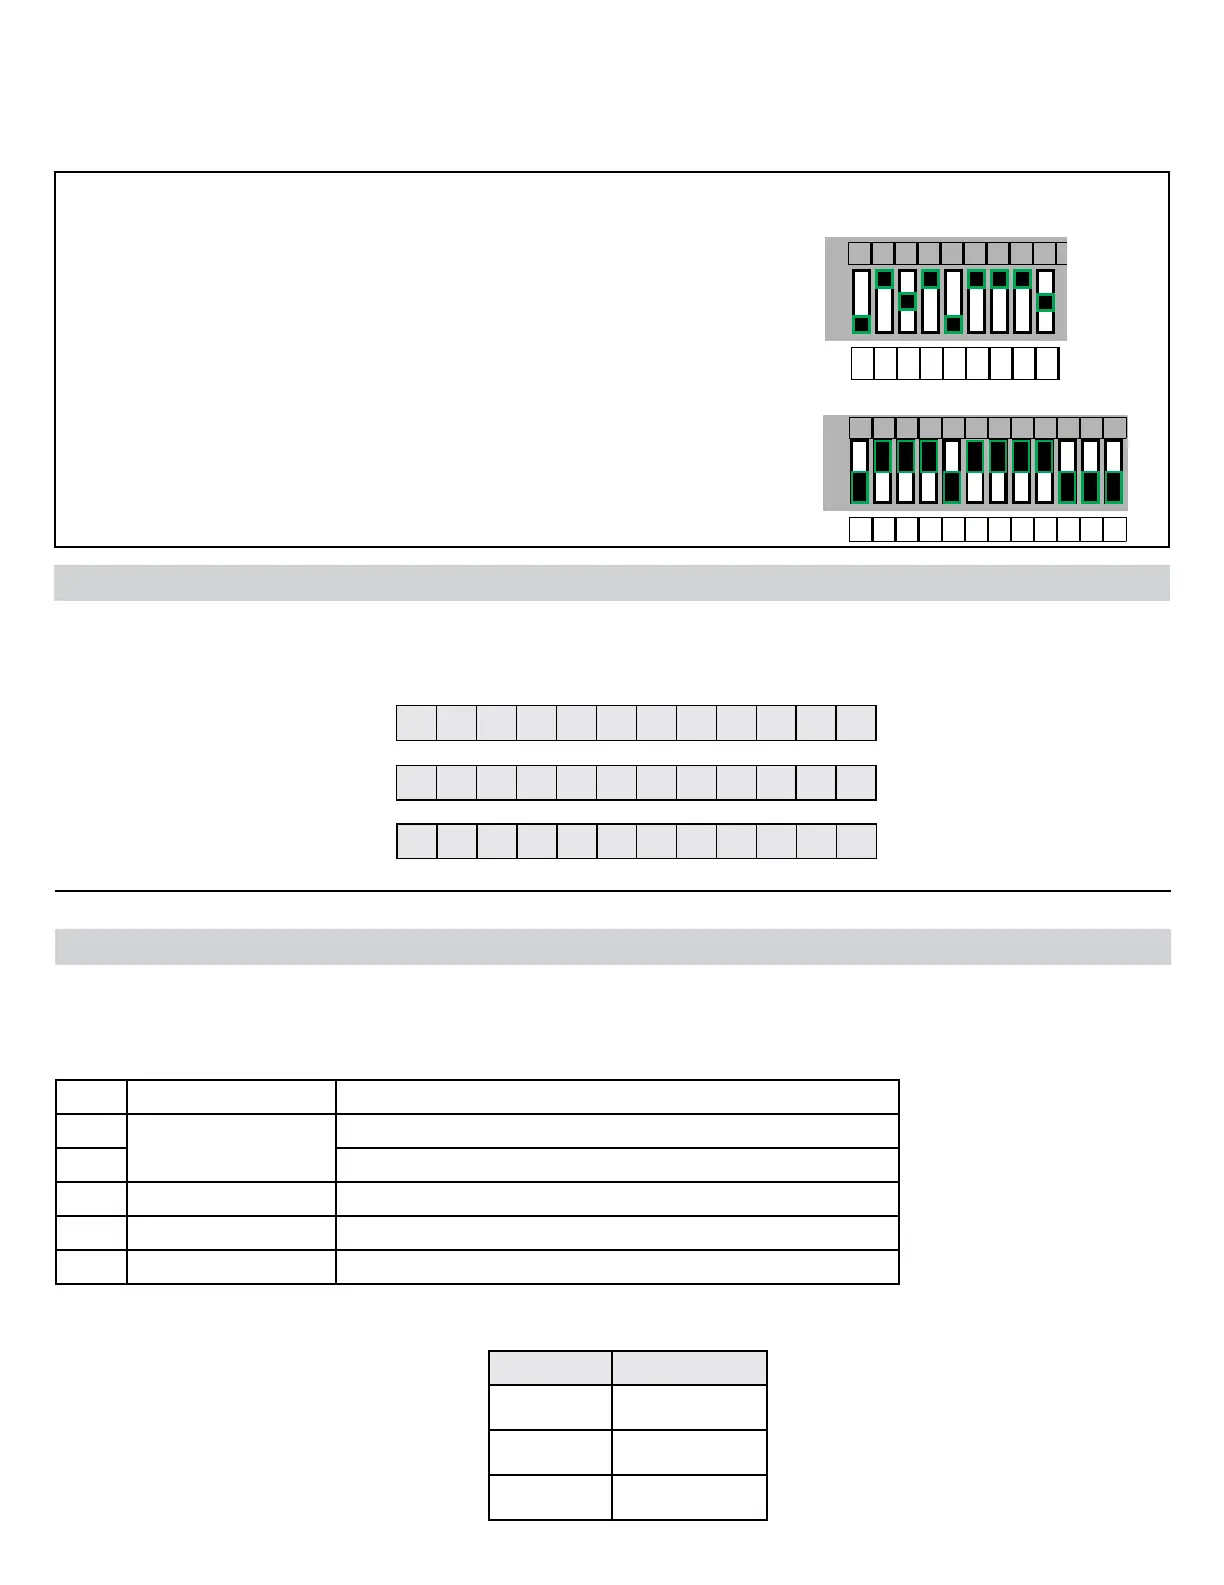
If the opener has a group of 9 switches with 3 positions per switch (TRINARY):
• Switch in the UP (+) position = Press button 1
• Switch in the MIDDLE (0) position = Press button 2
• Switch in the DOWN (-) position = Press button 3
In this example, the code would be:
If the opener has a group of 9-12 switches with 2 positions per switch (BINARY):
+
1 2 3 4 5 6 7 8 9 10 11 12
In this example, the code would be:
• Switch in the UP (+) position = Press button 1
• Switch in the DOWN (-) position = Press button 2
2 1 1 1 1 1 1 12 2 2 2
+
0
1 2 3 4 5 6 7 8 9
3 31 1 1 1 1 22
UNIVERSAL KEYPAD INSTRUCTIONS FOR DIP SWITCH COMPATIBLE MODELS
This is a Universal Keypad supplemental instruction for dip switch compatible operators. Use this in place of
Step 3 of the main instruction. Reference the main instruction for all other keypad features and functions.
ID# Brand Name Garage Door Opener Specication Notes
21
*Genie®
390 MHz, 12 Switch / 2 Position Dip Switch*
22 390 MHz, 9 Switch / 2 Position Dip Switch*
23 Stanley® 310 MHz, 10 Switch/ 2 Position Dip Switch*
31 *Overhead Door® 390 MHz, 9 Switch / 3 Position Dip Switch*
32 *Chamberlain® 390 MHz, 9 Switch / 3 Position Dip Switch*
Below are the DIP switch model brands and specications that this keypad is compatible with. Find the ID# in
Chart B below that references the specic opener specication.
All listed names and trademarks are the property of their respective owners.
STEP 1: Find and notate DIP SWITCH positions
STEP 2: Find and notate opener ID#(s)
Each shaded box below represents a DIP switch position. In these boxes, write in the number 1, 2 or 3 as it
corresponds to the +, 0, or - switch position shown on the remote, opener or receiver. You will need to reference
this section in STEP 3 later. (Not all boxes will be used when working with 9 switch openers).
Opener ID#
Opener 1
Opener 2
Opener 3
Write ID#(s) Here.
CHART B
Convert the code for opener #1:
Convert the code for opener #2:
Convert the code for opener #3:
You will need to reference this
section in STEP 3 later.
 Loading...