INSTALLATION GUIDE
02
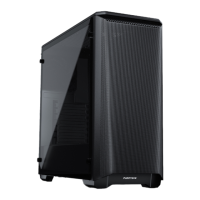
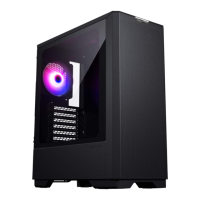
LEFT SIDE PANEL REINSTALL SIDE PANEL
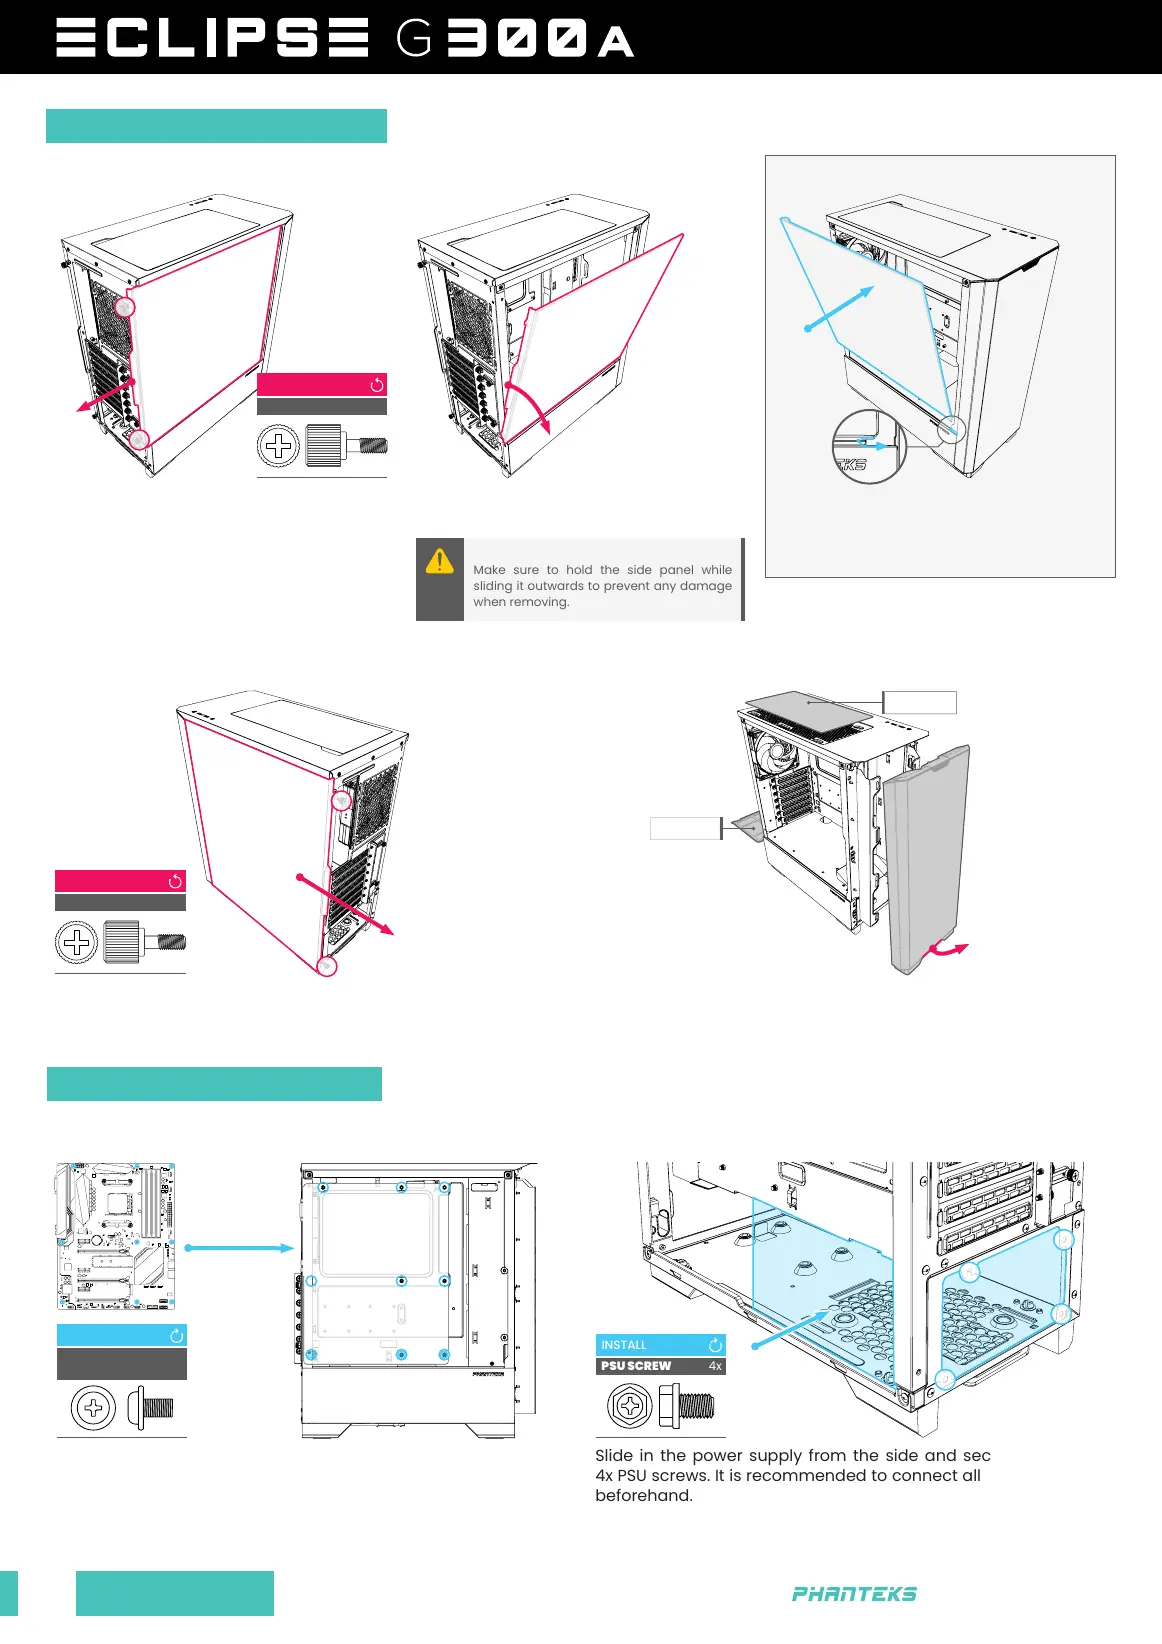
MOTHERBOARD POWERSUPPLY
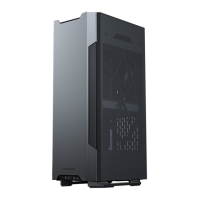
RIGHT SIDE PANEL FRONT PANEL & DUST FILTERS
Loosen the 2 thumb screws and slide to
remove the tempered glass side panel.
Remove the glass panel, set it aside in a
safe location to prevent damage.
When returning the left side panel, align
the bottom right with the slit in the chassis.
Slide the panel forward and secure with 2
thumb screws at the back.
Remove front panel by pulling the panel from below.
Install the ATX motherboard using 9x motherboard screws.
For M-ATX Motherboards follow the motherboard instructions to
move the stand-offs to the correct position.
Slide in the power supply from the side and secure it with the
4x PSU screws. It is recommended to connect all needed cables
beforehand.
Loosen the 2 captive thumb screws and slide to remove the right
side panel.
| www.phanteks.com
THUMBSCREW
REMOVE
2x
THUMBSCREW
REMOVE
2x
MOTHERBOARD
SCREWS
INSTALL
9x
PSU SCREW
INSTALL
4x
REMOVE EXTERNAL PANELS
HARDWARE INSTALLATION
Make sure to hold the side panel while
sliding it outwards to prevent any damage
when removing.
CAUTION
PSU FILTER
TOP FILTER
PSU
 Loading...