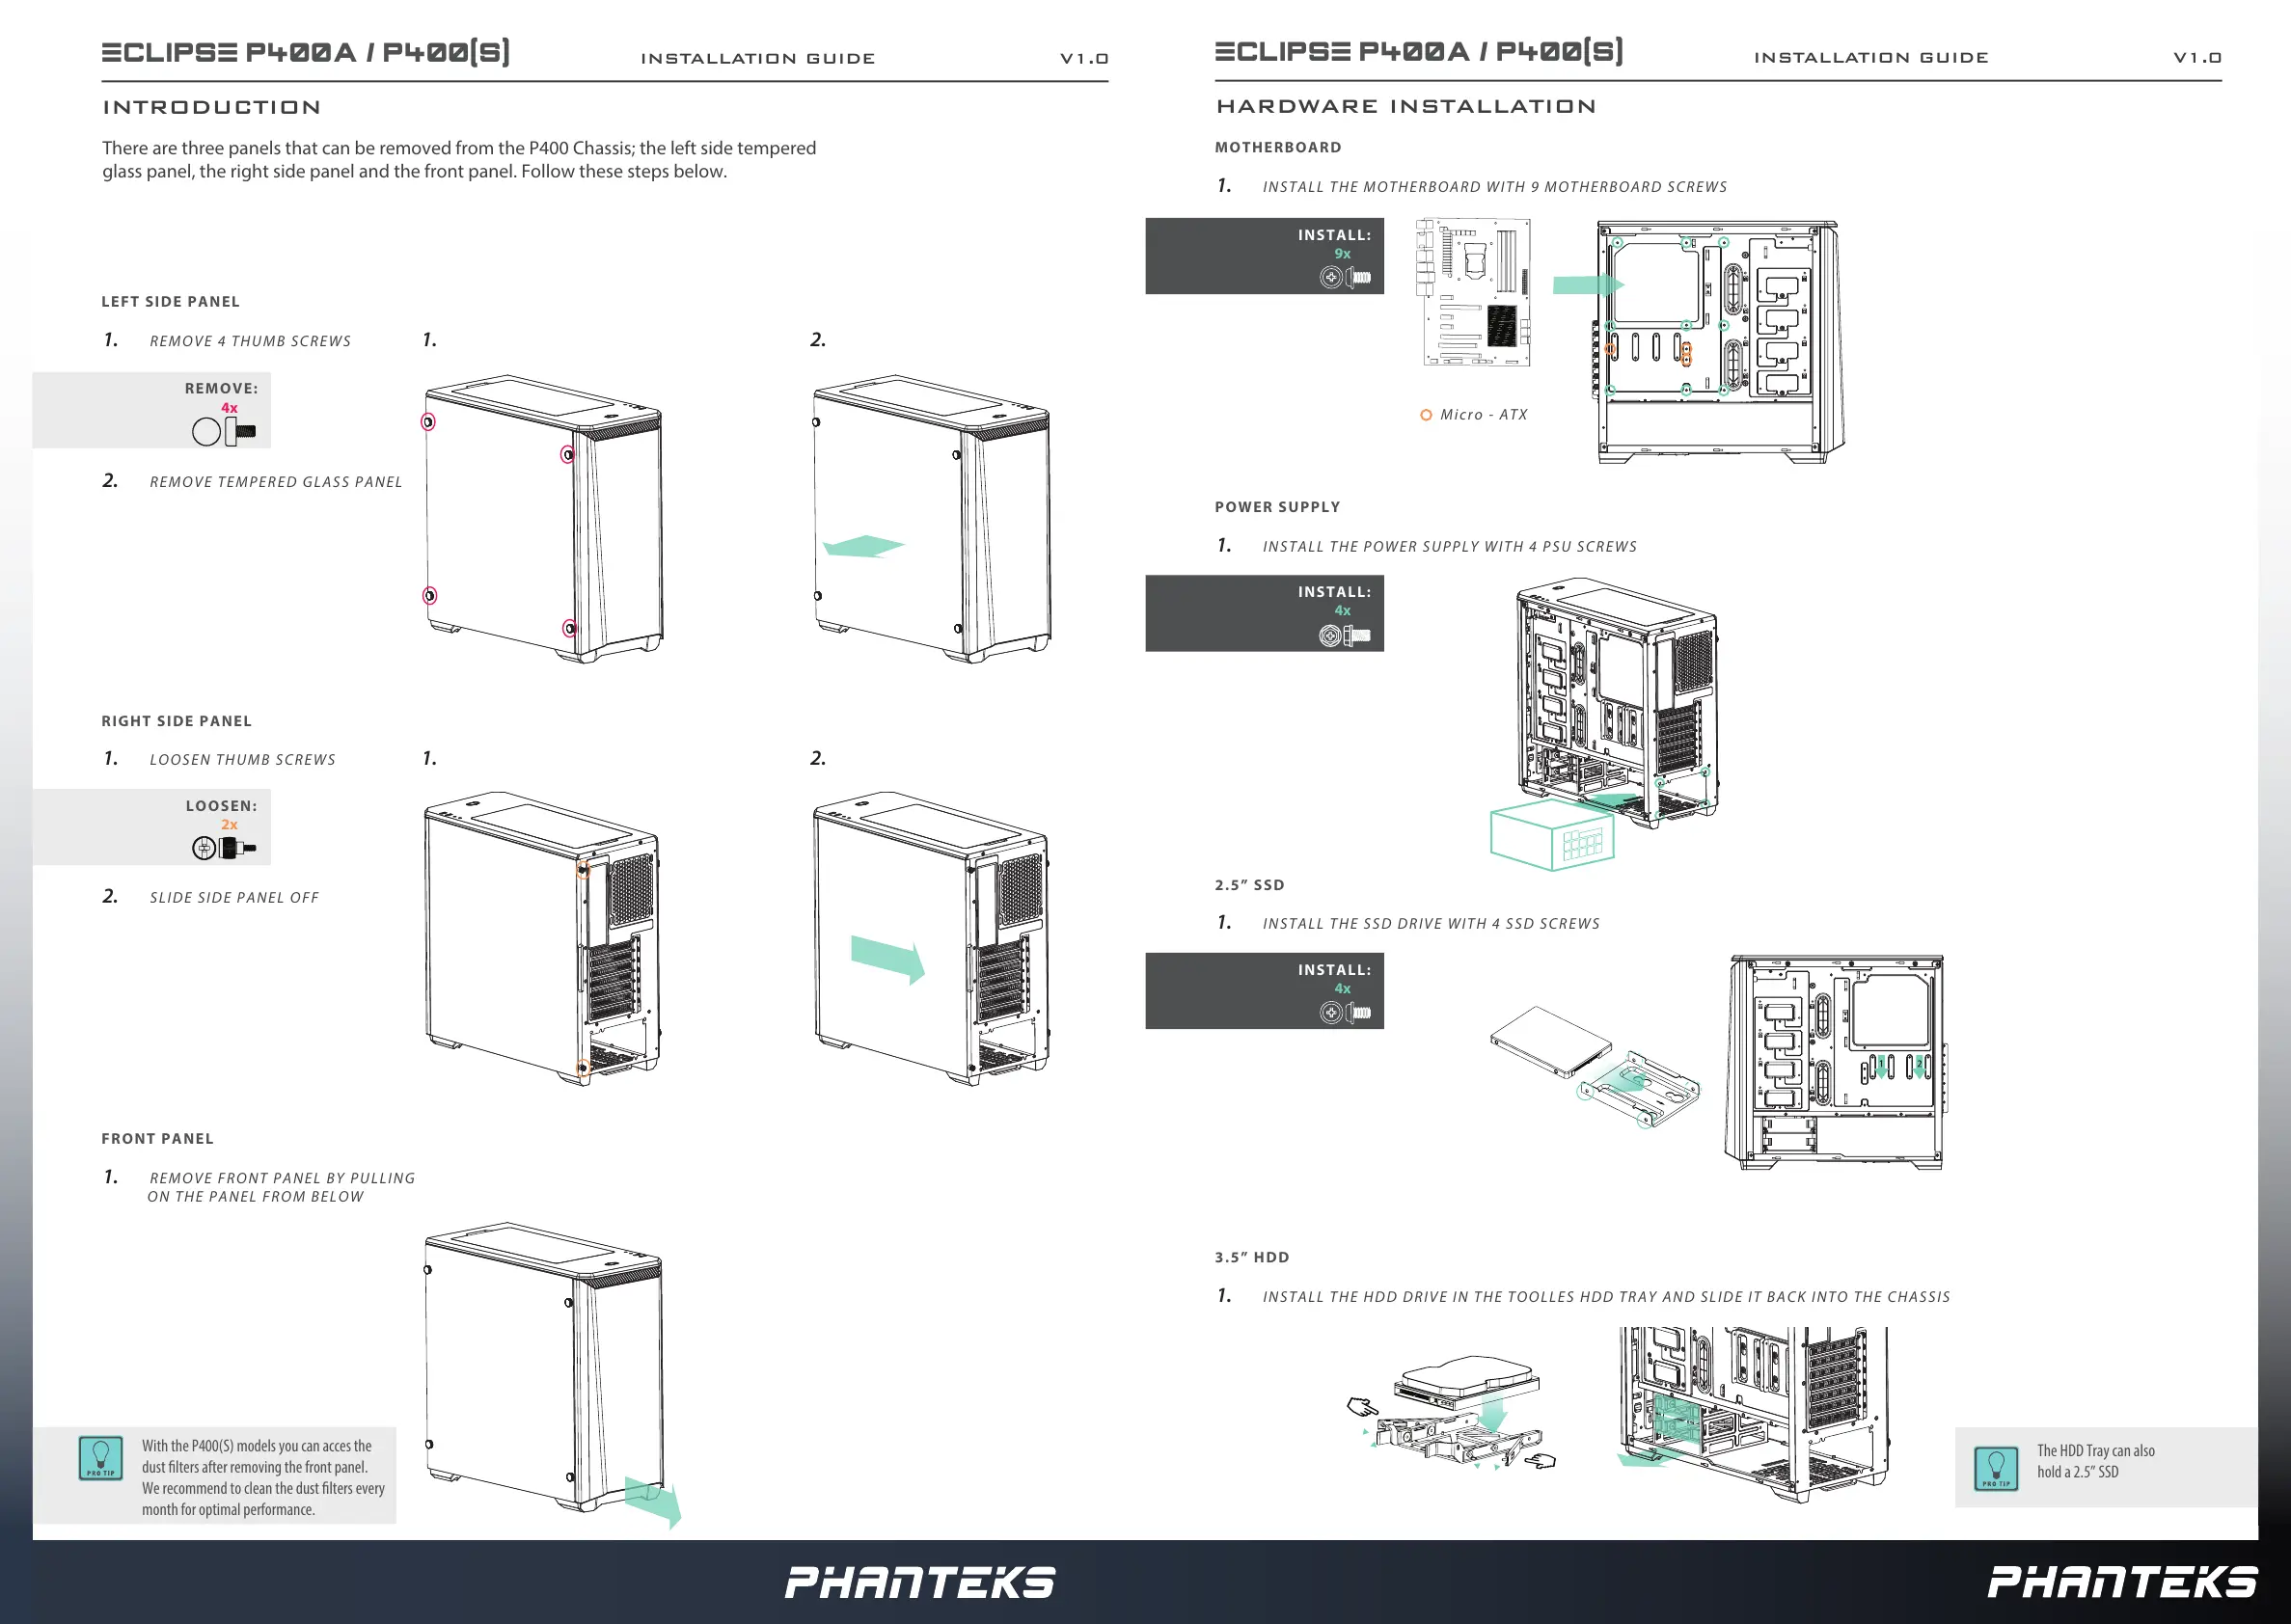
HARDWARE INSTALLATION
MOTHERBOARD
INSTALL:
9x
INSTALL:
4x
INSTALL:
4x
1. INSTALL THE MOTHERBOARD WITH 9 MOTHERBOARD SCREWS
Micro - ATX
POWER SUPPLY
1. INSTALL THE POWER SUPPLY WITH 4 PSU SCREWS
2.5” SSD
1. INSTALL THE SSD DRIVE WITH 4 SSD SCREWS
3.5” HDD
1. INSTALL THE HDD DRIVE IN THE TOOLLES HDD TRAY AND SLIDE IT BACK INTO THE CHASSIS
The HDD Tray can also
hold a 2.5” SSD
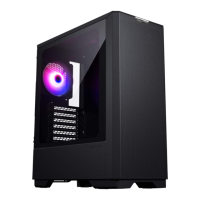
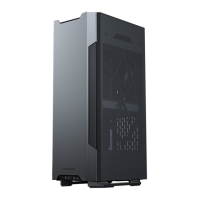
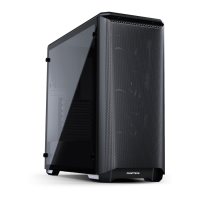
ECLIPSE P400A / P400(S)
INSTALLATION GUIDE V1.0
There are three panels that can be removed from the P400 Chassis; the left side tempered
glass panel, the right side panel and the front panel. Follow these steps below.
INTRODUCTION
LEFT SIDE PANEL
REMOVE:
4x
1. REMOVE 4 THUMB SCREWS 1. 2.
1. 2.
RIGHT SIDE PANEL
1. LOOSEN THUMB SCREWS
FRONT PANEL
1. REMOVE FRONT PANEL BY PULLING
ON THE PANEL FROM BELOW
2. REMOVE TEMPERED GLASS PANEL
2. SLIDE SIDE PANEL OFF
LOOSEN:
2x
ECLIPSE P400A / P400(S)
INSTALLATION GUIDE V1.0
With the P400(S) models you can acces the
dust lters after removing the front panel.
We recommend to clean the dust lters every
month for optimal performance.
 Loading...