Polycom SoundPoint/SoundStation/VVX IP
Series
Manual Reconfiguration Procedure
BroadSoft BroadCloud PBX 07/19/2017
WARNING: THIS PROCEDURE DESCRIBES HOW TO MANUALLY RECONFIGURE A POLYCOM SOUNDPOINT IP DEVICE TO WORK
ON THE BROADSOFT BROADCLOUD PBX NETWORK. ONCE THIS PROCEDURE HAS BEEN COMPLETED, ANY PRIOR
CONFIGURATION SETTINGS ON THE DEVICE WILL BE OVERRIDDEN, INCLUDING THE ADMINISTRATOR PASSWORD, AND THE
DEVICE WILL ONLY BE USABLE ON THE BROADSOFT BROADCLOUD PBX NETWORK. THE DEVICE MUST BE RETURNED TO THE
POLYCOM FACTORY DEFAULT CONFIGURATION BEFORE IT CAN BE USED ON ANY NETWORK OTHER THAN BROADSOFT
BROADCLOUD PBX.
Reset the phone to Factory Defaults before continuing.
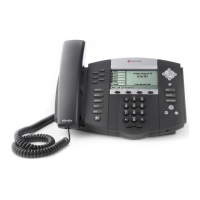
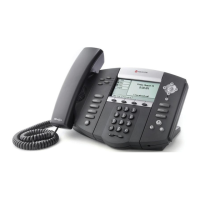
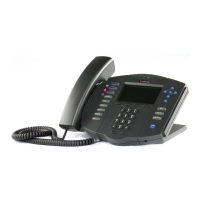
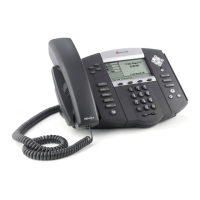
For SoundPoint IP Series Models: 320*, 321*, 330*, 331*, or 335 (*unsupported)
1. Press the Menu button
2. Select “3. Settings…”
3. Select “2. Advanced…”
4. At the password prompt, enter key in 456 then press the Enter soft key
Note:
●
If the password is a known value other than 456, then enter that value instead
●
If the password is not 456 and the actual password is not known, then the remainder of this procedure cannot
be performed, and the device cannot be modified for use in the BroadSoft BroadCloud PBX network.
5. Select “1. Admin Settings…”
6. Select “1. Network Configuration…”
7. Using the up/down arrows, highlight “DHCP Menu: …” then press Select
8. Using the up/down arrows, highlight “Boot Server: …” then press Select
9. Using the right/left arrows, highlight “Static” then press the Ok soft key
10. Press Back/Left to return to the Network Configuration menu
11. Using the up/down arrows, highlight “Server Menu: …” then press Select
12. Using the up/down arrows, highlight “Server Type: …” then press Select
13. Using the right/left arrows, select “HTTPS” then press the Ok soft key
14. Using the up/down arrows, highlight “Server Address: “ then press Select
15. Press the # key to change the input type to URL
16. Using the numeric keypad, enter the following case sensitive URL:
OLDER DEVICES - https://polycom.sipflash.com
NEWER DEVICES - https://plcm.sipflash.com
All DEVICES - https://polycom.broadcloud.eu