Need Help? Visit our website at www.razor.com or call toll-free at 866-467-2967 Monday - Friday 8:00am - 5:00pm Pacific Time.
2
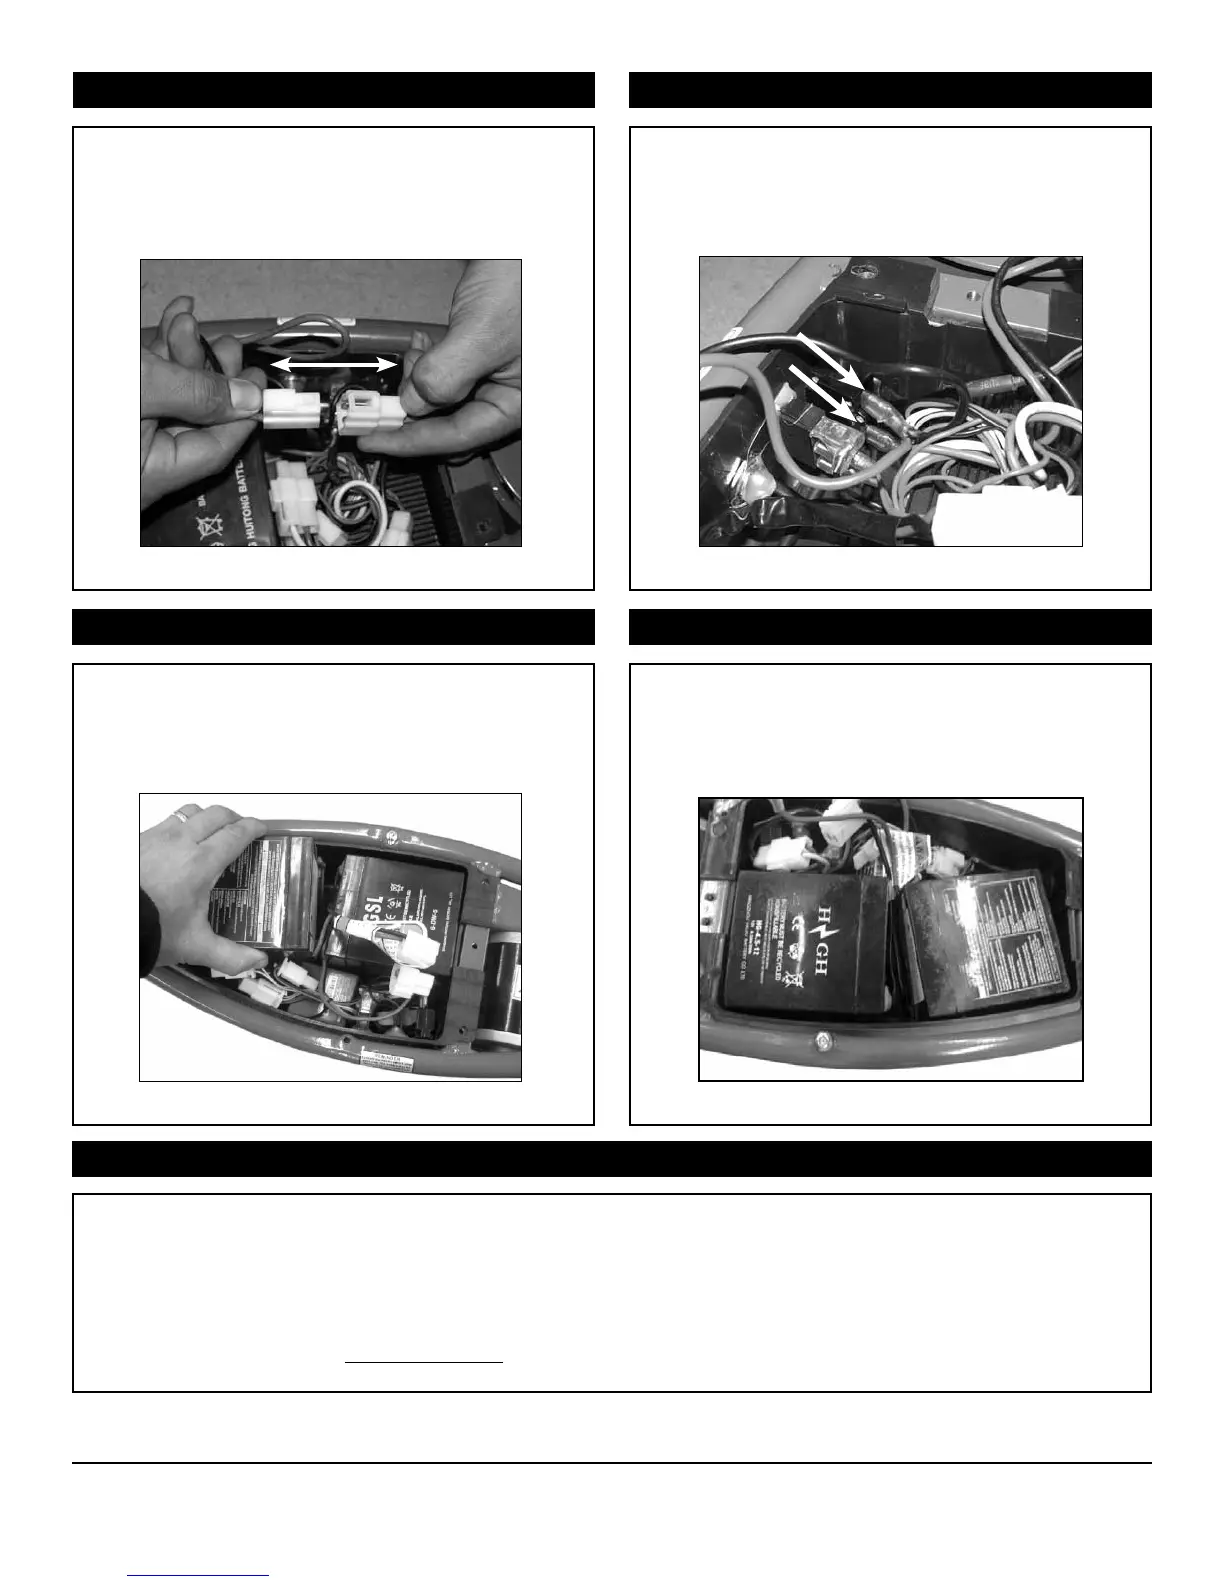
Figure 3 Figure 4
Locate the white plastic connector on the battery.
Cut the zip tie and discard it. Disconnect the white
plastic connectors attached to the battery and
control module by depressing the tab.
Follow the single black and red wires on the bat-
tery to the reset button and gently unplug both
wires from the reset button.
Step 3 Step 4
Figure 5 Figure 6
Carefully lift the batteries out of the battery tray,
one battery at a time. See page 3 for battery care
and disposal information.
Place new batteries in battery tray in the position
shown below.
Step 5 Step 6
Step 7
Reverse steps:
1. Reconnect the battery connector to the connector on the control module.
2. Plug the red and black wires on the battery into the reset button (in no particular order)
3. Reattach battery bracket and deck plate.
ATTENTION: Charge unit at least 18 hours before riding.
 Loading...