HEADLINE
44
ASSEMBLY AND SET-UP
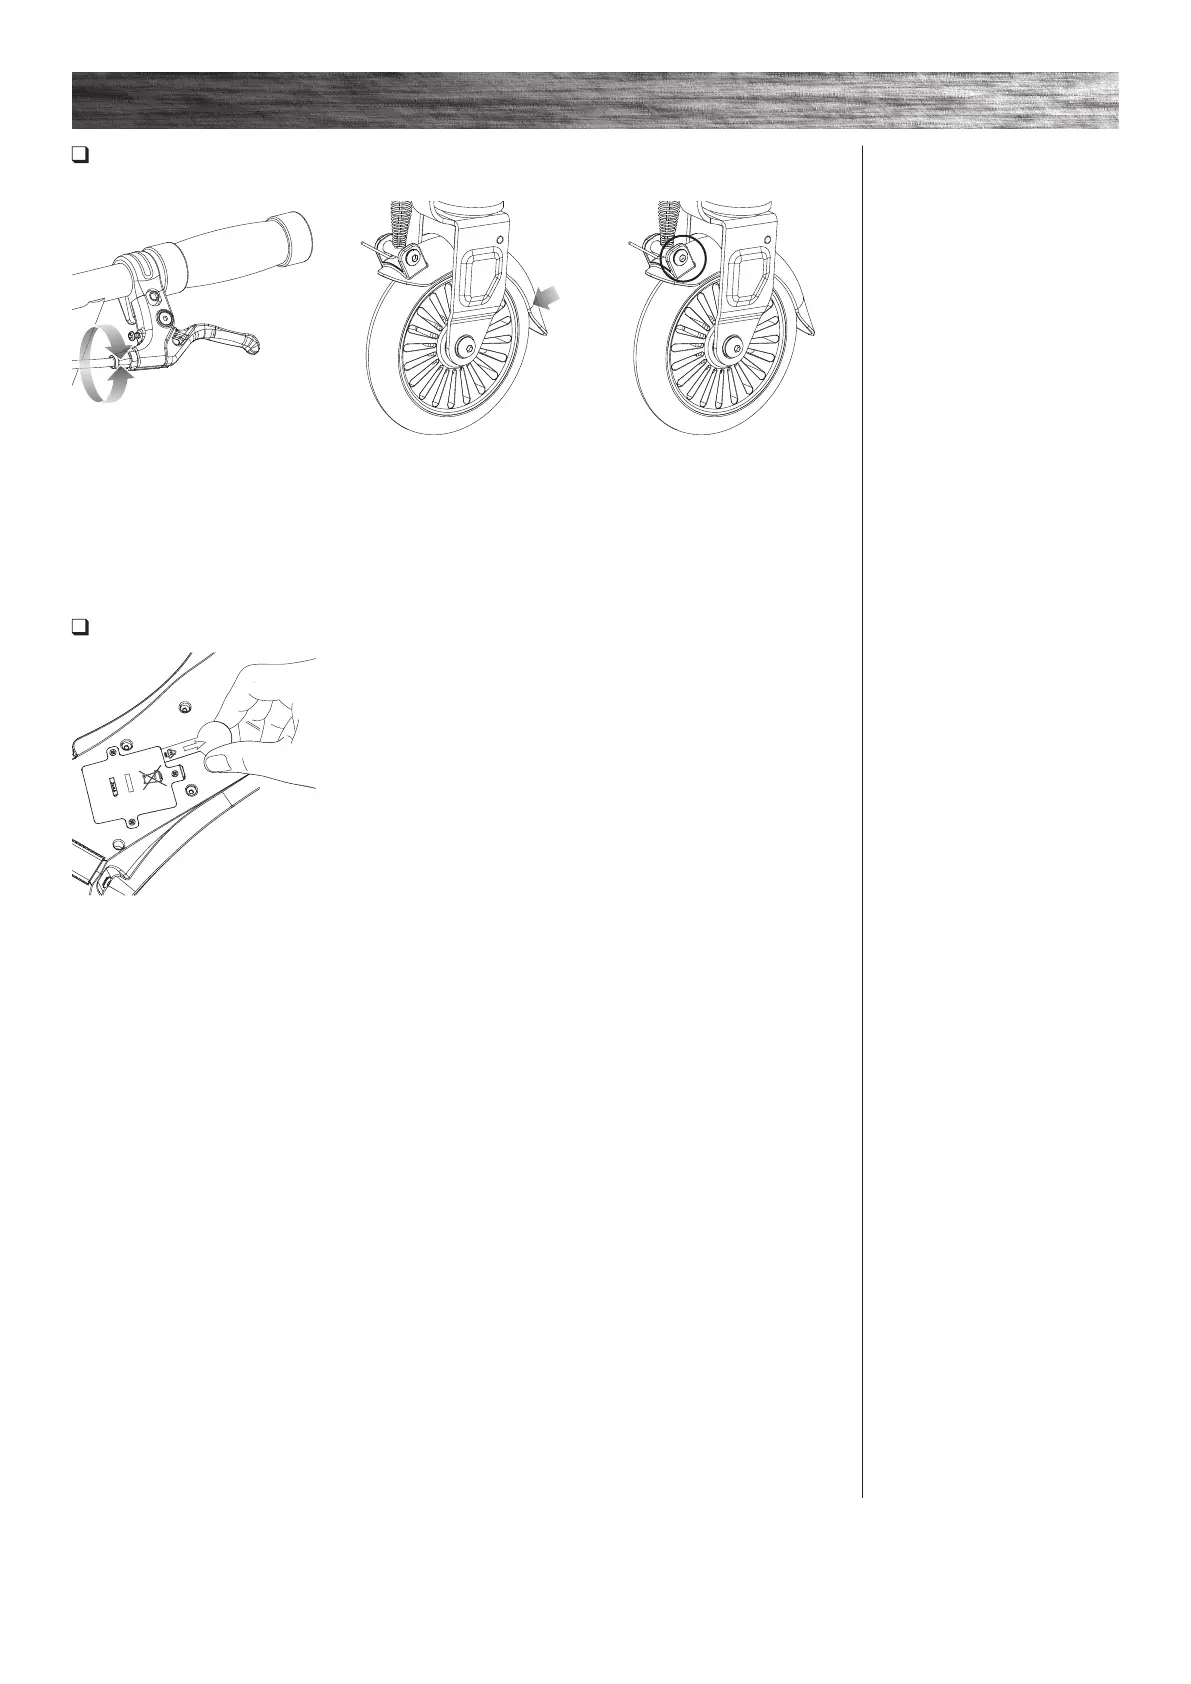
Adjusting the Brake
Required Tools: 3 mm Allen Wrench and 8 mm Wrench (not included)
1 To adjust the brake cable wire,
thread the brake lever adjuster in or
out 1/4 to 1/2 turn until the desired
cable tension is attained.
2 Squeeze the brake lever to test
the brake to make sure it is working
properly. The front fender should
clamp down and rub against the
front wheel. If brake is not working
properly, proceed to the next step.
3 If the brake is too tight or too
loose, use a 8 mm wrench and
a 3 mm Allen wrench to adjust
as needed.
1 To activate the batteries, locate
the battery compartment on the
bottom of the deck and remove
the plastic battery tab from under
the battery cover. Please note that
the battery tab may have been
previously removed. If the battery
tab is missing there is no cause
for concern, as this will not
affect the functionality of
your PowerWing Lightshow.
Activating the Batteries
 Loading...