Chapter 1 11
Connections and Setup
A screen appears asking what kind of signal you have connected (Cable, Antenna, or Detect
Automatically). Press the down arrow button to choose the signal type, and press OK (auto channel
search starts). This may take several seconds.
When finished, your available channels appear. To add or delete any channels, see page 31.
CABLE BOX SETUP
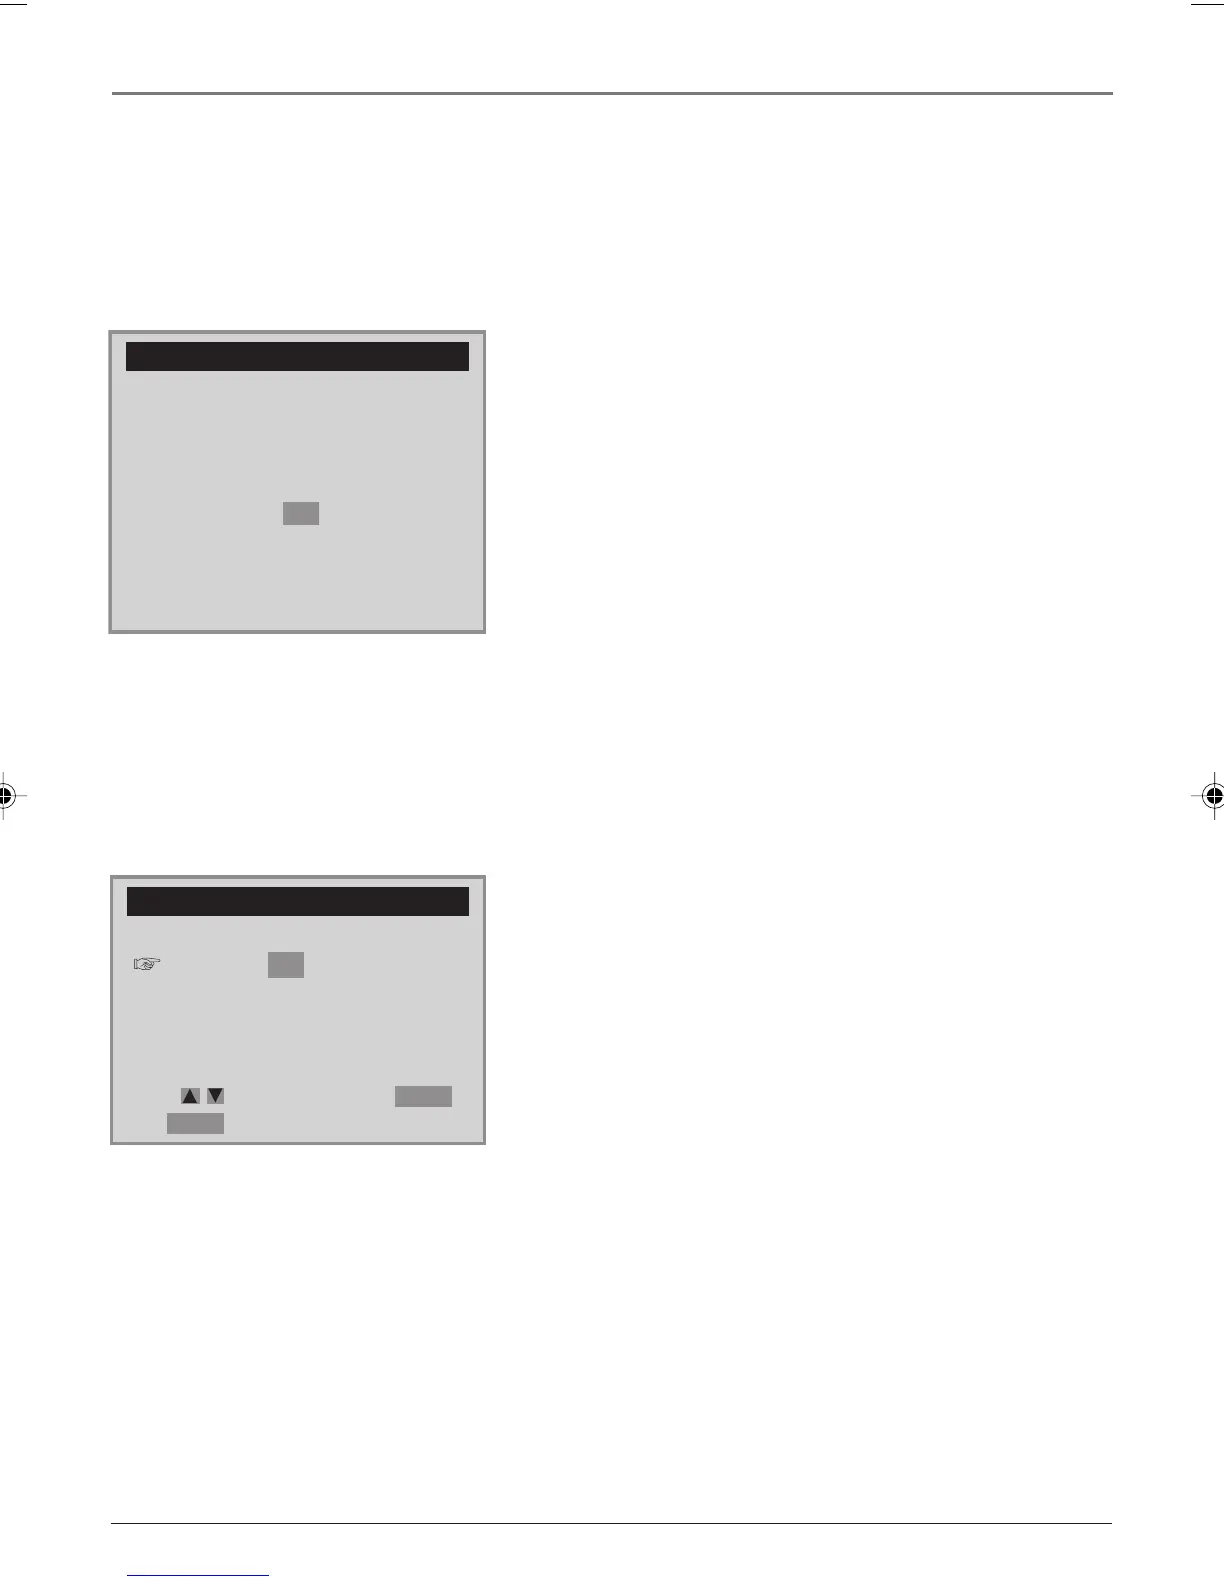
On what channel does
the VCR receive signals
from the cable box?
- -
(usually 3, 4, or Video)
Enter 01-13 or INPUT
Press MENU to cancel
CLOCK SET
Time and Date Set
Auto DST : ON
Move: Select:
End:
MENU
OK
Cable Box Setup
This setup applies only when all channels are received
through a cable box. In this case, the VCR will default to the
channel used to view cable box programming during timer
recordings.
1. Make sure the remote is in VCR mode by pressing the VCR
button.
2. Press MENU to display the VCR SETUP MENU.
3. Press the down arrow button until CHANNEL SET is
highlighted, and press OK (the CHANNEL SET menu
appears).
4. Press the down arrow button until Cable Box Setup is
highlighted, and press OK (the CABLE BOX SETUP menu
appears).
5. Enter the output channel of the cable box (usually 03 or
04), or if A/V jacks connect the VCR to the cable box,
press the INPUT button on the VCR’s remote control.
Clock Set
Time and Date Set
Time and Date Set allows you to manually set the VCR’s time
and date information.
1. Make sure the remote is in VCR mode by pressing the VCR
button.
2. Press MENU to display the VCR SETUP MENU.
3. CLOCK SET is already highlighted, so press OK (the CLOCK
SET menu appears).
4. Use the number buttons on the remote to enter the
information — you must press 0 before single digits (for
example, 08/17/03 for August 17th, 2003). To move to
the next entry, press the right arrow button. To change a
setting, press the up or down arrow button.
Auto DST (Daylight Savings Time)
Adjust this setting to allow for daylight savings time (DST).
If you choose OK, the VCR sets the clock using any DST
information broadcast in the channel’s signal.
Note: All additional VCR menu items are explained in Chapter 4.
DRC6200N.01 Connections 7/28/03, 9:31 AM11
 Loading...