• p.260 "Using SMB to Connect"
• p.266 "Using FTP to Connect"
Registering an NCP Folder
This section describes how to register an NCP folder.
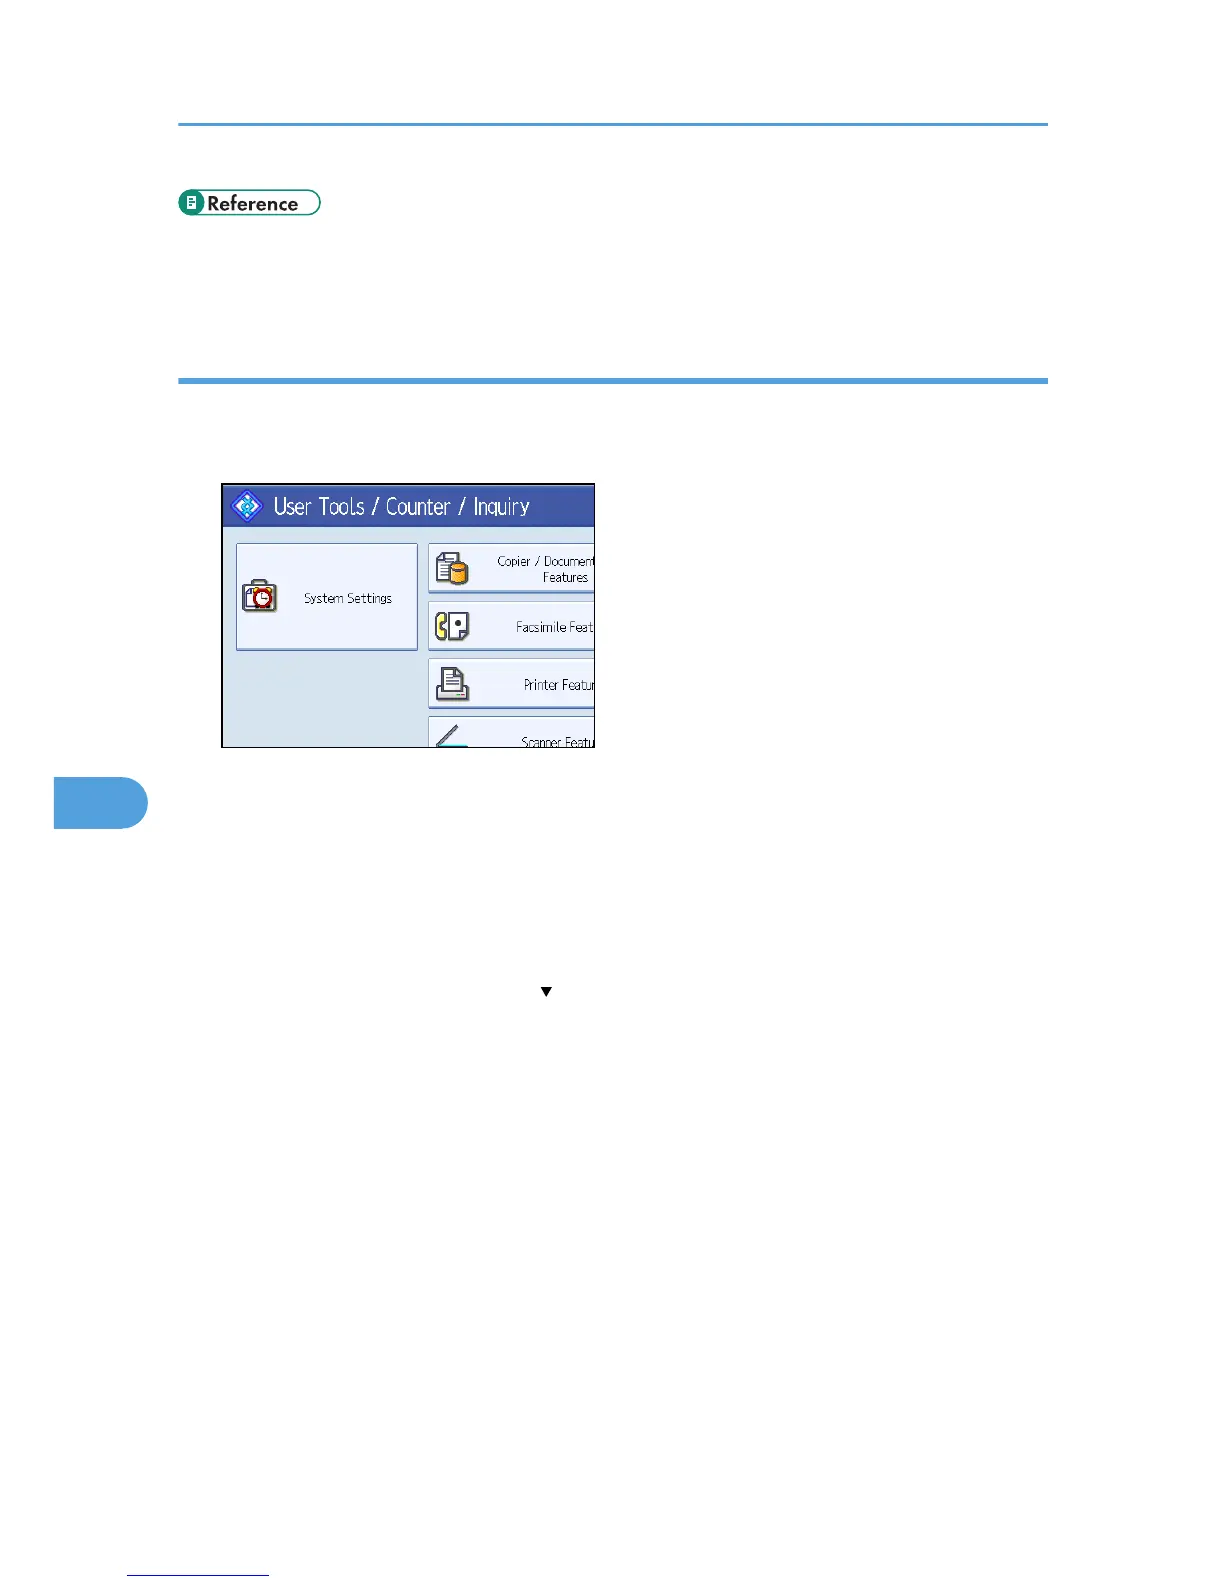
1. Press [System Settings].
2. Press [Administrator Tools].
3. Press [Address Book Management].
4. Check that [Program / Change] is selected.
5. Press the name you want to register or enter the registered number using the number keys.
You can search by the registered name, fax number, folder name, e-mail address, or IP-Fax
destination.
6. Press [Auth. Info], and then press [ Next].
7. Press [Specify Other Auth. Info] under "Folder Authentication".
When [Do not Specify] is selected, the NCP User Name and NCP Password that you have specified
in Default User Name / Password (Send) of File Transfer settings applies. For details, see "File
Transfer".
8. Press [Change] under "Login User Name".
9. Enter the login user name, and then press [OK].
10. Press [Change] under "Login Password".
11. Enter the password, and then press [OK].
12. Enter the password again to confirm, and then press [OK].
13. Press [Folder].
14. Press [NCP].
7. Registering Addresses and Users for Facsimile/Scanner Functions
272
 Loading...