4.Replacement and Adjustment
70
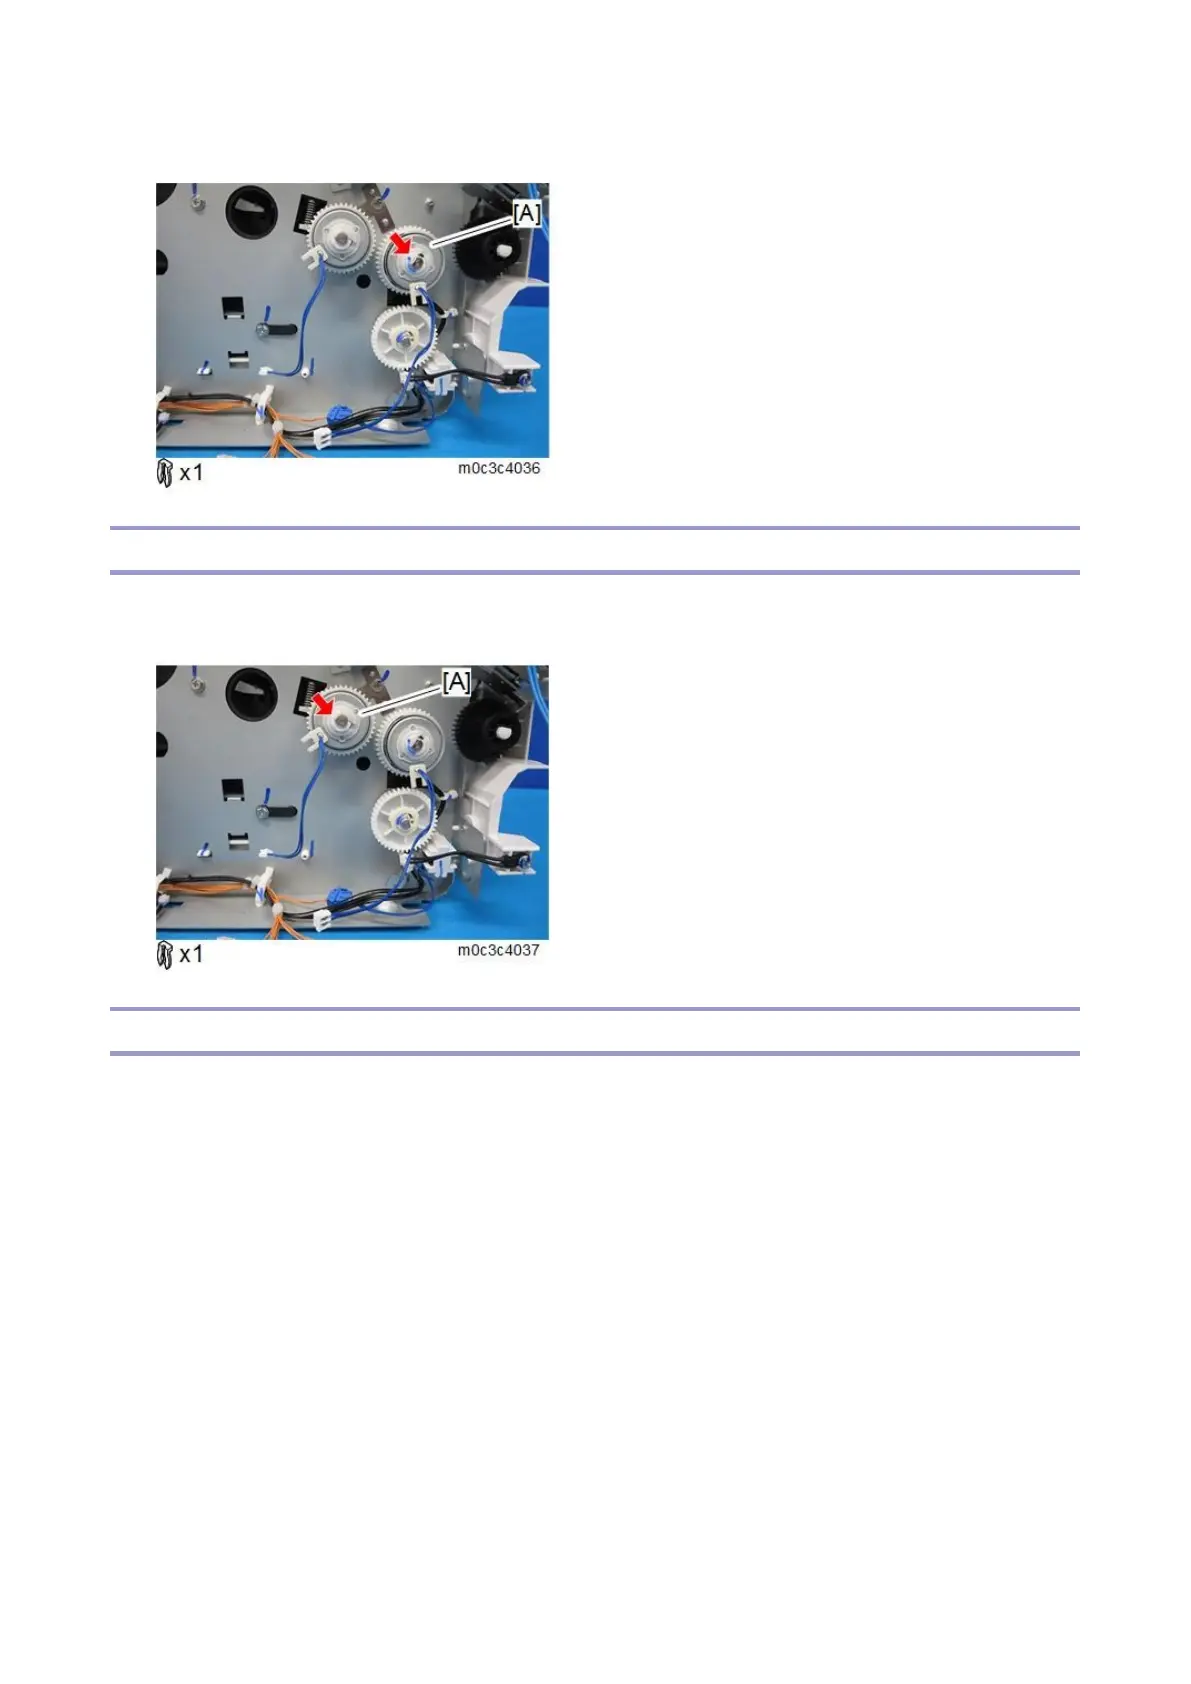
2. Remove the relay clutch [A].
Registration Clutch
1. Remove the drive unit (Drive Unit).
2. Remove the registration clutch [A].
Registration Roller
1. Remove the AIO.
2. Only for MF models, remove the scanner unit (Scanner Unit).
3. Remove the top cover (Printer models: Top Cover, MF models: Top Cover).
4. Remove the fusing unit (Fusing Unit).
5. Remove the PSU (PSU).
6. Remove the HVP (HVP).
7. Remove the by-pass lower guide plate (By-pass Feed Roller).
8. Remove the paper feed clutch (Paper Feed Clutch).
9. Remove the relay clutch (Relay Clutch).
10. Remove the registration clutch (Registration Clutch).
 Loading...