RIGOL
Quick Guide for DS1000E, DS1000D Series
4
(1) Set the attenuation switch on the probe to 10X and connect the
probe to Channel 1 on the oscilloscope. Attach the probe tip
and ground lead to the PROBE COMP connector. Press CH1,
and set the attenuation menu to 10X. Then press AUTO.
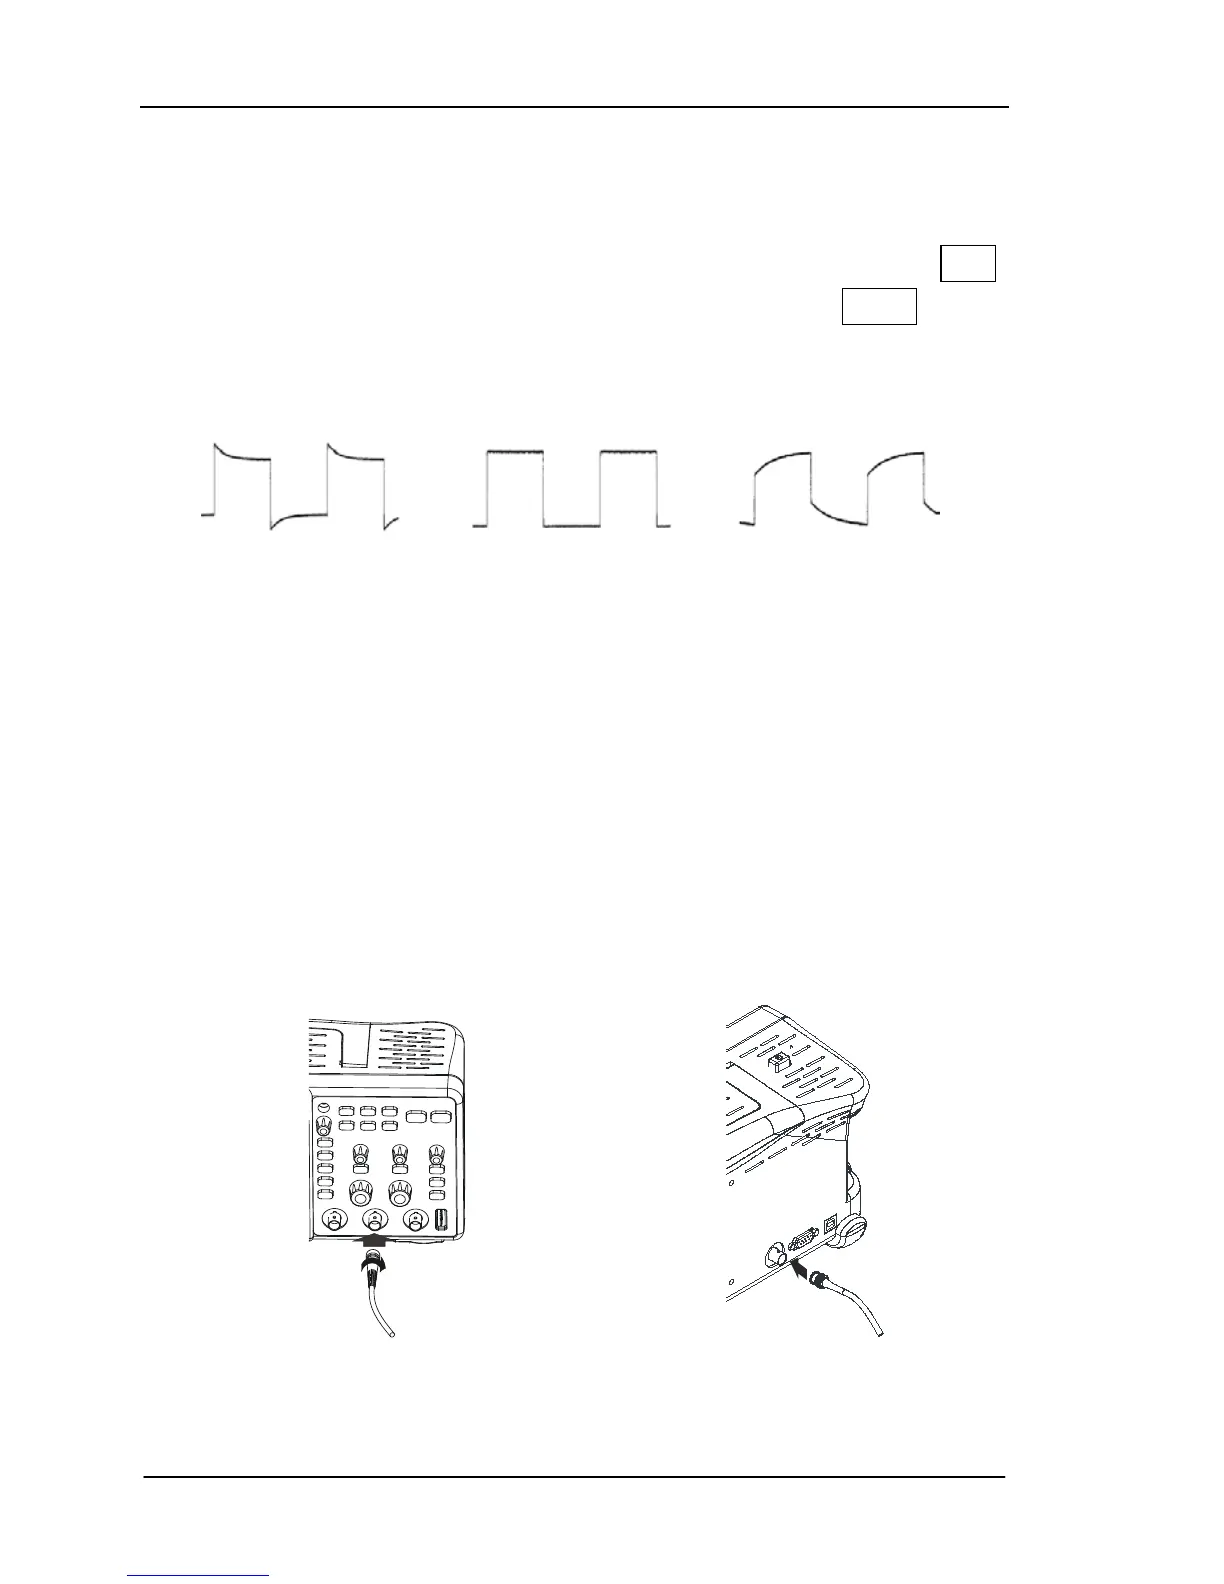
(2) View the waveform displayed on the screen。
Over Compensated Correctly Compensated Under Compensated
(3) If necessary, use a non-metallic tool to adjust the variable
capacitor of the probe for the flattest square wave (Correctly
Compensated) being displayed on the oscilloscope.
(4) Repeat if necessary.
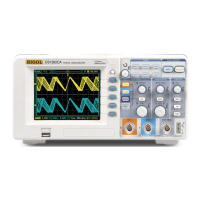
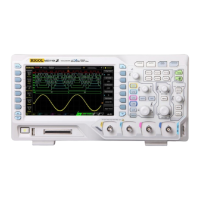
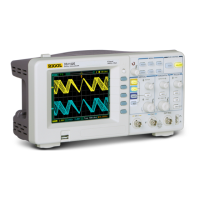
2. Connect the BNC
As shown in the following figure, insert the the BNC cable to the
BNC conector on the front pannel, rotate clockwise to lock the BNC.
BNC Connection (Front Panel) P/F Connection (Rear Panel)
 Loading...