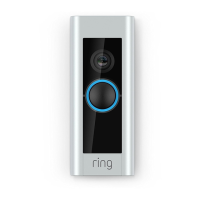
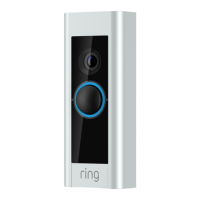
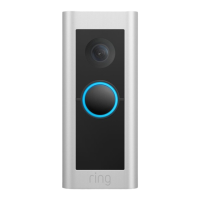
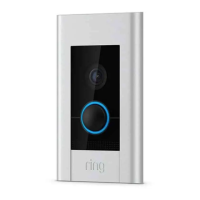
Physically installing your Ring Video Doorbell (2nd Generation) with an existing doorbell is a simple process. Simply scroll down for a step-by-step guide.
Note that you should set up your Ring Video Doorbell in your Ring app before mounting it to your home.
Click here for information on setting up your Ring Video Doorbell (2nd Generation) in the Ring app.
Step One: Charge the built-in battery
Fully charge the built-in battery by plugging it into a USB power source using the provided orange cable.
When only one of the two LEDs on the battery is lit, the battery is fully charged.
Click here for more information on charging your Ring battery.
Step Two: Remove your existing doorbell (optional)
If replacing an existing doorbell, shut off power to your doorbell system at the breaker. Then remove the doorbell button from the wall and disconnect the
wires.
Note: If wiring your Ring Doorbell to an existing doorbell, a transformer with a voltage of 8-24 VAC, 40VA max, 50/60Hz is required.
Note: DC transformers and most intercoms are not supported.
Step Three: Line Up your Ring Video Doorbell (2nd Generation)
To properly line up your Ring Video Doorbell:
Click the level tool (included in the box) into the small hole on the front of the Ring Doorbell, below the camera.
Place the Ring Doorbell next to your door at about 1.2 metres from the ground.
Level the device using the level tool.
Mark the positions for mounting holes with a pencil.
Step Four (Optional):Mark the screw holes.
Use the bracket as a template to mark the four corner holes. The recommended install height is 1.2 metres above the
ground.