2. MOUNTING AND DETECTION
Ceiling Mounting 4.6m
Position 0
Wall Mounting 4.6m
Position 0
Ceiling Mounting 2.3m
Position 0
Wall Mounting 2.3m
Position 0
X
6.8m
22.3ft
Wall WallDoor
Y Y
X X X X
Y Y
1.2m
1m
2m
0m
(0ft)
(3.3ft)
(6.6ft)
3m
(9.9ft)
4m
(13.2ft)
4.6m
(15ft)
Wall
2.4m
7.9ft
Front View
Top View
Side View
C C
4.7m
15.4ft
Wall WallDoor
X
X X X X
Wall
1.2m
3.9ft
1m
2m
0m
(0ft)
(3.3ft)
(6.6ft)
3m
(9.9ft)
4m
(13.2ft)
4.6m
(15ft)
Front View
Top View
Side View
(1.9ft)
X X X X
Y Y
3.5m
11.5ft
Wall WallDoor
X
Y
Y
Wall
0.6m
Door
1m
2m
2.3m
0m
(0ft)
(3.3ft)
(6.6ft)
(7.5ft)
1.2m
3.9ft
Front View
Top View
Side View
X X X X
2.4m
7.8ft
0.6m
Door
Wall
(1.9ft)
1m
2m
2.3m
0m
(0ft)
(3.3ft)
(6.6ft)
(7.5ft)
Front View
Wall WallDoor
X
Top View
Side View
Wall Mounting 2.3m
Position A
Wall Mounting 2.3m
Position B
NOTE:
Do not mount the detector in direct
sunlight or near heated sources and
metal objects.
1.3m
4.3ft
Wall
Door
1m
2m
2.3m
0m
(0ft)
(3.3ft)
(6.6ft)
(7.5ft)
Side View
2.4m
7.9ft
Wall
Door
1m
2m
2.3m
0m
(0ft)
(3.3ft)
(6.6ft)
(7.5ft)
Side View
INSTALLATION INSTRUCTIONS
DESCRIPTION
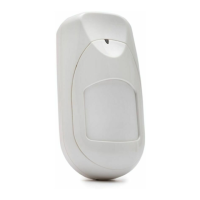
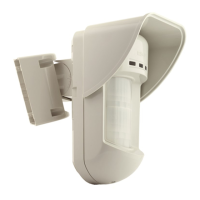
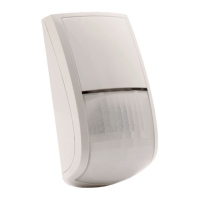
iREX and iREX Plus are PIR detectors specifically designed for request-to-exit (REX) and request-to-enter (REN) applications.
The iREX detectors are designed with the IQ feature (Intelligent Queuing) used to remotely enable or disable the iREX.
The iREX detectors can be installed as stand alone units or in conjunction with Access Control systems.
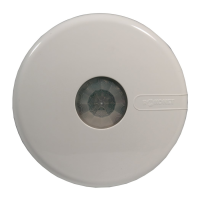
The iREX can be mounted on both walls and ceilings and are designed with flexible adjustment to cover the specific needs of each secured area.
1. INSTALLATION
IMPORTANT:
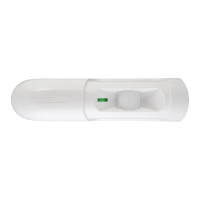
The iREX should always be installed with the rounded
side of the detector pointing to your left side when you
are facing the iREX.
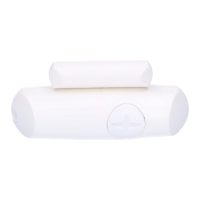
Cover
Detector
(Tube)
Base
Unit
Buzzer Volume
Adjustment
1
Masking:
To insert a masking wedge:
To remove a masking wedge: