EasyManua.ls Logo

Ryobi BE318 User Manual

Ryobi BE318
16 pages
To Next Page IconTo Next Page
To Previous Page IconTo Previous Page
Page #10 background imageLoading...
Page #10 background image
10
OPERATION
Fig. 4
Fig. 6
USING SANDING BELTS
TO INSTALL/CHANGE SANDING BELTS
See Figures 4, 5, and 6.
Follow these directions to install/change sanding belts.
Unplug the sander.
WARNING:
Failure to unplug the tool could result in accidental
starting causing possible serious injury.
Position the sander on its side with the cord on the
left.
WARNING:
Keep hands and fingers clear of front idler roller and
spring mechanism at all times. Failure to do so could
result in them getting pinched, causing possible seri-
ous injury.
Raise the tension release lever.
NOTE: If you are changing sanding belts, remove
the old sanding belt at this time.
Install the sanding belt.
CAUTION:
If the sanding belt is not a bidirectional belt, ensure
that the arrow inside the belt is pointing in the direc-
tion of the rotation (clockwise when looking into the
open side of the sander). Installing unidirectional
sanding belts backwards can create a hazardous
condition.
Align the sanding belt to its correct position.
Lower the tension release lever to secure the sand-
ing belt.
Fig. 5
SANDING
BELT
INSTALL UNIDIRECTIONAL BELTS IN THE DIRECTION OF
THE ROTATION
INSTALL BIDIRECTIONAL BELTS IN EITHER DIRECTION
TENSION
RELEASE
LEVER
Question and Answer IconNeed help?

Do you have a question about the Ryobi BE318 and is the answer not in the manual?
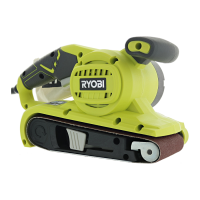
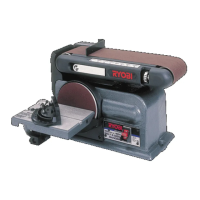
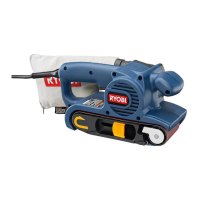
Ryobi BE318 Specifications

General IconGeneral
TypeBelt Sander
Belt Size3 in. x 18 in.
Voltage120V
Corded/CordlessCorded
Weight5.7 lbs.

Summary

Introduction

General Safety Rules

Specific Safety Rules

Symbols

Specifications

Unpacking

Applications

Features

Double Insulation

Explains double insulation concept and its safety implications.

Electric Motor

Details the precision built electric motor and power requirements.

Switch

Mentions the conveniently located trigger switch for operation.

Lock-On

Describes the lock-on feature for continuous operation.

Dust Collection Bag

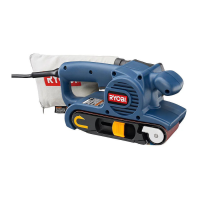
Explains the dust collection bag's function.

Ergonomic Design

Highlights the design for easy handling and comfort.

Operation

Turning the Sander On/Off

Instructions for activating and deactivating the sander.

Locking On

Details on using the lock-on feature for continuous use.

Selecting Sanding Belts

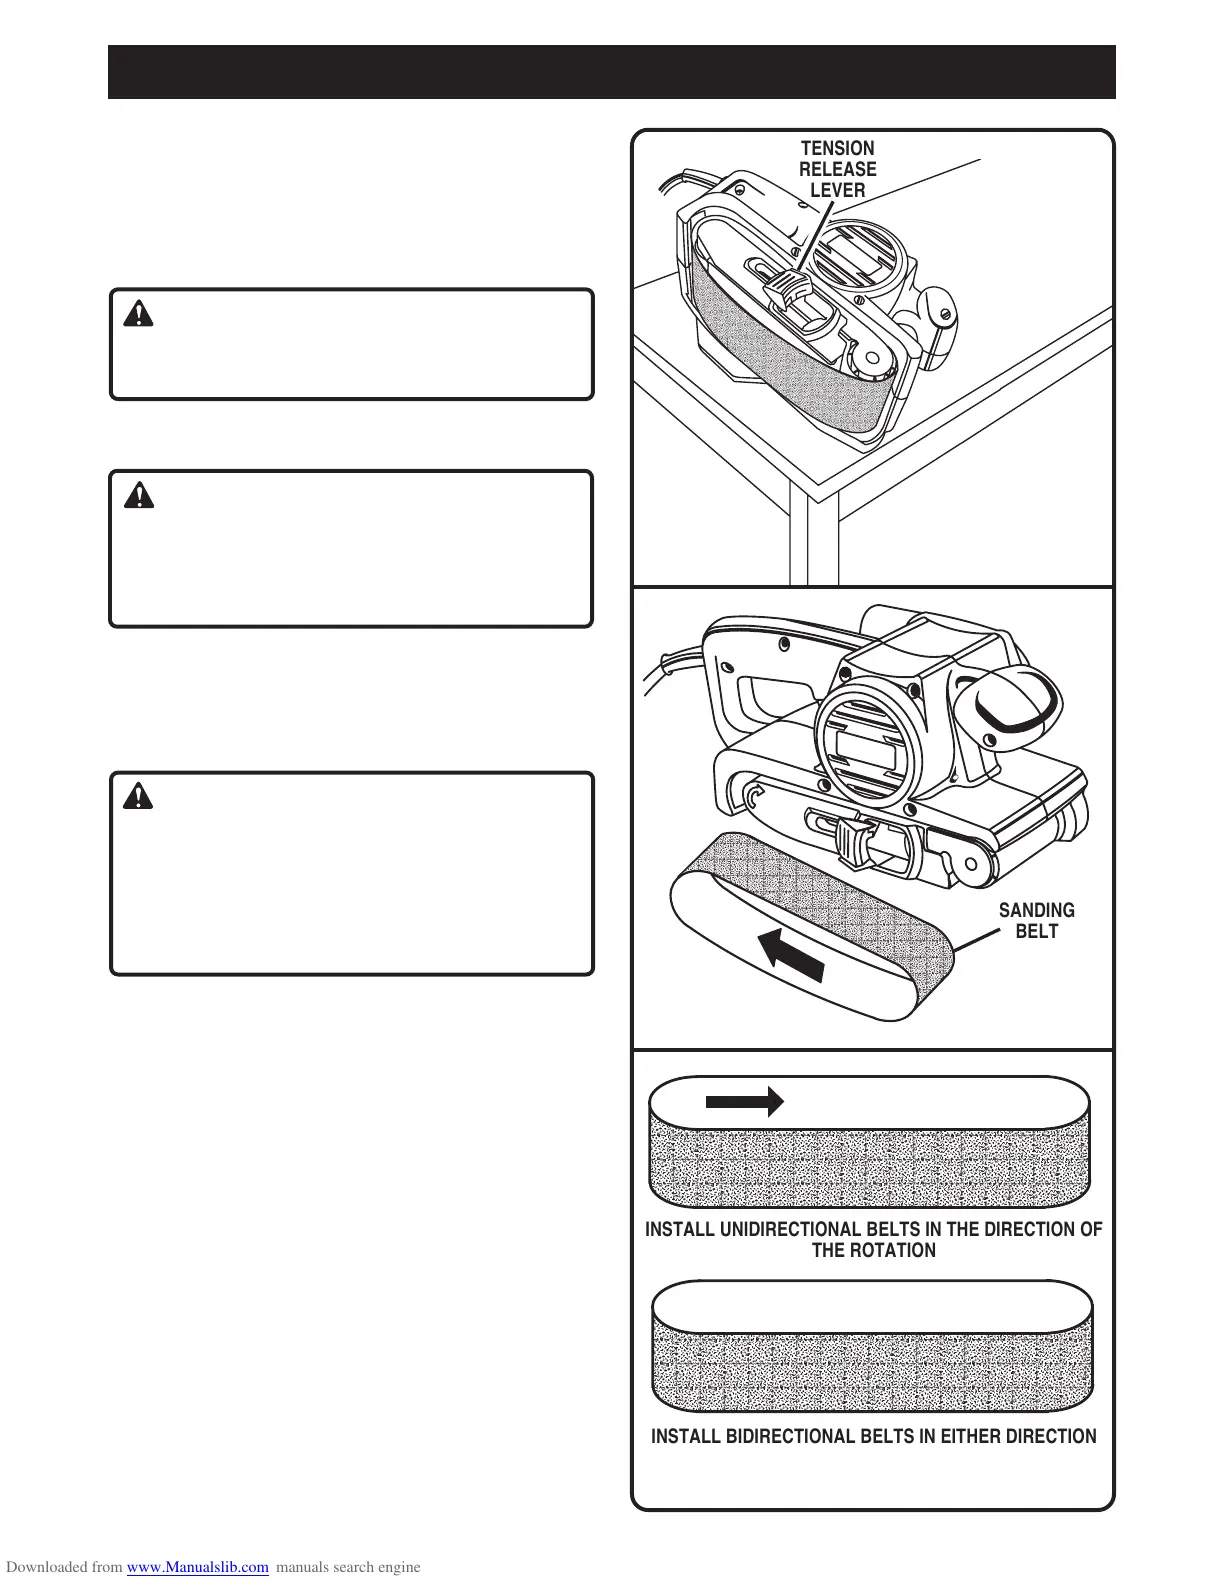
Guidance on choosing and using appropriate sanding belts.

Maintenance

Replace Timing Belt

Step-by-step instructions for replacing the timing belt.

Extension Cord Caution

Service

Model and Serial Number

Instructions for locating and recording model and serial numbers.

Order Repair Parts

Key information required when ordering replacement parts.

Related product manuals